Introduction
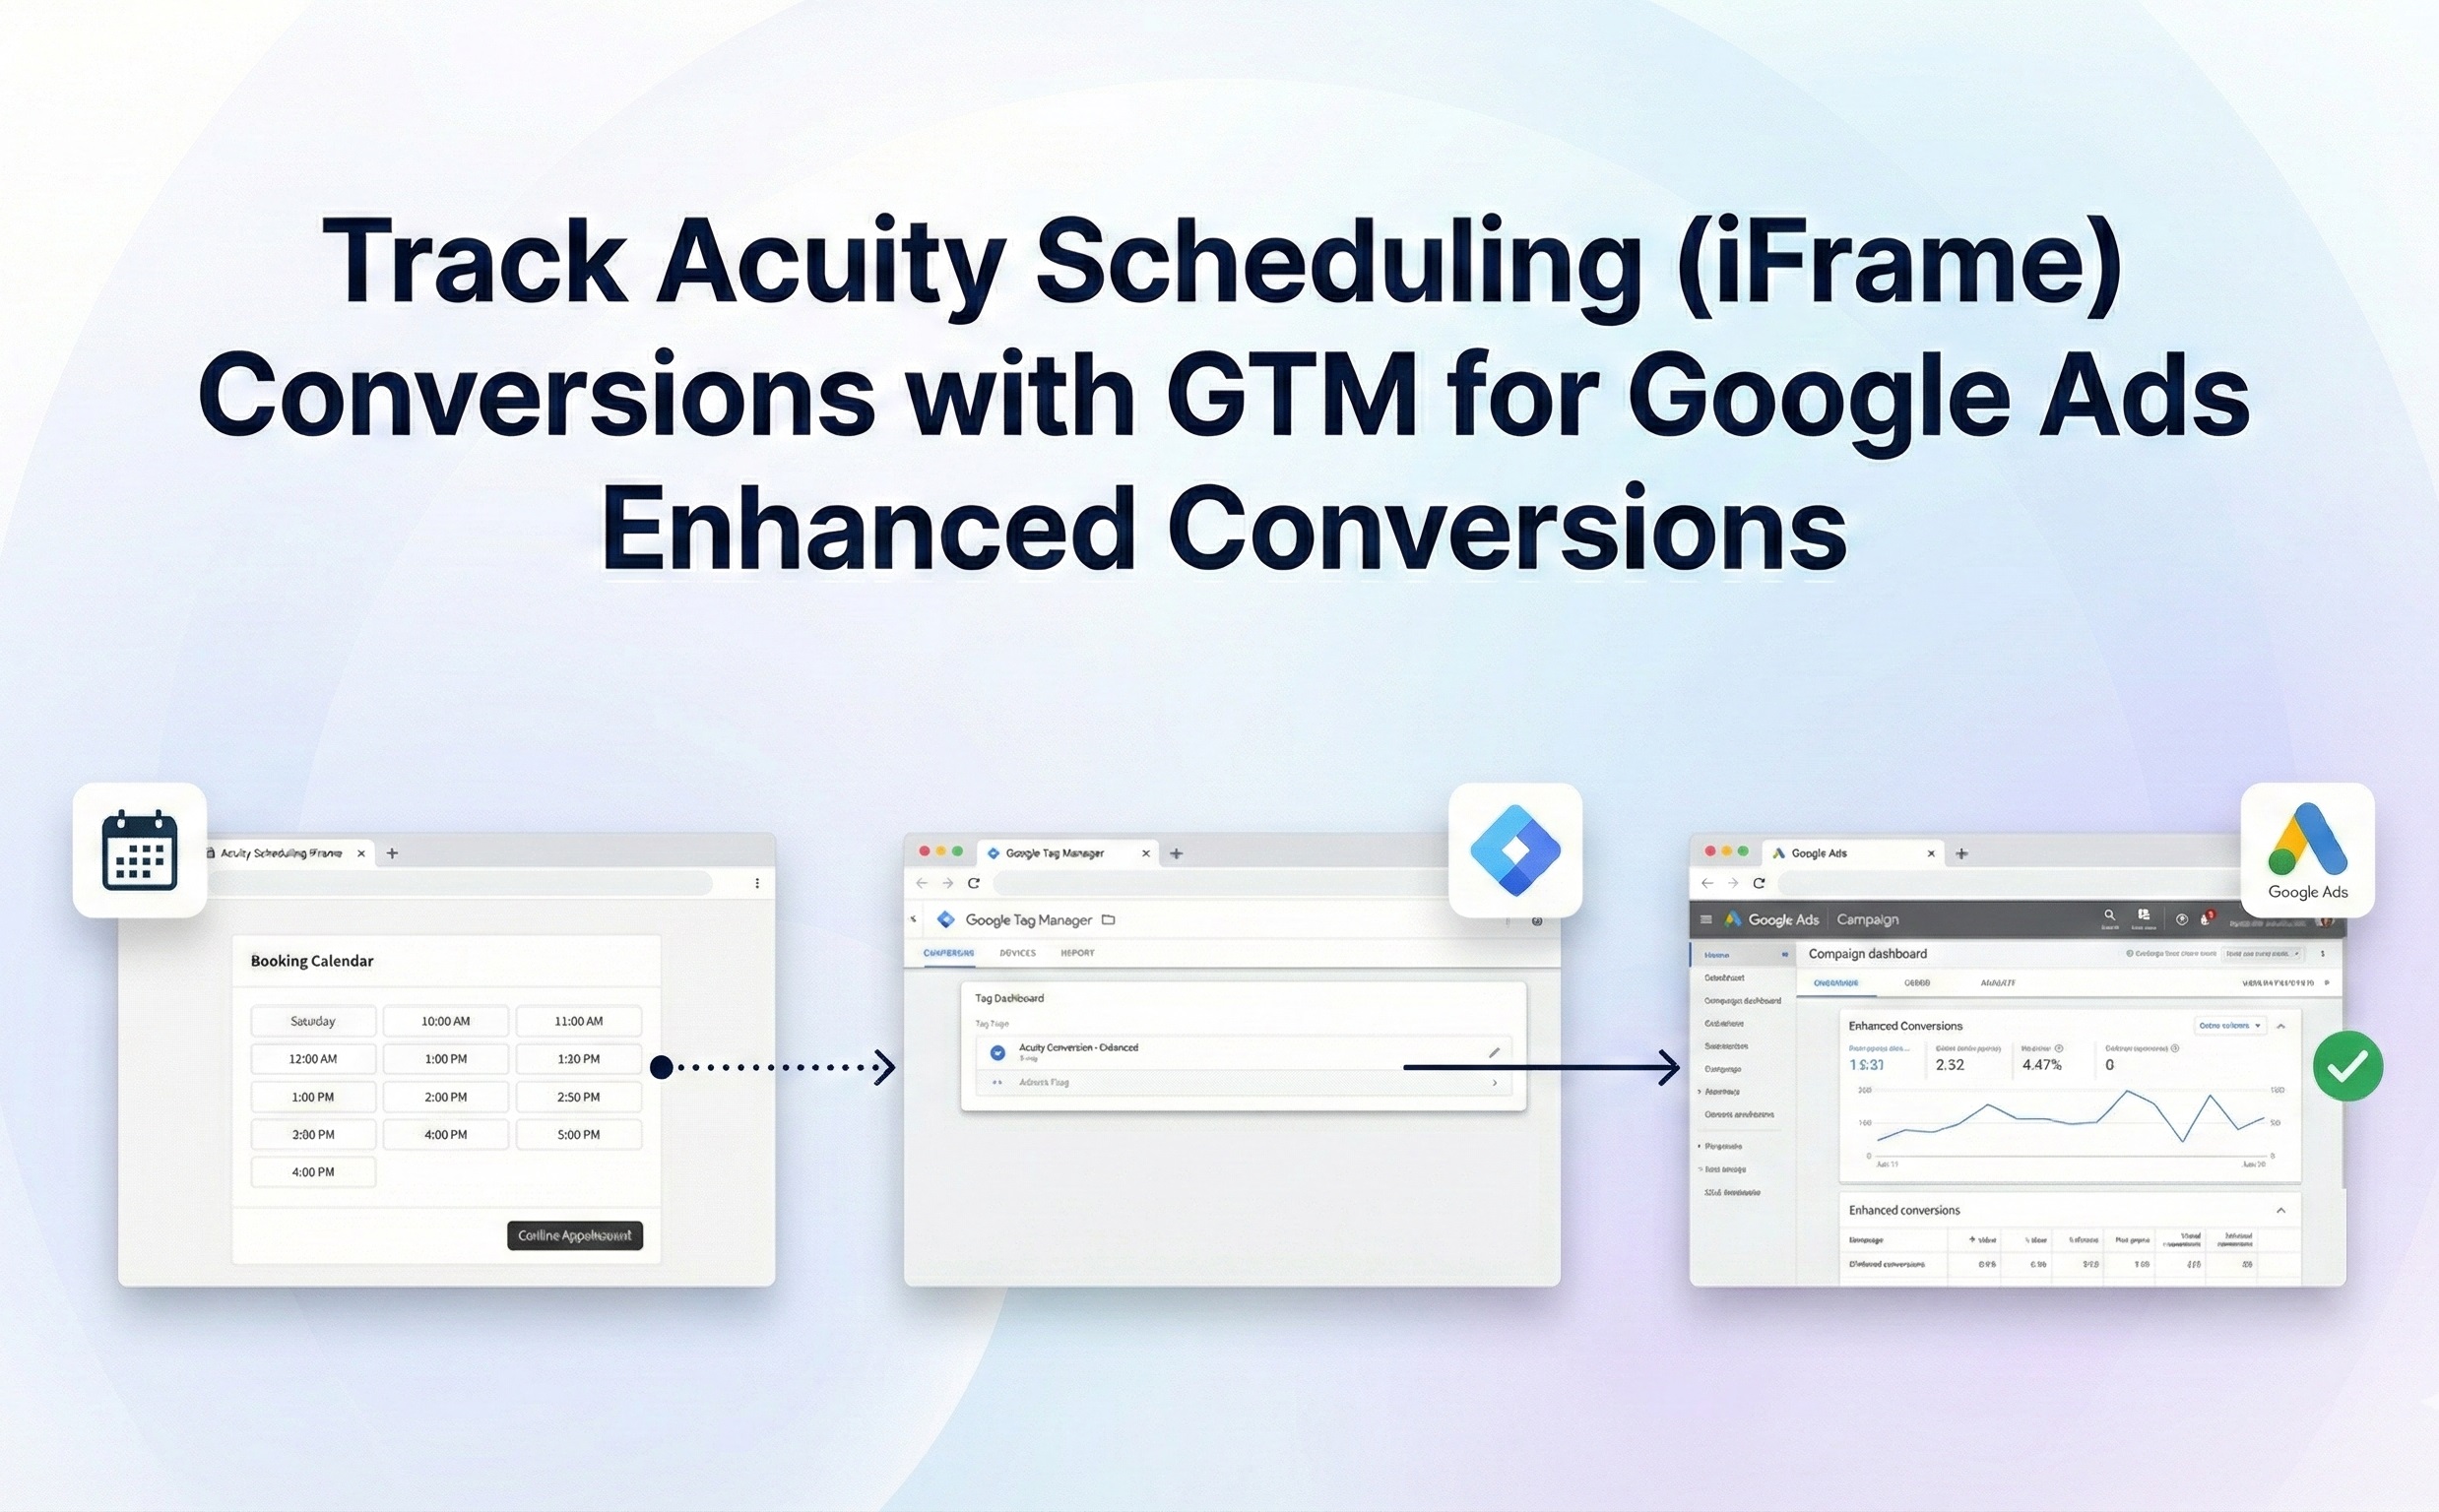
Embedded Acuity Scheduling conversions within an iFrame can be challenging to track. Inaccurate data and wasted ad spend can result if your setup is flawed, causing Google Ads reports to miss valuable bookings.
This comprehensive, step-by-step guide details how to implement Acuity Scheduling iFrame Conversion Tracking. We’ll leverage Google Tag Manager (GTM) and Google Ads Enhanced Conversions, eliminating the need for paid third-party tools.
Prerequisites
To follow this guide, you will require:
- An active Acuity Scheduling account
- A Google Tag Manager (GTM) account
- A website where the Acuity Scheduling form is embedded using an iFrame
Need Professional Help?
- Hire Me for Setup: WhatsApp Me
- Book a Consultation: Schedule a Call
🛠 Step-by-Step SetupStep
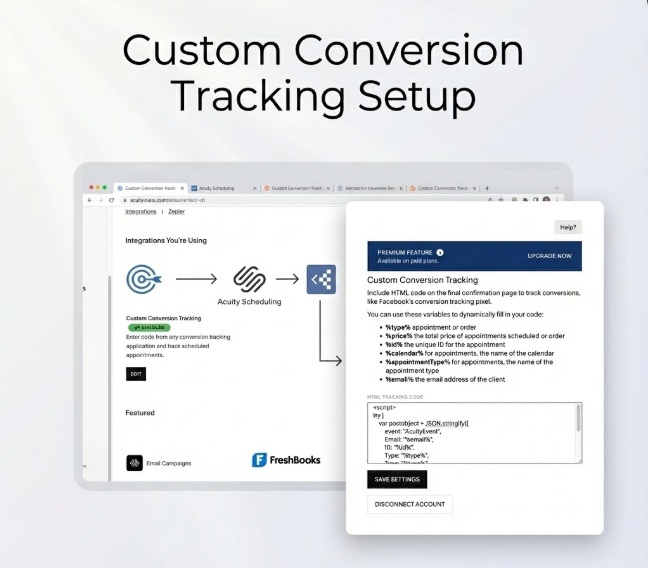
1: Configure Acuity Scheduling
- Access the Integration section within your Acuity Scheduling account.
- Choose Custom Conversion Tracking.
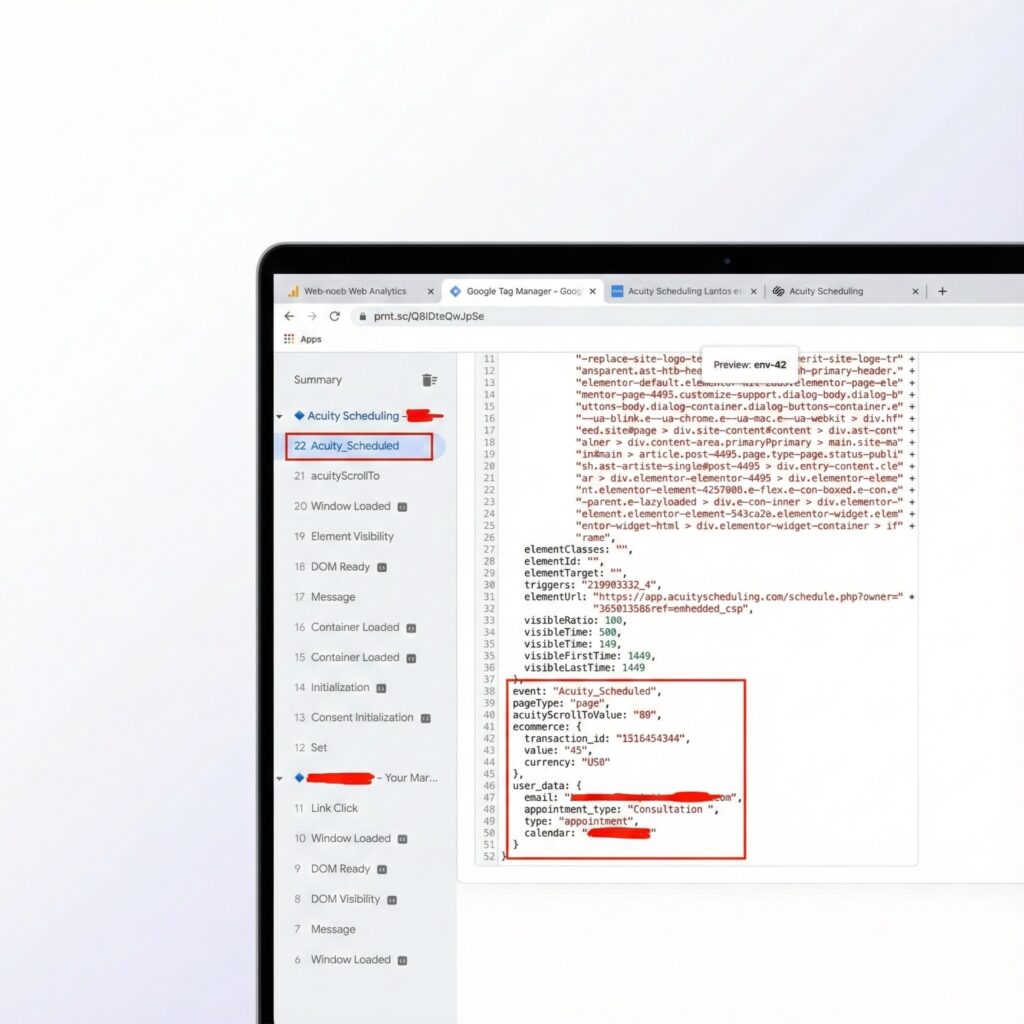
- Add a postMessage script. This script must be set up to transmit the booking data to the parent page and then push an event named Acuity_Scheduled to the Google Tag Manager (GTM) data layerAcuity Scheduling
Step 2: Google Tag Manager (GTM) Configuration
A. Create a Trigger
- Go to GTM → Triggers → New
- Choose Custom Event
- Event Name: Acuity_Scheduled
- Save the trigger.
B. Create Variables
- Data Layer Variable: ecommerce.value → Conversion Value
- Data Layer Variable: ecommerce.transaction_id → Transaction ID
- Data Layer Variable: ecommerce.currency → Currency
- Data Layer Variable: user_data.email → User Email
Step 3: Setting Up Google Ads Conversion Tracking
This step involves two main parts: creating the conversion action in Google Ads and setting up the corresponding tags in Google Tag Manager (GTM).
A. Configure Conversion Action in Google Ads
- Navigate to Conversions: Go to Google Ads → Tools & Settings → Goals → Conversions.
- Start New Action: Click the + New Conversion Action button, then select Website.
- Define Action Details:
- Set Counting Method:
- Finalize: Click Done, then Save and Continue.
B. Implement Tags in GTM
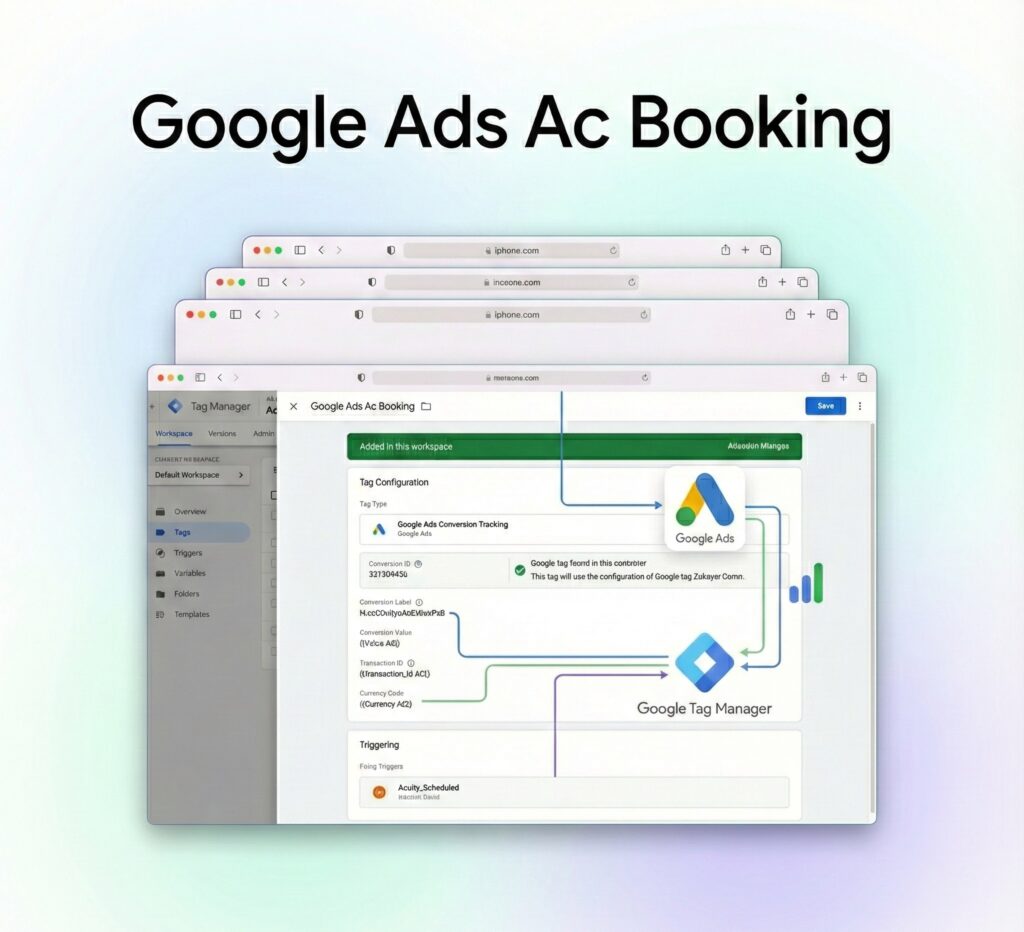
Google Ads Conversion Tracking Tag Setup:
- Use ID & Label: Input the Conversion ID and Conversion Label retrieved from the Google Ads conversion action setup.
- Map Variables: Assign appropriate GTM variables to track the conversion’s value, transaction ID, and currency.
C. Conversion Linker Tag
- Fire on All Pages.
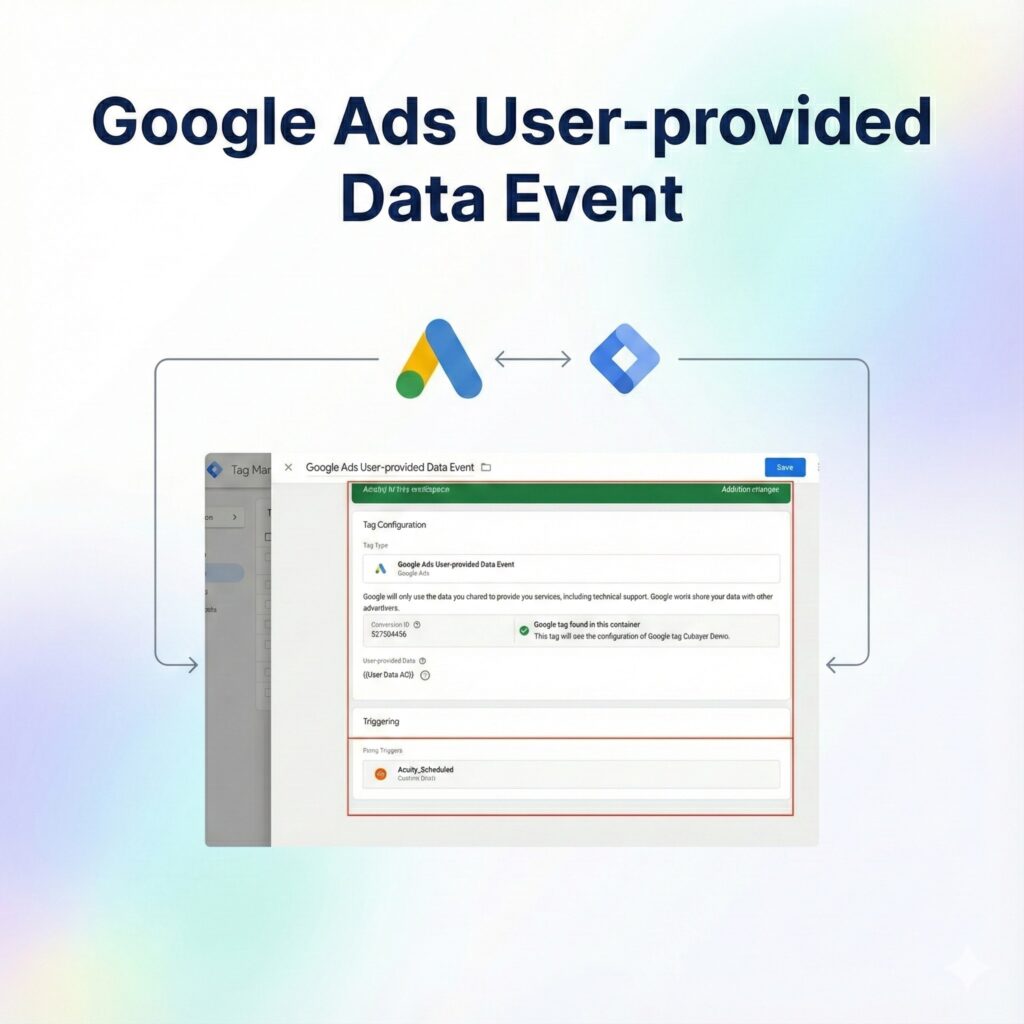
Step 4: Configure the Google Ads User-Provided Data Event Tag (Enhanced Conversions)
To set up the Enhanced Conversions tag:
- Navigate to Tags and select New.
- Name the tag “User-Provided Data Event Tag.”
- Choose Google Ads User-Provided Data Event Tag as the Tag Type.
- Input your specific Conversion ID.
- In the User Data field, select your existing variable that contains the email information (e.g., {{User Data}}).
- Set the Trigger to Acuity_Scheduled.
- Save the tag and publish the changes.
Step 5: Testing and Confirmation
- Initiate the setup test using Google Tag Manager (GTM) Preview Mode.
- Schedule a practice appointment on your website.
- Check the GTM debugger to verify that the Acuity_Scheduled event is correctly triggered, along with its associated data layer variables.
- Ensure that the Google Ads tags are firing as expected.
- Confirm the successful tracking by reviewing the Conversions section within Google Ads.
Summary and Next Steps
By following these steps, you have successfully configured Acuity Scheduling iFrame Conversion Tracking using Google Tag Manager (GTM) and Google Ads Enhanced Conversions. This implementation is crucial for capturing precise booking data, which enables more effective ad optimization and a higher return on investment (ROI).
Q1. Is GCLID required?
Yes. GCLID is essential for accurate Google Ads attribution. Enhanced Conversions improve matching, but without GCLID, click-based attribution and Smart Bidding optimization may fail or lose precision.
Q2. Does Acuity iframe work?
Yes. Acuity Scheduling works inside an iframe. Tracking is handled using confirmation page visibility or DOM-based listeners rather than direct form submit events.
Q3. Enhanced Conversions mandatory?
Not mandatory, but strongly recommended. Enhanced Conversions improve conversion match rate using hashed first-party user data, especially in cookieless and consent-restricted environments.
Q4. Conversion Linker required?
Yes. Conversion Linker ensures GCLID, gbraid, and wbraid are stored correctly. Without it, Google Ads conversion attribution may break.
Q5. Thank-you page needed?
Recommended. A dedicated booking confirmation page provides the most reliable trigger for firing Google Ads and Enhanced Conversion tags.
Q6. Can GA4 track same event?
Yes. The same booking event can trigger both GA4 and Google Ads tags simultaneously without duplication issues.
Q7. GDPR compliant setup?
Yes. When combined with Consent Mode v2, Enhanced Conversions remain privacy-safe and compliant with GDPR and other data regulations.
Q8. Server-side tracking supported?
Yes. This setup can be extended to server-side GTM using Stape.io for improved data accuracy and first-party signal control.
Q9. Multiple calendars supported?
Yes. You can track multiple Acuity calendars by using unique page URLs, event conditions, or booking confirmation selectors.
Q10. Works with Smart Bidding?
Yes. Enhanced Conversions improve Smart Bidding by sending higher-quality conversion signals back to Google Ads.
 Need Help Advanced Tracking Setup?

2 Responses
Great! Thank you so much
Thank you