The Comprehensive Introduction
Why Your Ads Are Losing Money
Imagine this scenario: You are running a high-budget Google Ads campaign for a local service business—maybe a law firm, a dental clinic, or a real estate agency. You see the clicks rolling in. You see people filling out the contact forms on your landing pages.
But then, silence.
You know that your sales team is closing deals on the phone. You know that those leads from the website are turning into paying customers weeks later. But when you look at your Google Ads dashboard, it shows… nothing. Or maybe it shows “10 Leads,” but it doesn’t tell you which of those 10 leads actually bought the $5,000 package and which ones were just kicking tires.
This is the “Offline Black Box.”
If you are only tracking “form submissions” as conversions, you are lying to Google’s algorithm. You are telling Google, “Hey, getting a form fill is the goal!” So, Google goes out and finds you more people who love filling out forms but never buy anything.
You are training the Artificial Intelligence (AI) to waste your money.
The “Context”: What is Offline Conversion Tracking?
Offline Conversion Tracking is the process of closing the loop. It connects the dots between the ad click that happened online and the sale that happened offline (or later in your CRM).
Think of it like a digital receipt.
- The Click: When someone clicks your ad, Google gives them a unique ID tag called a GCLID (Google Click ID). Think of this like a ticket number at a deli counter.
- The Capture: When that person fills out a form on your GoHighLevel (GHL) page, we need to grab that ticket number (GCLID) and save it in their contact profile.
- The Sale: Two weeks later, when your sales rep marks that lead as “WON” in GoHighLevel, the system takes that ticket number and sends it back to Google.
- The Match: Google looks up the ticket number, sees which ad the person clicked, and says, “Aha! This specific keyword created a $5,000 sale!”
In this guide, we are going to build this exact system. We will use Google Tag Manager (GTM) to capture the GCLID, GoHighLevel to store it and report the sale, and Cookiebot to ensure we are doing it legally with Google Consent Mode V2.
The Strategic Importance: Why You Must Set This Up
You might be thinking, “This sounds complicated. Can’t I just stick to tracking page views?”
No. In 2024 and beyond, relying on simple page view tracking is a death sentence for your ad budget. Here is why this specific setup is non-negotiable for serious marketers.
The Problem: The Data Disconnect
If you ignore offline tracking, you suffer from:
- Blind Bidding: You are bidding on keywords based on leads, not revenue. You might be spending $50 per lead on a keyword that generates zero sales, while ignoring a keyword that costs $100 per lead but closes 50% of the time.
- Bot Traffic: Bots love filling out forms. If you optimize for form fills, you invite bots. Offline tracking ignores bots because bots don’t buy.
- Long Sales Cycles: If your sales cycle takes 30 days, standard browser cookies might expire or get deleted. Offline tracking relies on the GCLID stored in your CRM, which lasts for 90 days.
The Solution: The GCLID Bridge
By building this bridge, you create a “Value-Based” bidding ecosystem. You stop paying for leads and start paying for customers.
The 5 Key Benefits
1. Better Algorithm Training (Smart Bidding)
Google’s Smart Bidding strategies (like Target ROAS or Maximize Conversion Value) thrive on data quality, not just quantity. When you feed actual revenue data back into Google Ads via GoHighLevel, you are essentially giving the AI a cheat sheet. It learns exactly who your paying customers are—their demographics, their search times, their devices—and goes out to find more of them.
2. Higher ROI/ROAS (Return on Ad Spend)
This is simple math. When you cut budget from keywords that generate “trash leads” and double down on keywords that generate “closed deals,” your profitability explodes. We have seen clients increase their ROAS by 30-50% within 60 days just by switching to offline tracking.
3. Accurate Reporting (The Truth)
Marketing is often a blame game. Sales blames marketing for bad leads; marketing blames sales for not closing. Offline tracking eliminates this argument. You have a single source of truth. You can prove, with 100% certainty, that “Campaign A” generated $50,000 in revenue last month.
4. Audience Building (High-Value Lookalikes)
Once you push conversion data back to Google, you can create “Custom Segments” of people who have purchased. You can then tell Google, “Find me more people who look like these buyers.” These Lookalike audiences are often the highest-performing audiences you can target.
5. Future Proofing (Privacy & Cookies)
Third-party cookies are dying. Browsers like Safari and Chrome are blocking them. Offline Conversion Tracking relies on First-Party Data (data you own in your CRM). It is not dependent on a fragile browser cookie staying alive. It is the most robust, future-proof way to track marketing performance in a privacy-first world.
Prerequisites & Checklist
Before we dive into the technical implementation, you need to gather your tools. This is an advanced setup, so ensure you have admin access to everything.
Required Access:
- Google Ads Account: Admin access to create Conversion Actions and accept Terms of Service.
- Google Tag Manager (GTM): Publish access to the container installed on your landing pages.
- GoHighLevel (GHL) Account: Admin access to your sub-account (Location level). You need to be able to edit Forms, Custom Fields, and Integrations.
- Cookiebot Account: Access to your Cookiebot dashboard to get the Domain Group ID for Consent Mode V2.
- Website Access: You need to be able to add the GTM container code to your website or funnel builder.
Required Tools:
- Google Chrome Browser: For using debugging extensions.
- Google Tag Assistant Extension: To verify GTM tags.
- GTM Preview Mode: The built-in debugger in Tag Manager.
Step-by-Step Implementation
We are going to break this massive project down into four logical phases. Do not skip steps. Accuracy is everything here.
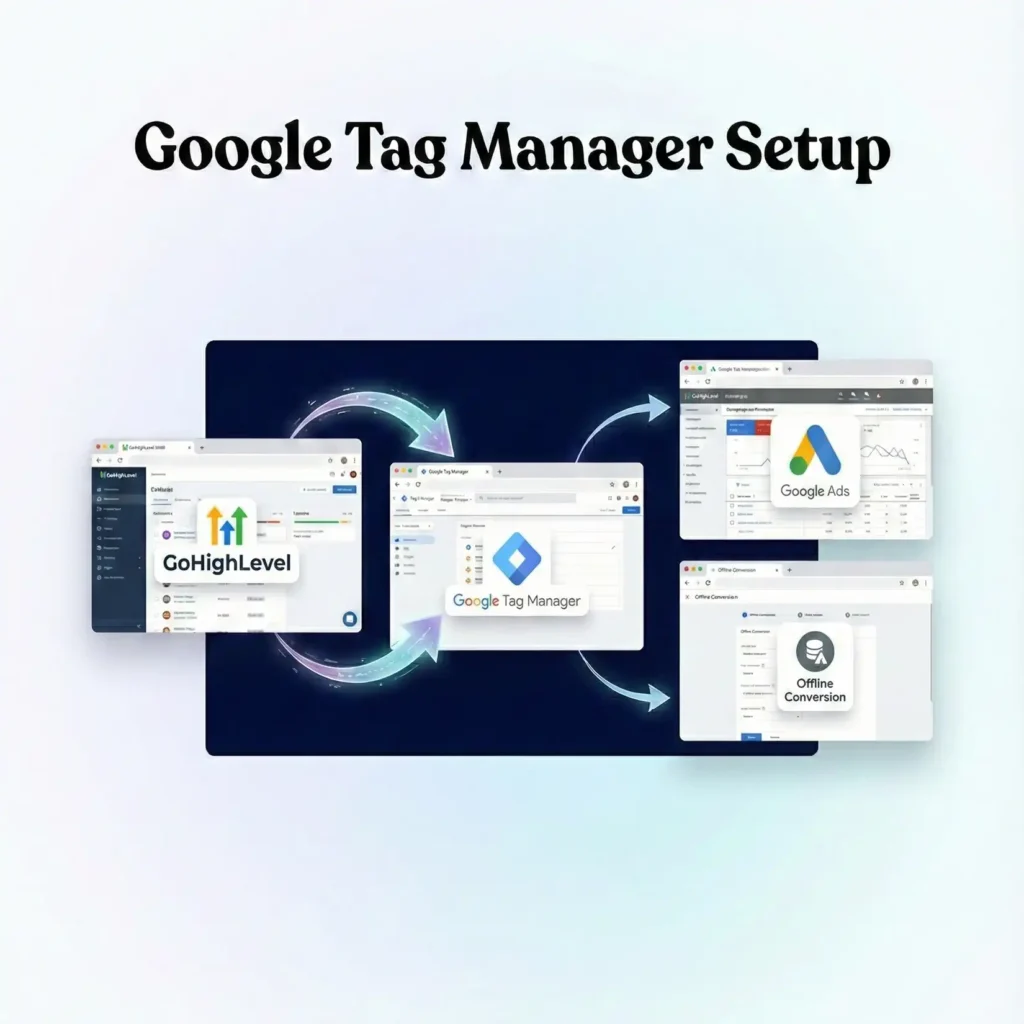
Phase 1: Google Tag Manager Setup
First, we need to prepare our “bucket” (GTM) to catch the data. We also need to ensure we are compliant with data privacy laws using Cookiebot.
Step 1.1: The Conversion Linker Tag
The Conversion Linker is critical. It detects ad click information in your URL (the GCLID) and stores it in a first-party cookie on your domain. Without this, you cannot track anything.
- Open Google Tag Manager.
- Click Tags in the left menu.
- Click New.
- Name: Google – Conversion Linker.
- Tag Configuration: Select Conversion Linker.
- Triggering: Select All Pages.
- Click Save.
Step 1.2: Create the GCLID Variable
We need GTM to be able to “read” the GCLID from the URL bar when a user lands on your site.
- Click Variables in the left menu.
- Scroll down to User-Defined Variables and click New.
- Name: URL – GCLID.
- Variable Type: Select URL.
- Component Type: Select Query.
- Query Key: Type gclid (must be all lowercase).
- Click Save.
Explanation: This variable tells GTM to look at the website address. If it sees ?gclid=abc123xyz, it grabs that code (abc123xyz) and holds it, ready to be used.
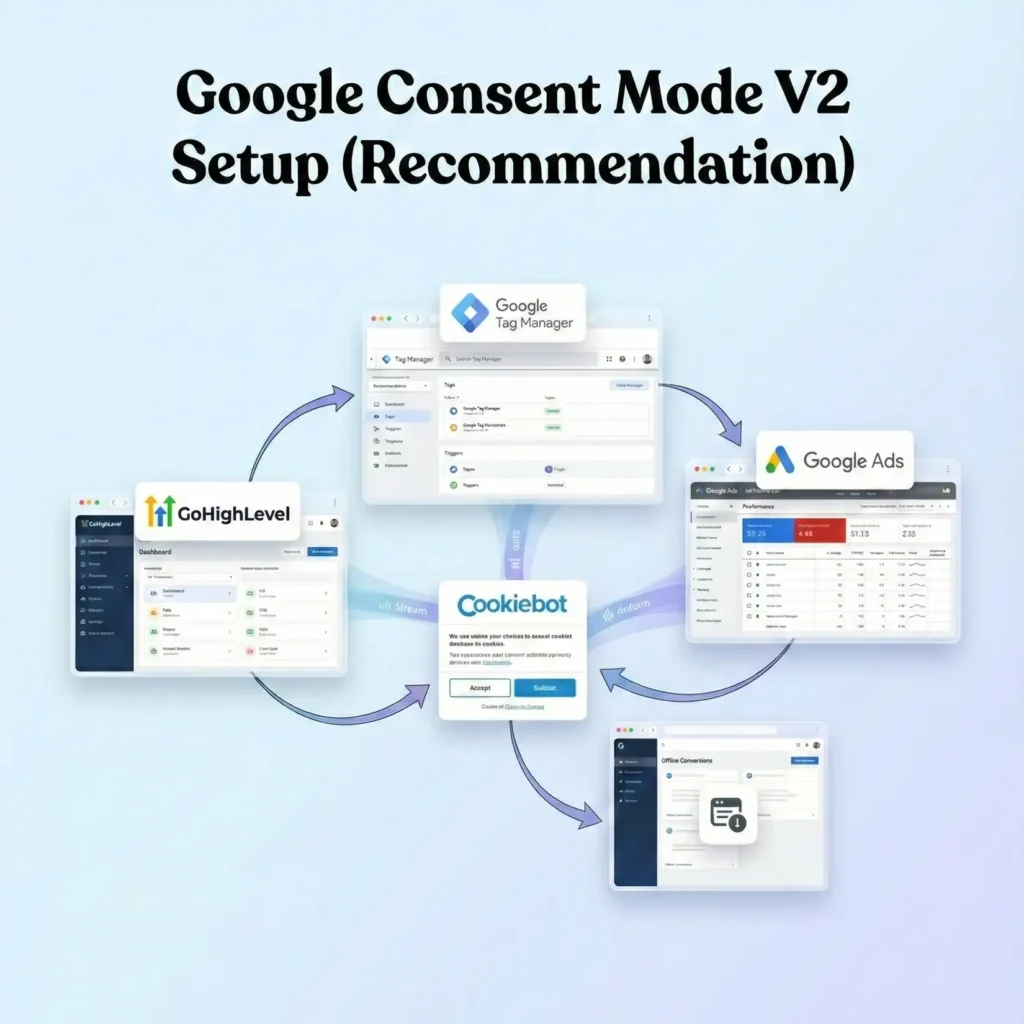
Phase 2: Google Consent Mode V2 Setup (Recommendation)
We must respect user privacy. We will use Cookiebot as our Consent Management Platform (CMP). This ensures that if a user says “No” to tracking, we don’t illegally harvest their data, but we can still send anonymous signals to Google to model the data.
Step 2.1: Add the Cookiebot Template
- In GTM, go to Templates on the left.
- In the Tag Templates section, click Search Gallery.
- Search for Cookiebot CMP.
- Select the official template by Cookiebot.
- Click Add to workspace and confirm.
Step 2.2: Configure the Cookiebot Tag
- Go to Tags > New.
- Name: CMP – Cookiebot Consent Mode V2.
- Tag Configuration: Select the Cookiebot CMP template you just added.
- Cookiebot ID: Paste your Domain Group ID from your Cookiebot account settings.
- Enable Google Consent Mode: Check this box. This is crucial for V2 compliance.
- Default Consent State:
- Ad Storage: Denied
- Analytics Storage: Denied
- Ad User Data: Denied
- Ad Personalization: Denied
- Why Denied? We must assume the user says “No” until they explicitly click “Accept” on your banner.
- Triggering:
- Click the trigger icon.
- Select Consent Initialization – All Pages.
- Note: Do NOT use “All Pages.” This tag must fire before everything else to set the rules.
- Click Save.
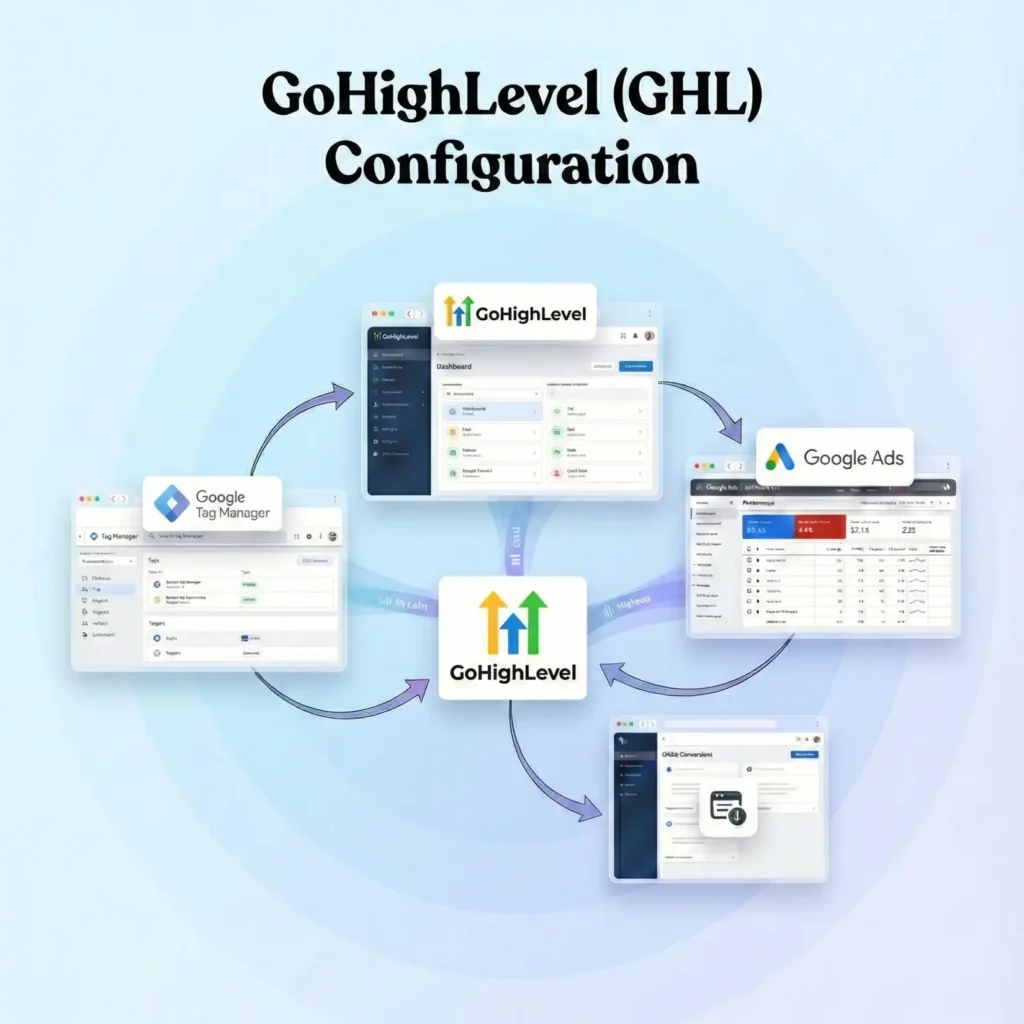
Phase 3: GoHighLevel (GHL) Configuration
Now we need to prepare GoHighLevel to receive this GCLID ticket number. By default, GHL doesn’t know what a GCLID is. We have to teach it.
Step 3.1: Create a Custom Field
- Log into your GoHighLevel sub-account.
- Go to Settings (bottom left).
- Click Custom Fields.
- Click Add Field.
- Type: Select Text Input (Single Line).
- Name: GCLID (Make it easy to recognize).
- Object: Contact.
- Click Save.
- Copy the Field Key: Once saved, look for the “Field Key” or “ID”. It usually looks like contact.gclid or a long string of numbers. Write this down.
Step 3.2: Update Your GHL Forms
We need to add this new field to every form you use for ads. But we don’t want the user to see it. It needs to be invisible.
- Go to Sites > Forms > Builder.
- Open your Lead Gen form.
- Click the + (Add Element) button.
- Find your Custom Fields list.
- Drag the GCLID field into your form.
- Make it Hidden: Click on the GCLID field in the form preview. In the right-hand settings panel, look for the Hidden option. Check it.
- Note: The field is now on the form, waiting for data, but the user cannot see it or edit it.
- Click Save Form.
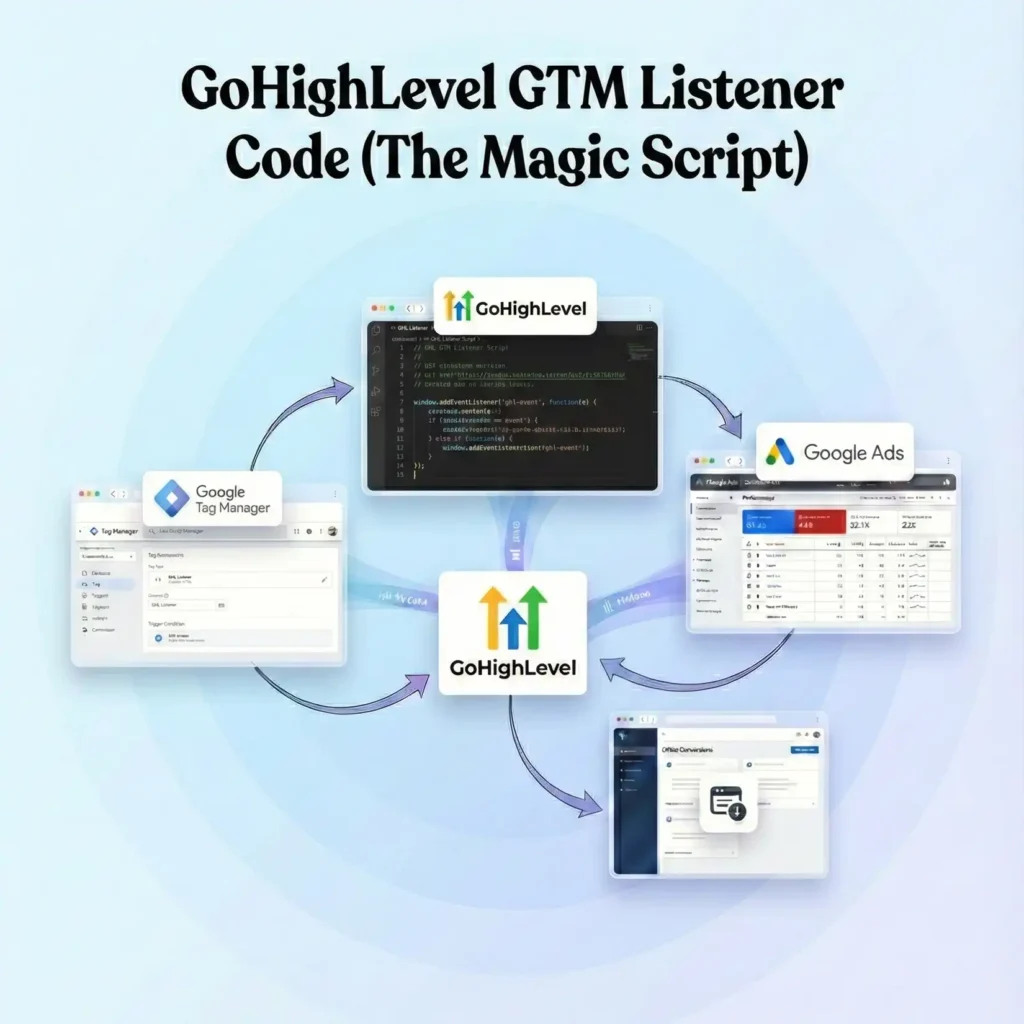
Phase 4: The Listener Code (The Magic Script)
This is the most technical part, but I will provide the exact code. Since GoHighLevel forms often load via an iframe or complex scripts, standard GTM triggers can struggle to “inject” the GCLID value into that hidden field.
We will use a JavaScript Listener that detects the GCLID in the URL and forces it into the hidden field on your form.
Step 4.1: Create the Auto-Populate Tag
- In GTM, go to Tags > New.
- Name: JS – Auto Populate GCLID.
- Tag Configuration: Select Custom HTML.
- The Code: Copy and paste the code below.
					<script>
  (function() {
    // 1. Get the GCLID from the URL
    var urlParams = new URLSearchParams(window.location.search);
    var gclid = urlParams.get('gclid');


    // 2. If GCLID exists, store it in Local Storage (Persistence)
    // This helps if the user clicks, browses 5 pages, and THEN fills the form.
    if (gclid) {
      localStorage.setItem('gclid', gclid);
    } else {
      // Try to retrieve from Local Storage if not in current URL
      gclid = localStorage.getItem('gclid');
    }


    // 3. Function to find the GHL Form Field and inject the value
    function populateGHLField() {
      if (!gclid) return; // Stop if no GCLID found


      // GHL often uses dynamic IDs, but Custom Fields usually have a specific name attribute
      // or class. Inspect your GHL form to find the exact selector if this fails.
      // Common selector for GHL Custom Fields is based on the Name we gave it.

      // Attempt 1: Look for input with name containing 'gclid' (case insensitive)
      var inputs = document.querySelectorAll('input[type="text"], input[type="hidden"]');

      inputs.forEach(function(input) {
        // Check if the input's name or ID matches our custom field key
        // You might need to inspect your live form to see the specific ID GHL assigned
        // It often looks like "ghl_custom_field_key"
        if (input.name && input.name.toLowerCase().includes('gclid')) {
           input.value = gclid;
           // Trigger a change event so GHL recognizes the data entry
           var event = new Event('input', { bubbles: true });
           input.dispatchEvent(event);
        }
      });
    }


    // 4. Run the function immediately and on DOM changes (in case form loads late)
    populateGHLField();

    // Observer to watch for the form loading (since GHL forms often load via JS)
    var observer = new MutationObserver(function(mutations) {
      populateGHLField();
    });


    observer.observe(document.body, {
      childList: true,
      subtree: true
    });


  })();
</script>
Explanation of the Code:
- Storage: The script first checks the URL. If it finds ?gclid=…, it saves it to the browser’s Local Storage. This is vital. If a user clicks your ad, lands on the “Home” page, clicks “About Us,” and then clicks “Contact,” the GCLID is gone from the URL. Local Storage remembers it for us.
- Injection: The script scans the page for any input field that has “gclid” in its name.
- Observer: GoHighLevel forms can be slow to load. They might appear 2 seconds after the page loads. The MutationObserver keeps watching the page. As soon as the form appears, the script pounces and injects the code.
Step 4.2: Trigger the Tag
- Scroll down to Triggering.
- Select All Pages (or specific landing pages).
- Click Save.
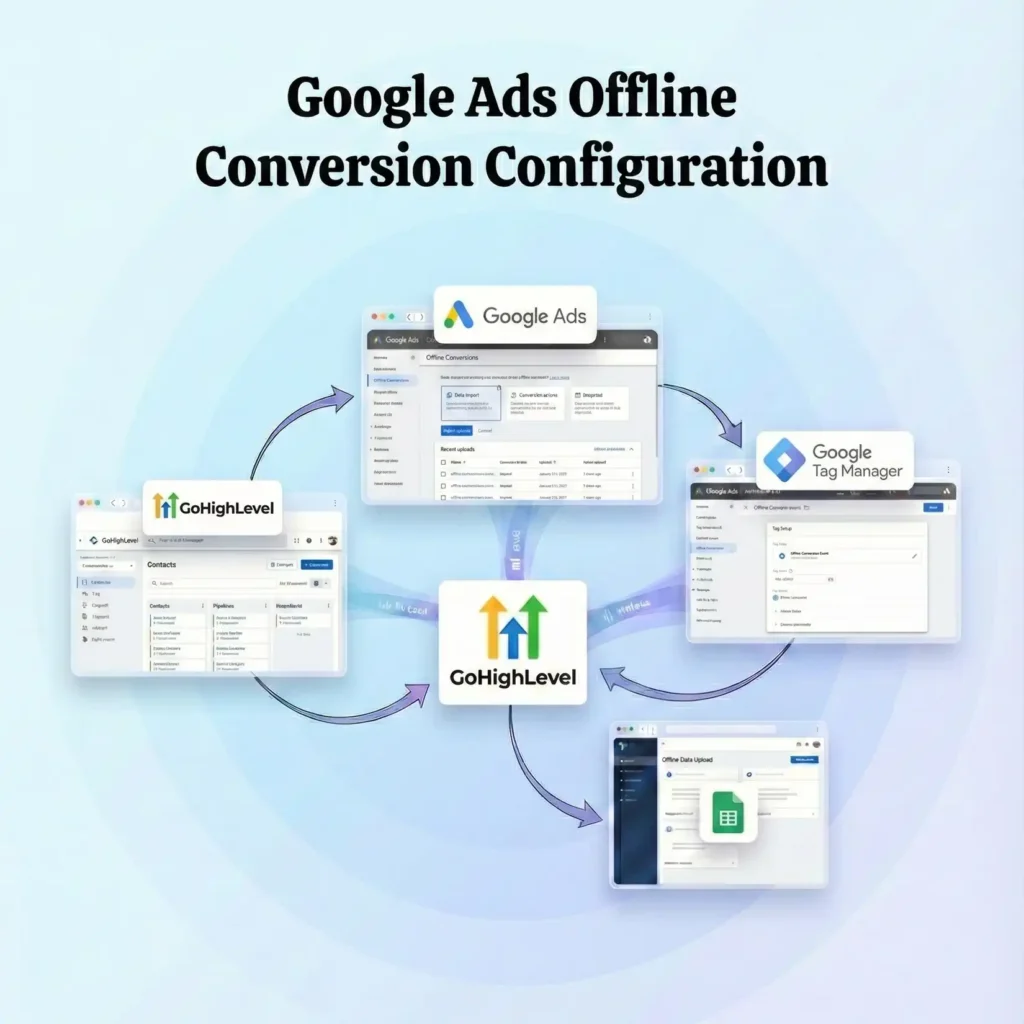
Phase 5: Google Ads Offline Conversion Configuration
Now that we are capturing the data, we need to build the destination in Google Ads where this data will be sent.
Step 5.1: Create the Conversion Action
- Log into Google Ads.
- Go to Goals > Conversions > Summary.
- Click + New Conversion Action.
- Select Import.
- Select CRMs, files, or other data sources.
- Select Track conversions from clicks.
- Click Continue.
Step 5.2: Configure the Details
- Goal and Action Optimization: Select a category like “Lead” or “Qualified Lead” or “Purchase” (depending on what stage you are tracking).
- Conversion Name: Give it a strict, clear name. Example: GHL – Offline – Sale.
- Value: Use “Use different values for each conversion” (if your sales value varies) or a static value.
- Count: Select Every (if tracking sales) or One (if tracking leads).
- Click-through conversion window: Set to 90 days. This gives your sales team 3 months to close the deal and still attribute it to the ad.
- Attribution: Data-driven.
- Click Create and Continue.
- Import Method: You can leave this for now; we will connect via GHL directly.
- Click Done.
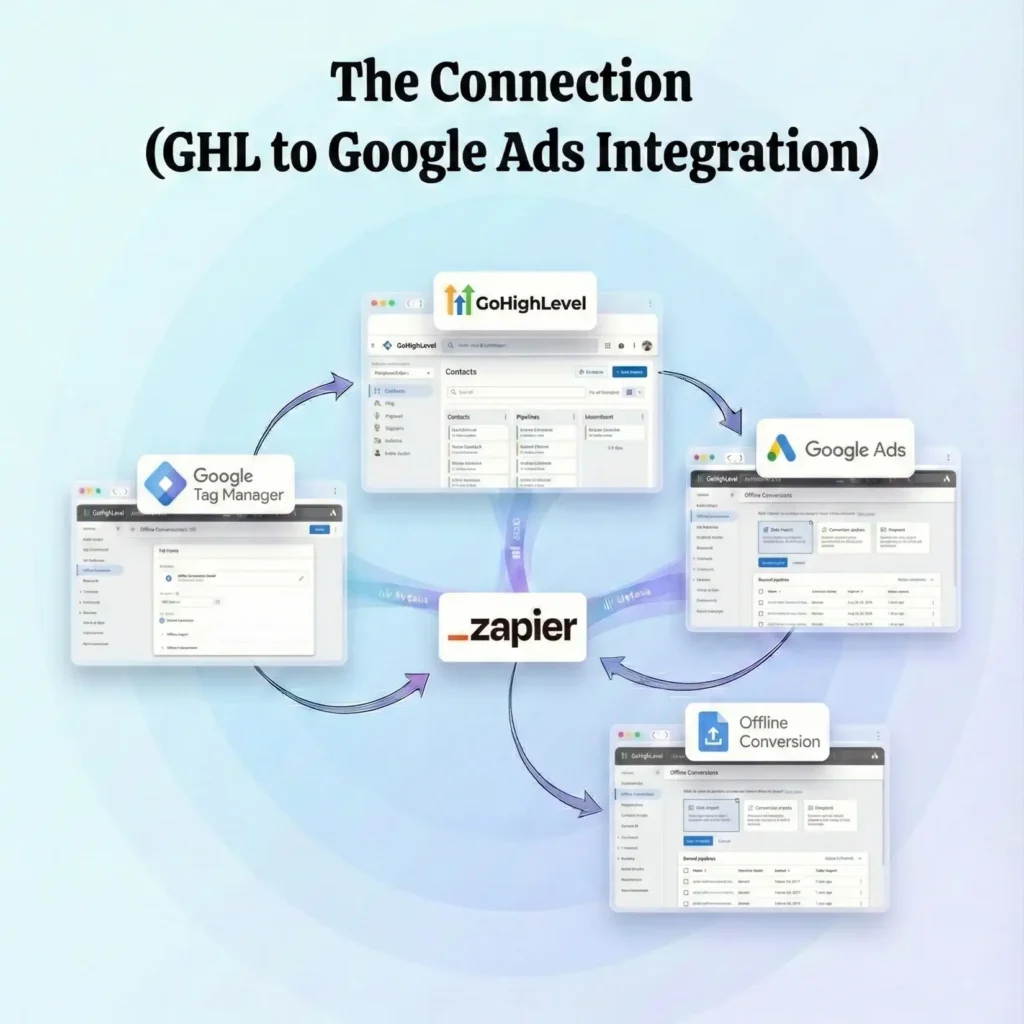
Phase 6: The Connection (GHL to Google Ads Integration)
GoHighLevel has a native integration that simplifies the final step. We don’t need Zapier or complex APIs for the basic upload; GHL can handle it.
Step 6.1: Connect Google Account
- In GoHighLevel, go to Settings > Integrations.
- Find Google.
- Click Sign in with Google.
- Select the Google Account that has admin access to your Google Ads account.
- Allow all permissions.
- Once connected, select your specific Google Ads Account from the dropdown menu.
Step 6.2: Configure Google Ad Reporting
- In GHL Settings, go to Google Ad Reporting (might be under “Reputation” or separate tab depending on GHL update version).
- Usually, the integration setup in Step 6.1 is sufficient for the data flow, but we need an automation to trigger the upload.
Step 6.3: Create the Automation Workflow
This is the engine that sends the data back to Google.
- Go to Automation > Workflows.
- Click Create Workflow > Start from Scratch.
- Trigger: Choose the event that signifies a “Win.”
- Example: Opportunity Status Changed.
- Filter: Status is Won.
- Action: Click the + to add an action.
- Search for Google Ads.
- Select Add to Google AdWords (or “Upload Conversion”).
- Conversion Action: Select the conversion action you created in Phase 5 (GHL – Offline – Sale).
- GCLID: Select the Custom Field you created (GCLID).
- Conversion Value: You can map this to the “Lead Value” field in GHL.
- Publish and Save the workflow.
What just happened? When a sales rep moves a contact to “Won,” this workflow fires. It grabs the GCLID we saved in the hidden field, grabs the dollar value, and pushes it directly into Google Ads API matching the conversion action we created.
Testing & Validation (Deep Dive)
Do not assume this works. Test it rigorously.
Step 1: Test GCLID Capture
- Open your landing page in a new Chrome tab.
- Manually add a fake GCLID to the URL: www.yourwebsite.com/?gclid=Test_GCLID_123.
- Hit Enter.
- Right-click on your page and select Inspect.
- Go to the Application tab > Local Storage.
- Look for the key gclid. Does it have the value Test_GCLID_123?
- Yes: The persistence script works.
- No: Check your GTM script triggers.
Step 2: Test Form Submission
- Fill out the form on that same page.
- Submit it.
- Log into GoHighLevel.
- Find your new contact record.
- Look at the Additional Info or Custom Fields section.
- Do you see Test_GCLID_123 in the GCLID field?
- Yes: The injection script works. You have successfully captured the ID.
- No: The script couldn’t find the input field. Inspect your form code to check the input ID/Name attribute and adjust the script in Phase 4.
Step 3: Test the Upload (Caution)
You cannot easily “test” the upload to Google Ads with a fake GCLID because Google will reject it (invalid format). However, you can check the Workflow History in GHL.
- Manually move your test contact to “Won.”
- Check the Workflow History.
- Did the “Add to Google AdWords” step execute successfully?
- It might fail with “Invalid GCLID,” which is actually a good sign—it means it tried to send it. If it says “Success,” excellent.
Troubleshooting & Common Mistakes
Even pros get stuck here. Watch out for these pitfalls.
1. The “24-Hour” Rule
Google Ads needs time to process a click. If you click an ad and immediately try to upload a conversion for that GCLID (within minutes), Google might reject it because the click hasn’t “settled” in their backend yet.
- Fix: Ensure your automation doesn’t fire instantly after submission. Usually, offline sales happen days later, so this isn’t an issue. But for testing, wait 24 hours before expecting data to populate.
2. Auto-Tagging is OFF
This system relies entirely on the GCLID. If your Google Ads account does not have Auto-Tagging turned on, no GCLID is generated.
- Fix: Go to Google Ads > Settings > Account Settings > Auto-tagging. Ensure the box “Tag the URL that people click through from my ad” is CHECKED.
3. Time Zone Mismatches
If your GoHighLevel account is in EST and your Google Ads account is in PST, the conversion timestamps might misalign, causing Google to reject the import or attribute it to the wrong day.
- Fix: Ensure both platforms are set to the same Time Zone. Ideally, align them both to the business’s local time.
4. Consent Mode Blocking
If a user denies cookies on the Cookiebot banner, the Conversion Linker tag might be blocked (depending on your configuration).
- Fix: While we want to respect privacy, GCLID is a URL parameter. Our script reads the URL directly. However, storing it in Local Storage might be considered “storage.” Ensure your JS – Auto Populate tag requires ad_storage consent if you want to be strictly GDPR compliant. If the user denies, you lose the tracking, which is the legal requirement.
Conclusion
You have just graduated from “Basic Lead Tracking” to “Enterprise Revenue Attribution.”
By implementing this system, you have bridged the gap between the digital ad click and the real-world sale. You are no longer optimizing for people who fill out forms; you are optimizing for people who open their wallets.
Summary of what you achieved:
- Captured the GCLID using advanced GTM scripts.
- Stored the GCLID in GoHighLevel securely.
- Automated the feedback loop to send revenue data back to Google.
- Complied with privacy laws using Consent Mode V2.
Your next step? Let this run for 30 days. Then, switch your Google Ads bidding strategy to Target ROAS. Watch as the AI starts ignoring the “tire kickers” and starts filling your pipeline with high-value clients.
1. Can I use this for Facebook Ads too?
Yes. Facebook uses a fbclid. You can duplicate the GCLID process: create a variable for fbclid, a GHL custom field for FBCLID, and update the script to capture both. Then use the Facebook Conversions API (CAPI) in GHL to send it back.
2. What if the user calls instead of filling a form?
This setup tracks forms. To track calls, you need Call Tracking software (like CallRail) integrated with GHL. CallRail can capture the GCLID associated with the phone number displayed to the user and push it to GHL.
3. Does this work if I use a GHL Funnel instead of WordPress?
Yes, actually it is easier. If you use GHL Funnels, the forms are native. You still need the GTM container on the funnel page, but the “injection” script is very reliable on GHL hosted pages.
4. How long does the GCLID last?
A GCLID is valid for conversion import for 90 days. If your sales cycle is 6 months, you cannot attribute the sale back to the ad click.
5. Why is my Conversion Count lower in Google Ads than GHL?
Google Ads only counts conversions that resulted from an ad click. GHL counts all sales (organic, referral, direct). The numbers should never match 100%. Google Ads only claims credit for its own contribution.
6. Do I need Zapier?
With GoHighLevel’s current “Google Ads Reporting” and Workflow actions, you generally do not need Zapier for the basic GCLID upload. Native integration is faster and free.
7. Will this slow down my website?
The script provided is extremely lightweight (a few lines of JavaScript). It runs asynchronously. It will have zero noticeable impact on your page load speed.
8. What happens if I change my domain structure?
If you redirect users from ads.com to main.com, you must ensure the GCLID persists across the redirect. If the GCLID drops off the URL before the user lands on the page with GTM, tracking fails. Always check your redirects.
9. Can I track multiple conversion actions?
Yes. You can set up different Workflows in GHL. For example, “Deal Created” could send a “Qualified Lead” conversion to Google, and “Deal Won” sends a “Sale” conversion. This helps optimize for different stages of the funnel.
10. Is Enhanced Conversions different?
Yes. Enhanced Conversions (hashing email/phone) is a separate feature. While excellent, Offline Conversion Tracking (GCLID upload) is the “Gold Standard” for CRM sales. You should ideally use both for maximum data density.
 Need Help Advanced Tracking Setup?