Introduction
Imagine this scenario: You are running a successful Shopify store. You invest heavily in Google Ads to drive traffic. You can see visitors landing on your site, but your conversion numbers in Google Ads Manager look surprisingly low. You know sales are happening, but Google isn’t reporting them.
Why is this happening? The answer often lies in user privacy and cookie consent.
In the modern digital landscape, privacy laws like GDPR (Europe) and CCPA (California) require you to ask for permission before tracking users. When a user says “No” to cookies, traditional tracking stops completely. You lose the data. You lose the attribution. You fly blind.
But what if you could respect the user’s “No” while still getting valuable data for your ad algorithms?
That is exactly what Google Consent Mode v2 does. It acts as a sophisticated communication layer between your user’s consent choice (the cookie banner) and your tracking tags (Google Ads, GA4, and Facebook Pixel).
If a user denies consent, Consent Mode v2 ensures no cookies are stored, but it allows your tags to send “pings”—anonymous signals that tell the platforms, “Hey, a conversion happened here, but we can’t track the user details.”
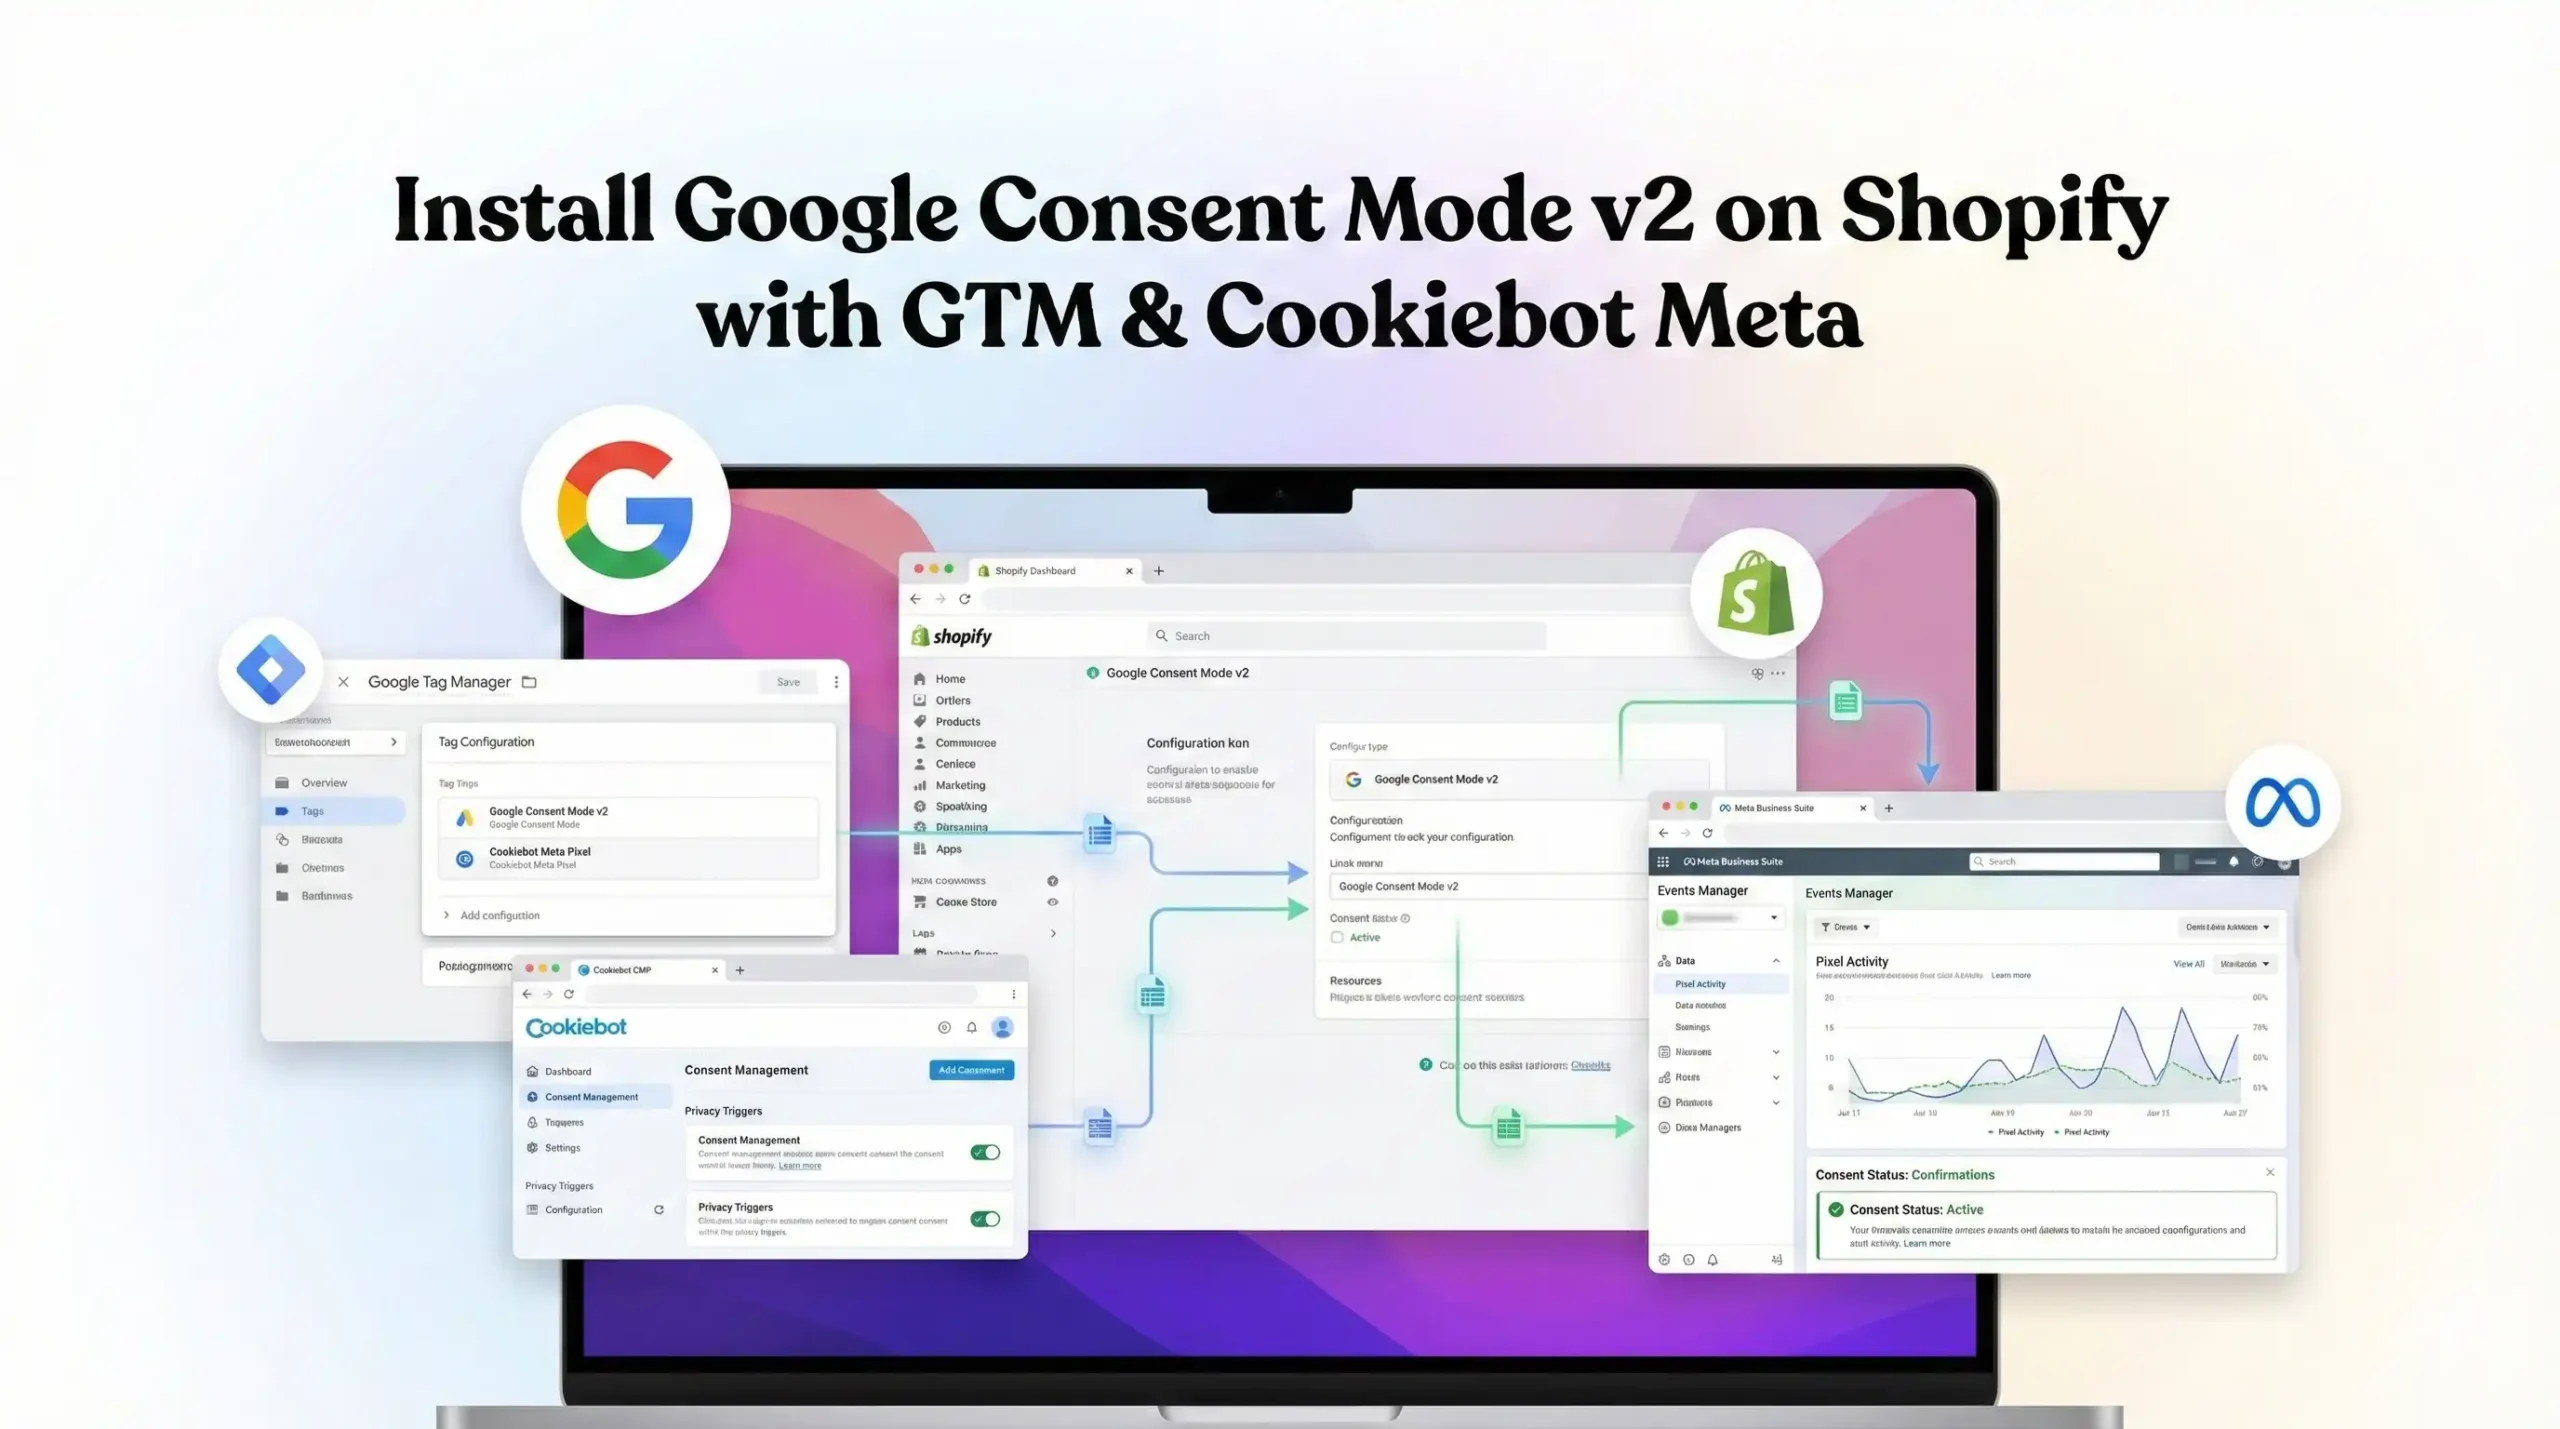
This guide is the ultimate playbook. We will walk through exactly how to set up Google Consent Mode v2 on your Shopify store using Google Tag Manager (GTM) and Cookiebot CMP. We will also specifically focus on how to ensure your Google Ads tracking respects these rules so you stay compliant without destroying your ad performance.
Why You Must Set This Up
Ignoring Consent Mode v2 is not just a compliance risk; it is a business risk. If you operate in the European Economic Area (EEA) or the UK, Google has made Consent Mode v2 mandatory for using audience building and remarketing features.
The Problem: The "Data Blackout"
Without Consent Mode, when a user declines cookies, your tracking tags usually don’t fire at all.
- Zero Visibility: You lose 100% of the data for that user.
- Broken Algorithms: Google’s smart bidding algorithms rely on data to find more customers. Starving them of data makes them stupid and inefficient.
- Legal Risk: Firing tags without consent is a violation of GDPR, exposing you to massive fines.
The Solution: Intelligent Modeling
Consent Mode v2 bridges the gap. It introduces two new parameters: ad_user_data and ad_personalization.
- Consented Users: Everything works normally. Full tracking.
- Unconsented Users: Tags run in “Advanced Mode.” They send anonymous pings. Google uses these pings to “model” conversions, recovering nearly 65% of the data you would otherwise lose.
The 5 Key Benefits for Google Ads
1. Better Algorithm Training (Smart Bidding)
Google’s ad delivery system is an AI. It needs data points to learn who buys your products. Even anonymous data points (from unconsented users) help the AI understand the volume and context of conversions, preventing the algorithm from crashing due to a lack of signals.
2. Higher ROI and ROAS
When you recover data through modeling, your reported conversions go up. This means your Cost Per Acquisition (CPA) goes down, and your Return on Ad Spend (ROAS) looks healthier. You aren’t “faking” numbers; you are simply seeing the sales that were previously invisible.
3. Accurate Reporting (The “Real” Numbers)
You need to know if your ads are actually working. Consent Mode ensures your reports in Google Ads Manager reflect reality more closely, rather than showing a huge gap between your Shopify backend sales and your ad reports.
4. Audience Building (Compliant Retargeting)
To retarget users (e.g., “Add to Cart but didn’t buy”), you need explicit consent for ad_personalization. Consent Mode v2 communicates this permission status to Google, ensuring you only retarget people who actually said “Yes,” keeping you safe from privacy lawsuits.
5. Future-Proofing
Browser privacy controls are getting stricter (e.g., the death of third-party cookies). Consent Mode v2 relies on first-party signals and modeling, making your tracking infrastructure robust against future browser updates.
Prerequisites & Checklist
Before we dive into the technical setup, ensure you have the following access levels and tools ready.
Required Access:
- Shopify Admin Access: You need to be able to edit the theme.liquid file or use the “Customer Events” settings.
- Google Tag Manager (GTM): Admin access to your GTM container.
- Cookiebot Account: You need an active account. The free plan works for small sites (under 50 pages), but most e-commerce stores need a paid plan.
- Google Ads Account: Admin access to manage your Conversion Actions.
Required Tools:
- Google Tag Assistant (Extension): To debug GTM tags.
- GTM Preview Mode: The built-in debugger.
The “How-To Install ” (step by step)
We will break this down into four logical phases. We assume you already have a basic Google Tag Manager container created.
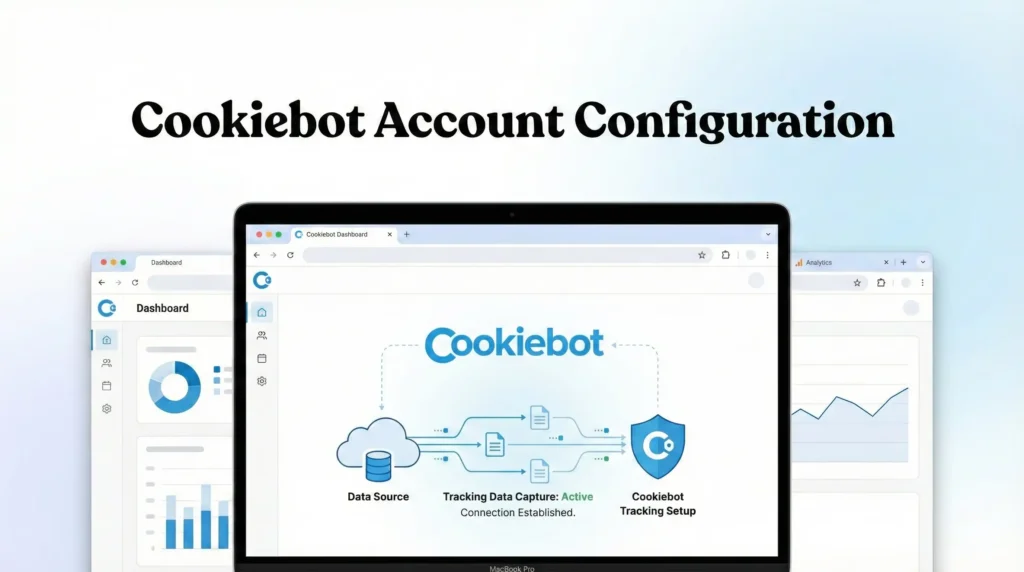
Phase 1: Cookiebot Account Configuration
First, we need to set up the rules in Cookiebot.
- Log in to your Cookiebot Admin panel.
- Add your Domain: Enter your Shopify domain (e.g., www.mystore.com).
- Get the Domain Group ID:
- Go to Settings > Domains.
- Look for the Domain Group ID at the top.
- Copy this ID. You will need it for GTM.
- Configure the Banner:
- Go to Dialog.
- Choose your template (e.g., “Swift” is good for mobile).
- Ensure the “Method” is set to Explicit Consent. This is required for GDPR.
- Save your settings.
Phase 2: Google Tag Manager Setup (The Engine)
This is where the magic happens. We will install the Cookiebot tag and configure Consent Mode.
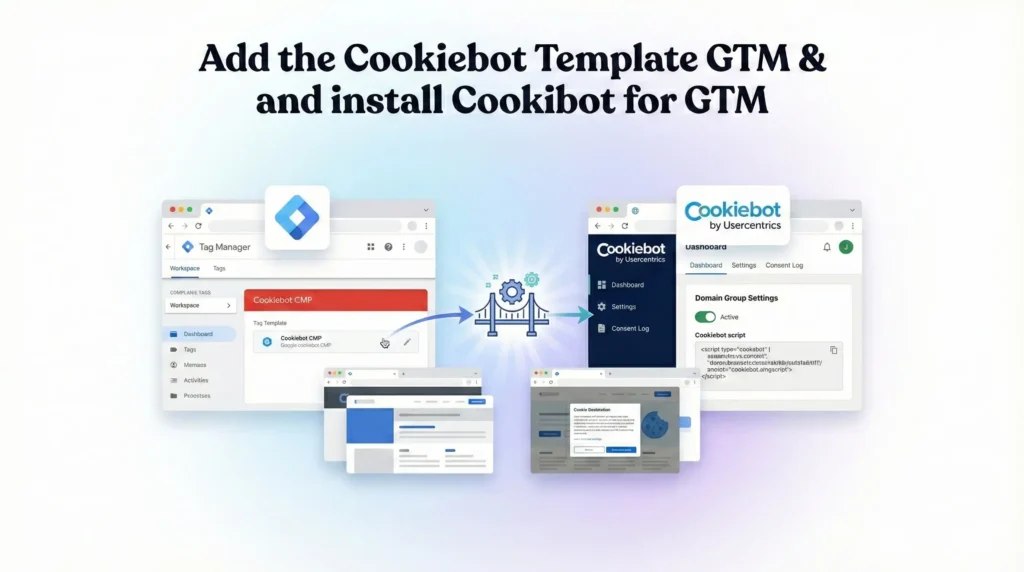
Step 2.1: Add the Cookiebot Template
We don’t want to write complex code. We will use the community-verified template.
- Open Google Tag Manager.
- Go to Templates on the left sidebar.
- In the Tag Templates section, click Search Gallery.
- Search for “Cookiebot CMP” (Author: Cookiebot).
- Click Add to workspace and confirm.
Step 2.2: Configure the Cookiebot Tag
This tag will handle the consent logic for the entire container.
- Go to Tags > New.
- Name: CMP – Cookiebot Consent Mode v2.
- Tag Configuration: Select the Cookiebot CMP template you just added.
- Cookiebot ID: Paste the Domain Group ID you copied in Phase 1.
- Enable Google Consent Mode: Ensure this checkbox is CHECKED. This is the critical step that activates v2.
- Default Consent State:
- Region: Leave blank to apply globally, or enter specific region codes (e.g., EU).
- Ad Storage: Denied.
- Analytics Storage: Denied.
- Ad User Data: Denied.
- Ad Personalization: Denied.
- Why Denied? We assume “No” until the user explicitly clicks “Yes.” This is the safest setting for compliance.
- Wait for Update: 500 milliseconds (Default).
- Triggering:
- Click the trigger area.
- DO NOT select “All Pages.”
- Select Consent Initialization – All Pages.
- Context: This specific trigger ensures the Cookiebot tag fires before anything else, setting the consent rules before other tags load.
- Click Save.
Phase 3: The Google Ads Configuration (Target Platform)
Now we need to configure the Google Ads tags to respect these consent signals.
For modern setups with Consent Mode v2 enabled in the Cookiebot tag, the Automatic way is preferred because GTM handles the logic.
Step 3.1: Create the Conversion Linker Tag
This tag is vital for accurate tracking across domains.
- Go to Tags > New.
- Name: Google – Conversion Linker.
- Tag Configuration: Select Conversion Linker.
- Settings: Leave default.
- Consent Settings: No additional consent required (GTM handles it).
- Triggering: All Pages.
- Click Save.
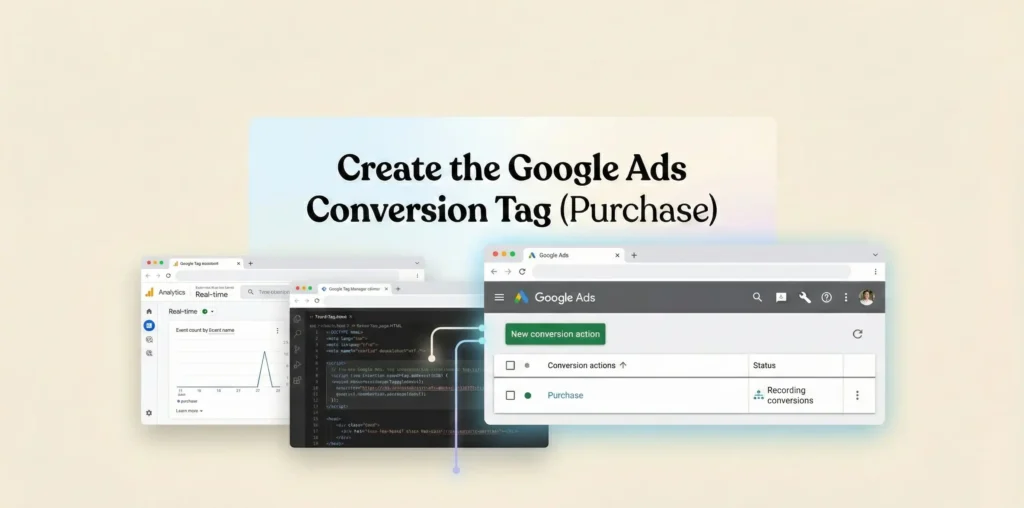
Step 3.2: Create the Google Ads Conversion Tag (Purchase)
We need to track when someone actually buys something.
- Go to Tags > New.
- Name: Google Ads – Conversion – Purchase.
- Tag Configuration: Select Google Ads Conversion Tracking.
- Conversion ID: Paste your ID from Google Ads.
- Conversion Label: Paste your Label from Google Ads.
- Conversion Value: {{Transaction Value}} (Requires GTM variable).
- Transaction ID: {{Transaction ID}} (Requires GTM variable).
- Currency Code: {{Currency Code}} (Requires GTM variable).
- Enhanced Conversions (Optional but Recommended):
- Check Include user-provided data from your website.
- Select your user-data variable (email, phone, etc.).
- Consent Settings: No additional consent required.
- Triggering:
- Create a trigger for Custom Event.
- Event Name: purchase (or whatever event your Shopify Data Layer uses).
- Click Save.
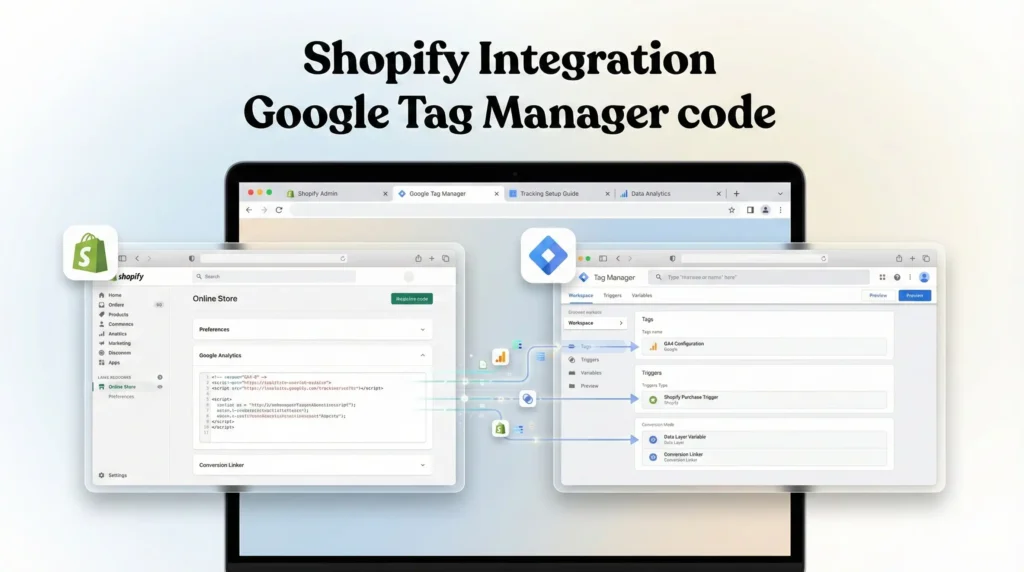
Phase 4: Shopify Integration
Finally, we need to put the GTM container code onto your Shopify site.
- Get GTM Snippets:
- In GTM, click your Container ID (e.g., GTM-XXXXXX) in the top bar.
- Copy the <head> code.
- Copy the <body> code.
- Go to Shopify Admin:
- Navigate to Online Store > Themes.
- Click the three dots (…) next to your active theme.
- Click Edit code.
- Edit theme.liquid:
- Find the <head> tag. Paste the GTM <head> snippet as high as possible, right after <head>.
- Find the <body> tag. Paste the GTM <body> snippet right after <body>.
- Save the file.
Testing & Validation (Deep Dive)
You cannot assume this works. You must verify that:
- The banner appears.
- Tags are blocked initially.
- Tags fire after consent.
- Consent Mode parameters (gcs) are sent.
Step 1: Launch GTM Preview Mode
- Click Preview in GTM.
- Enter your Shopify URL.
- Connect.
Step 2: Verify Default State (No Consent)
- When your site loads, DO NOT click anything on the banner yet.
- Look at the Tag Assistant tab.
- Click on the Consent tab (top of the timeline).
- You should see “On-page Default” set to Denied for everything.
- Look at your Google Ads Tags. They should NOT have fired fully (or sent pings if Advanced Mode is on).
Step 3: Verify Consented State
- Go to your site window.
- Click Allow All on the Cookiebot banner.
- Look at the Tag Assistant tab.
- You should see a “Consent” update event (often named cookie_consent_update or similar).
- Click the Consent tab again. The status should now be Granted.
- Your Google Ads tags should now have fired successfully.
Troubleshooting & Common Mistakes
1. Banner Not Showing
- Cause: You forgot to add the GTM code to theme.liquid in Shopify.
- Fix: Re-check Phase 4. Ensure the scripts are saved. Also, check if your Cookiebot plan covers the number of pages you have.
2. Tags Firing Before Consent
- Cause: You used the “All Pages” trigger for Cookiebot instead of “Consent Initialization.”
- Fix: Change the Cookiebot trigger to Consent Initialization – All Pages. This ensures it loads first to establish the “Denied” rules.
3. GCS Codes Missing
- Cause: Consent Mode checkbox not checked in the Cookiebot tag.
- Fix: Edit the Cookiebot tag in GTM and check Enable Google Consent Mode.
Conclusion
You have now successfully upgraded your Shopify store to a privacy-first, data-robust machine. By installing Google Consent Mode v2 with Cookiebot and Google Tag Manager, you have ensured compliance with global laws while protecting your marketing data.
You are no longer “flying blind” when users reject cookies. You are capturing valuable modeling signals that will keep your Google Ads algorithms smart and your ROI high.
Next Step: Publish your GTM container immediately. Then, monitor your Google Ads Manager for the next 7 days. You should see your “Conversion Status” remain active and your modeled data start to appear.
1. Is Consent Mode v2 mandatory for Shopify?
Yes, if you sell to customers in the EEA (European Economic Area) or the UK. Google requires Consent Mode v2 to use Google Ads remarketing and audience features. Without it, your ability to target these users will be suspended.
2. Can I use the free Cookiebot plan?
Only if your Shopify store has fewer than 50 pages. Remember, Shopify generates many pages (product pages, collections, tags, account pages). Most active stores exceed 50 pages quickly and will need the Premium plan.
3. Does this block Google Ads tags automatically?
Yes, if configured correctly in GTM. By setting the default consent state to “Denied” in the Cookiebot tag, GTM will automatically prevent the Google Ads tags from reading/writing cookies until the user grants consent.
4. What happens if a user declines cookies?
If a user declines, the Cookiebot tag keeps the consent status as “Denied.” The Google Ads tag may still fire (if Advanced Mode is on), but it will not store cookies. It sends an anonymous “ping” to Google, allowing for conversion modeling without tracking personal user data.
5. Do I need to code to set this up?
No, you do not need to be a developer. We used the Cookiebot Template in GTM, which handles the complex code for you. You only need to copy/paste your ID and adjust the settings menus.
6. Will this slow down my Shopify site?
Google Tag Manager loads asynchronously, meaning it shouldn’t block your page content. However, adding any third-party script (like Cookiebot) adds a small amount of load time. Using GTM is generally faster than hard-coding multiple scripts directly into your theme.
7. How do I verify if Consent Mode is active?
Use the Google Tag Assistant extension. Click on the “Consent” tab within the tool while browsing your site. You should see “GCS” codes (like G100, G111). If you see these codes changing when you accept/decline cookies, it is active.
8. Does this work for Google Analytics 4 (GA4)?
Yes, absolutely. The exact same Cookiebot tag and Consent Mode setup controls GA4. GTM automatically maps analytics_storage consent to your GA4 tags.
9. What is the "Consent Initialization" trigger?
This is a special trigger type in GTM designed specifically for CMPs (Consent Management Platforms). It fires before the standard “All Pages” trigger. This ensures that the consent rules are established before any tracking tags attempt to load.
10. Can I customize the Cookiebot banner design?
Yes, but you do that inside the Cookiebot Admin Panel, not in GTM. You can change colors, text, logo, and layout (e.g., popup vs. bottom bar) to match your Shopify store’s branding.
 Need Help Advanced Tracking Setup?