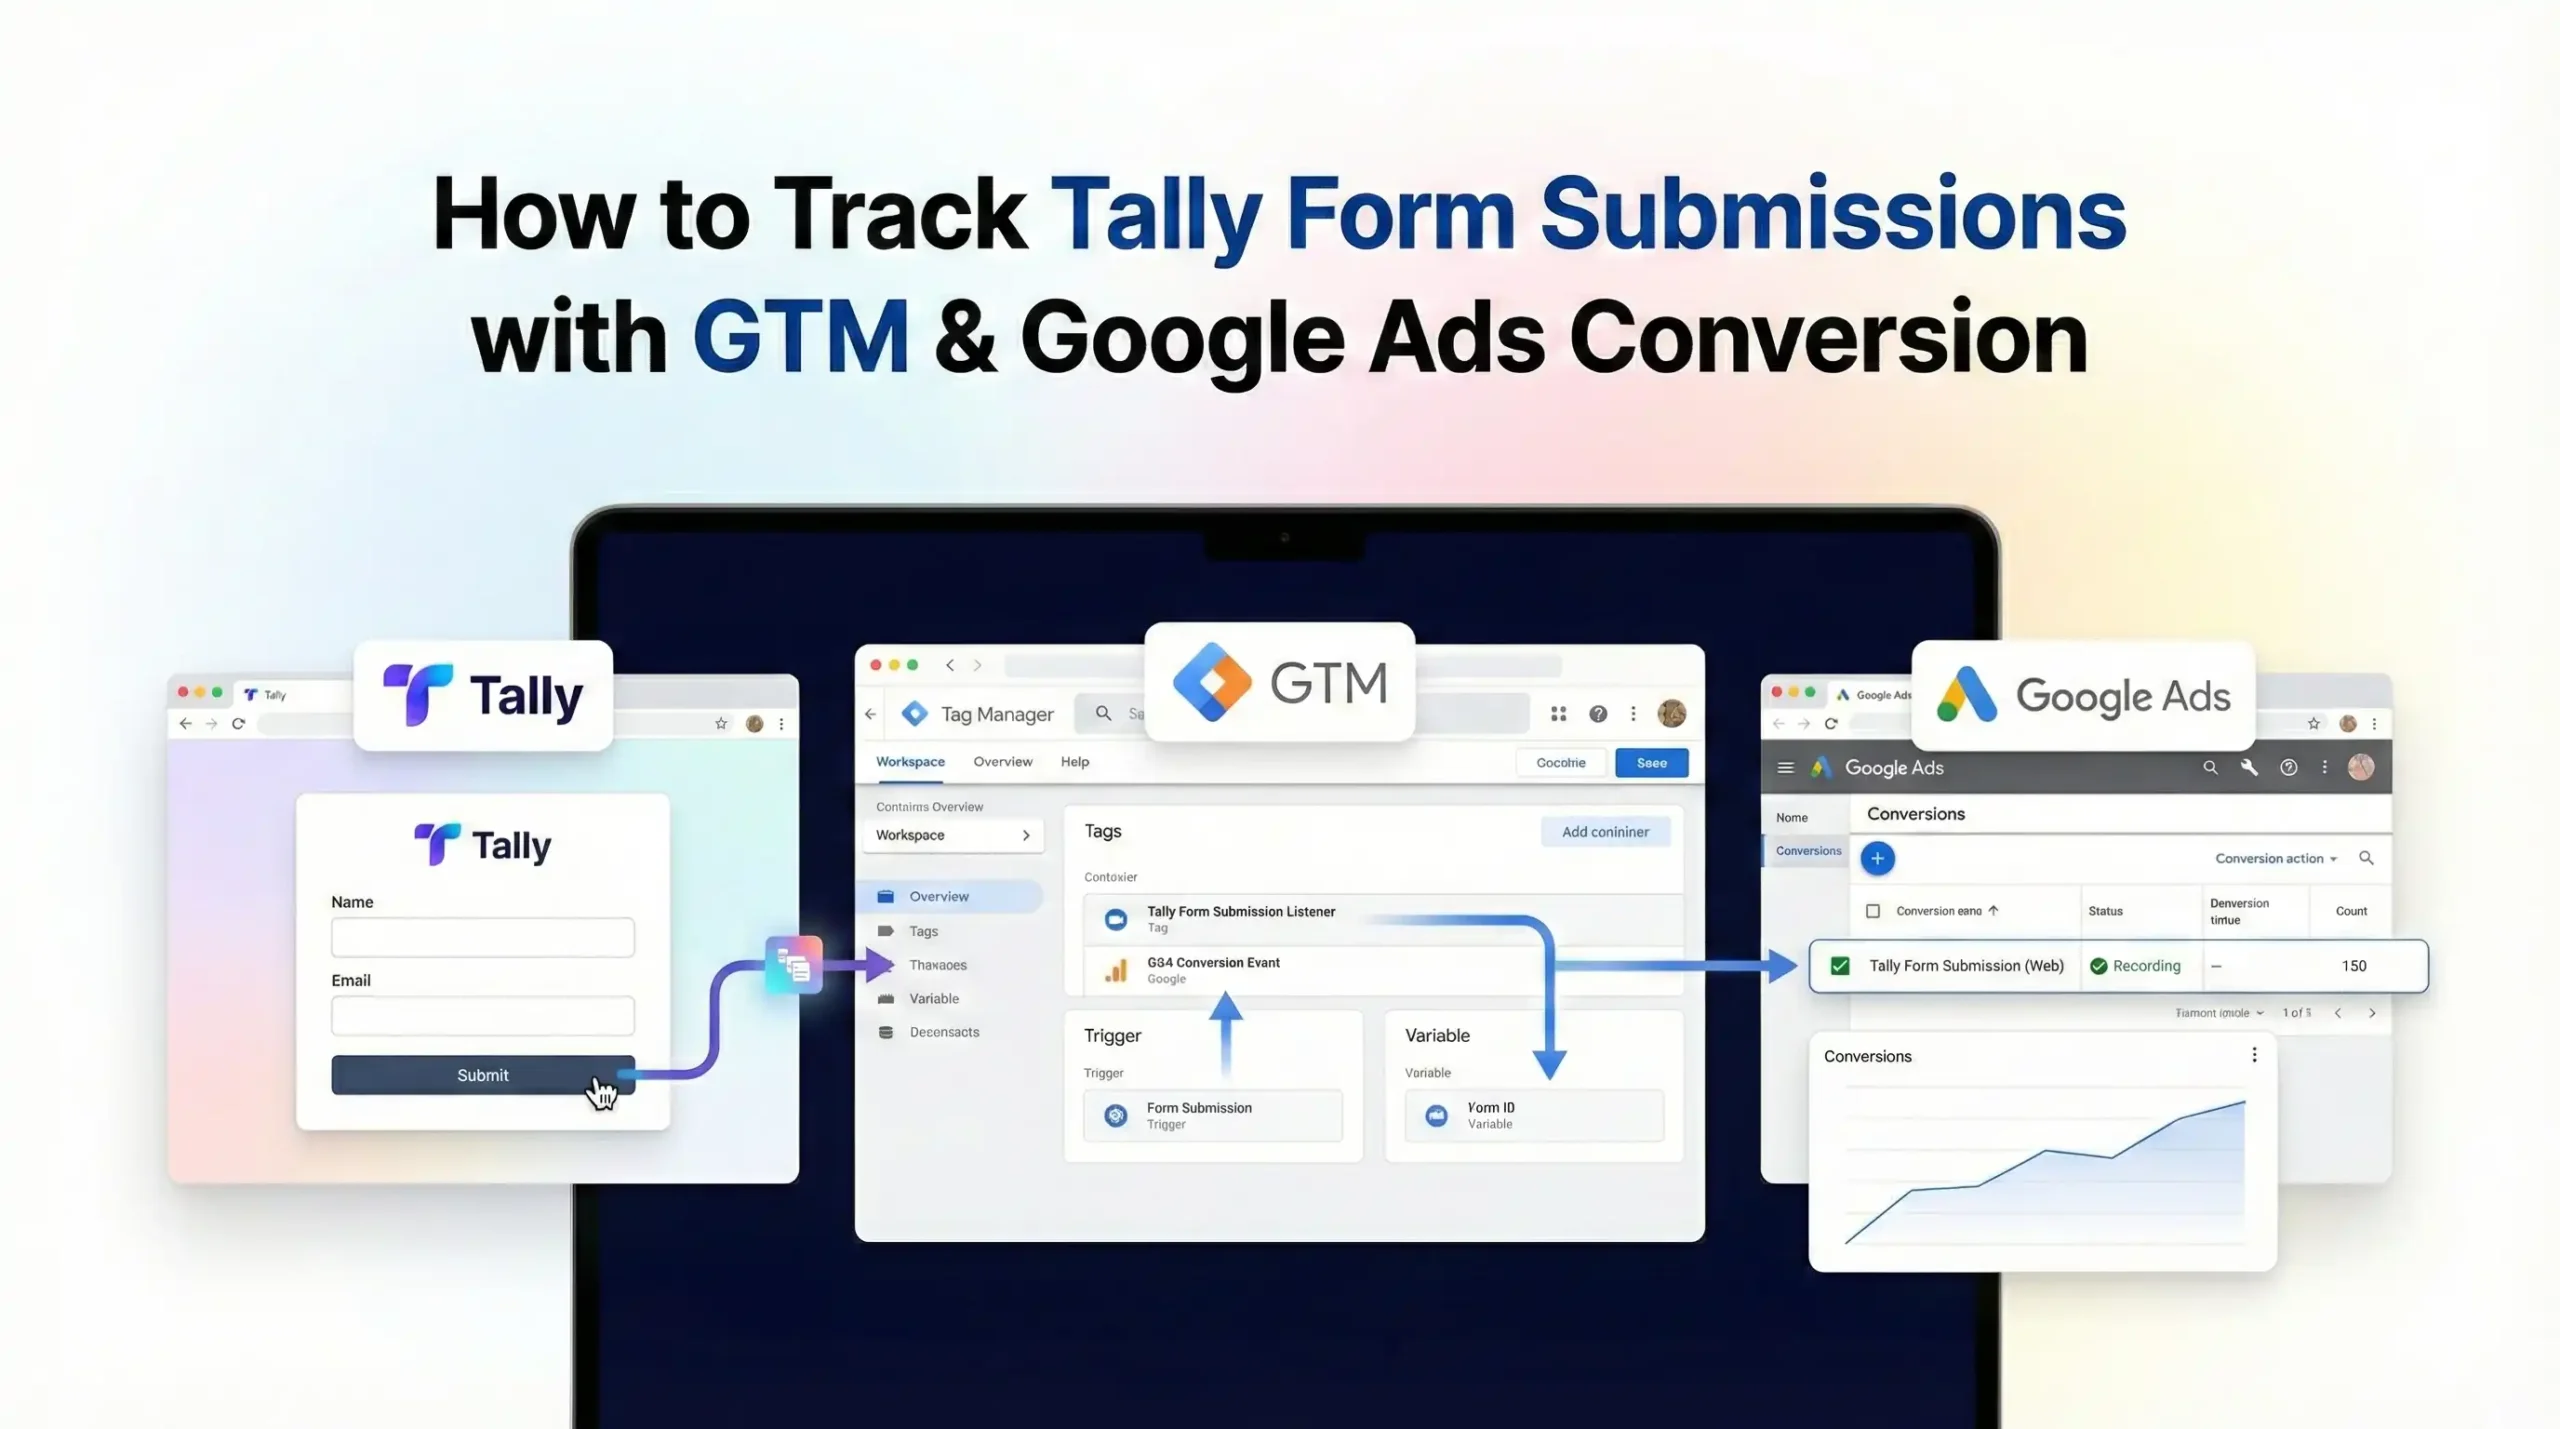
Introduction
Imagine you are running a high-budget Google Ads campaign. You have crafted the perfect ad copy, targeted the right keywords, and directed traffic to a beautiful landing page with a sleek Tally form. You see the clicks coming in. You see people filling out the form in your Tally dashboard.
But when you look at your Google Ads account, it shows zero conversions.
This is a nightmare scenario for any marketer. You are spending money, getting results, but Google’s algorithm thinks you are failing. Because the data isn’t connecting, Google Ads stops showing your ads to high-intent users and starts wasting your budget on low-quality traffic.
Why is this happening? Tally forms are often embedded using an iframe (a window inside your website). Standard Google Tag Manager (GTM) triggers like “Form Submission” or “Click” cannot see inside this window. They are blind to the user’s actions.
In this guide, we will solve this problem completely. We will build a custom tracking setup using Google Tag Manager that “listens” for Tally’s success message and sends that data directly to Google Ads. We will also cover Enhanced Conversions for better accuracy and Consent Mode V2 to keep you legally compliant.
The Strategic Importance: Why You Must Set This Up
Tracking is not just about counting leads; it is about feeding the machine that runs your ads.
The Problem: The “Iframe Blindness”
When you embed a Tally form, it lives on tally.so, not your domain. When a user clicks “Submit,” that action happens on Tally’s server. Your website (and GTM) essentially sees a user staring at a static page.
- Result 1: You lose conversion data.
- Result 2: Your Cost Per Acquisition (CPA) looks artificially high.
- Result 3: You cannot use smart bidding strategies like Target CPA or Maximize Conversions.
The Solution: The “Listener” Script
We will implement a JavaScript “Listener” code. This script sits on your main page and waits for Tally to send a specific electronic signal (called a postMessage) saying, “Hey, a form was just submitted!” Once our listener hears this, it fires a tag to Google Ads.
The 5 Key Benefits for Google Ads
1. Better Algorithm Training (Smart Bidding)
Google Ads uses Artificial Intelligence (AI) to decide who sees your ads. It needs “success signals” (conversions) to learn. By feeding it accurate Tally form data, you teach the AI exactly what a qualified lead looks like, allowing it to find more people just like them.
2. Higher ROI and ROAS
When you track every lead, your reported Return on Ad Spend (ROAS) improves immediately. You stop pausing winning keywords that looked like losers, and you cut budget from actual losers that weren’t generating leads.
3. Accurate Reporting and Attribution
You need to know if the lead came from your “Brand” campaign or your “Generic” campaign. This setup passes the GCLID (Google Click ID) correctly, ensuring that the credit goes to the specific ad click that generated the revenue.
4. Audience Building (Retargeting)
You can create a “Converters” audience in Google Ads. This allows you to exclude people who have already submitted the form (saving money) or upsell them with a different ad campaign later.
5. Future-Proofing (Privacy & Enhanced Conversions)
By implementing Enhanced Conversions, we will hash the user’s email address from the Tally form and send it securely to Google. This allows Google to match the conversion even if cookies are blocked, future-proofing your data against privacy updates.
Prerequisites & Checklist
Before we dive into the technical steps, ensure you have the following access and tools ready.
Required Access:
- Google Tag Manager (GTM): Admin or Publish access to the container installed on your website.
- Google Ads Account: Admin access to create new Conversion Actions.
- Website Admin: Access to edit your website’s header/footer or embed code (to verify GTM installation).
- Cookiebot Account: Access to get your Domain Group ID for Consent Mode setup.
- Tally Account: Access to your form to ensure it is set to “Redirect on completion” or shows a standard Thank You page (we will handle both).
Required Tools:
- Google Chrome Browser: For debugging.
- GTM Preview Mode: The built-in debugger in Tag Manager.
- Google Tag Assistant Extension: To verify tags on the live site.
The “How-To Track” (Core Content)
We will break this down into logical phases. Follow them in order to ensure a flawless setup.
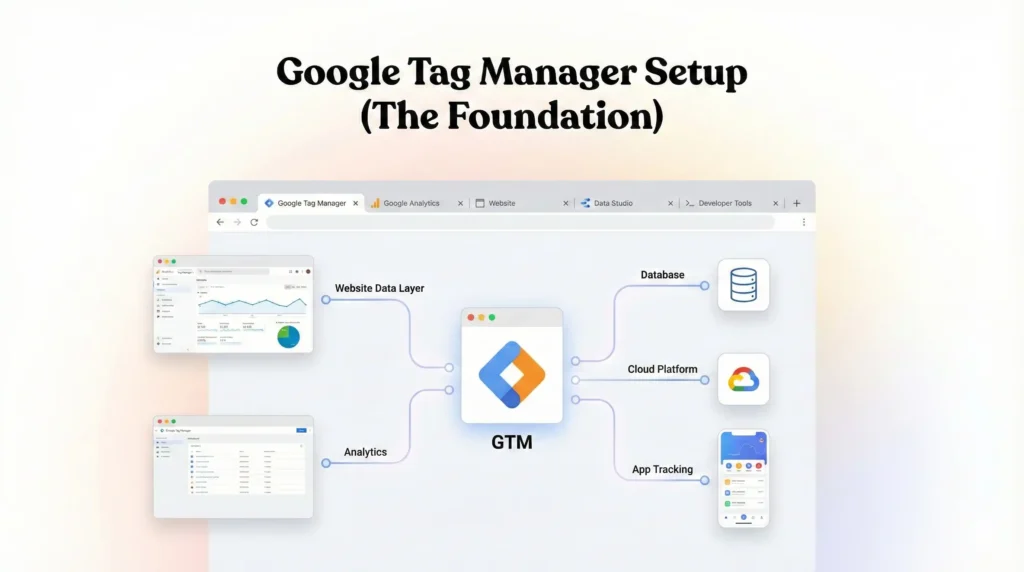
Phase 1: Google Tag Manager Setup (The Foundation)
First, we need to set up the basic infrastructure in GTM to handle Google Ads tracking.
Step 1.1: The Conversion Linker Tag
This is the most critical tag for Google Ads. It sets a first-party cookie on your domain to store the ad click information (GCLID). Without this, you will lose attribution on Apple devices and other privacy-focused browsers.
- Open Google Tag Manager.
- Go to Tags in the left-hand menu.
- Click New.
- Name: Google – Conversion Linker.
- Tag Configuration: Select Conversion Linker.
- Triggering: Select All Pages.
- Click Save.
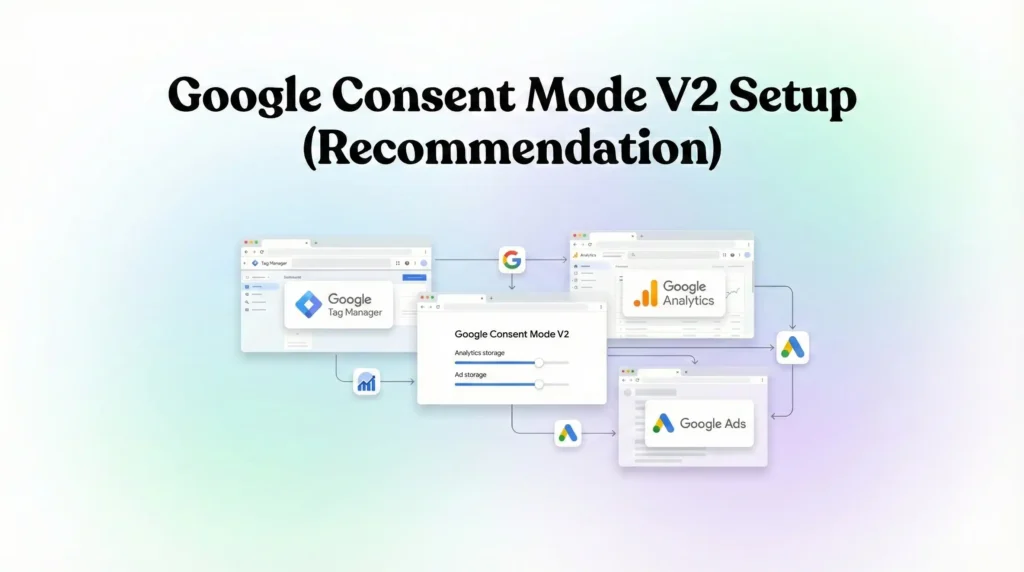
Phase 2: Google Consent Mode V2 Setup (Recommendation)
We must respect user privacy. We will use Cookiebot to manage consent. This ensures that our tags only fire when allowed, or run in “restricted mode” if consent is denied.
Step 2.1: Add the Cookiebot Template
- In GTM, click Templates on the left.
- In the Tag Templates section, click Search Gallery.
- Search for Cookiebot CMP.
- Click Add to workspace and confirm.
Step 2.2: Configure the Cookiebot Tag
- Go to Tags > New.
- Name: CMP – Cookiebot Consent Mode V2.
- Tag Configuration: Select the Cookiebot CMP template.
- Cookiebot ID: Paste your Domain Group ID (found in your Cookiebot account settings).
- Enable Google Consent Mode: Check this box. This is critical.
- Default Consent State:
- Set ad_storage: Denied
- Set analytics_storage: Denied
- Set ad_user_data: Denied
- Set ad_personalization: Denied
- Why? We assume “No” until the user explicitly clicks “Accept” on the banner.
- Triggering:
- Select Consent Initialization – All Pages.
- Note: Do not use “All Pages.” This tag must fire before everything else.
- Click Save.
Phase 3: The Tally Form Listener (The Code)
This is the secret sauce. Since Tally is in an iframe, we need a script to listen for the submission message.
Step 3.1: Create the Listener Tag
- In GTM, go to Tags > New.
- Name: cHTML – Tally Form Listener.
- Tag Configuration: Select Custom HTML.
- The Code: Copy and paste the code below exactly.
					<script>
/**
 * Tally Form Listener for Google Tag Manager
 * Listens for the 'Tally.FormSubmitted' message from the iframe.
 */
(function() {
  // Prevent duplicate listeners
  if (window.tallyListenerAttached) return;
  window.tallyListenerAttached = true;

  window.addEventListener('message', function(event) {
    // Verify the message comes from Tally (optional but recommended)
    // if (event.origin !== 'https://tally.so') return;

    var data = event.data;

    // Check if the message is a Tally Form Submission
    // Tally sends an object with "event" property set to "Tally.FormSubmitted"
    if (data && (data.event === 'Tally.FormSubmitted' || data.name === 'Tally.FormSubmitted')) {

      console.log('Tally Form Submission Detected');

      // Push event to Data Layer
      window.dataLayer.push({
        'event': 'tally_form_submit',
        'form_id': data.payload ? data.payload.formId : 'unknown', // Capture Form ID if available
        'form_name': data.payload ? data.payload.formName : 'unknown'
      });
    }
  });
})();
</script>
Explanation of the Code:
- window.addEventListener(‘message’, …): This tells the browser to pay attention to messages coming from other windows (iframes).
- data.event === ‘Tally.FormSubmitted’: This checks if the message specifically says a form was submitted.
- dataLayer.push: This sends the “Success” signal to GTM so we can use it to fire tags.
Step 3.2: Trigger the Listener
- Scroll down to Triggering.
- Select All Pages.
- Note: It is safe to run this on all pages. It is lightweight and simply waits for a message.
- Click Save.

Phase 4: Google Ads Configuration (Target Platform)
Now we need to create the destination for this data in Google Ads.
Step 4.1: Create Conversion Action
- Log in to Google Ads.
- Go to Goals > Conversions > Summary.
- Click + New Conversion Action.
- Select Website.
- Enter your domain and scan (you can skip the auto-suggestions).
- Click + Add a conversion action manually.
- Goal Category: Submit lead form (or Contact, depending on your goal).
- Conversion Name: Lead – Tally Form.
- Value: Use the same value for each conversion (e.g., $10 for a lead). Or select “Don’t use a value” if strict accounting isn’t needed.
- Count: One (recommended for leads so one person submitting twice counts once).
- Click Done and Save and Continue.
Step 4.2: Enable Enhanced Conversions
- Open the settings for the Lead – Tally Form conversion action.
- Expand Enhanced Conversions.
- Check Turn on enhanced conversions.
- Select Google Tag Manager.
- Click Save.
Step 4.3: Get Tag Details
- Go to Tag Setup.
- Select Use Google Tag Manager.
- Copy the Conversion ID and Conversion Label.
Phase 5: Creating the Tags in GTM
Now we connect the Data Layer signal to the Google Ads tag.
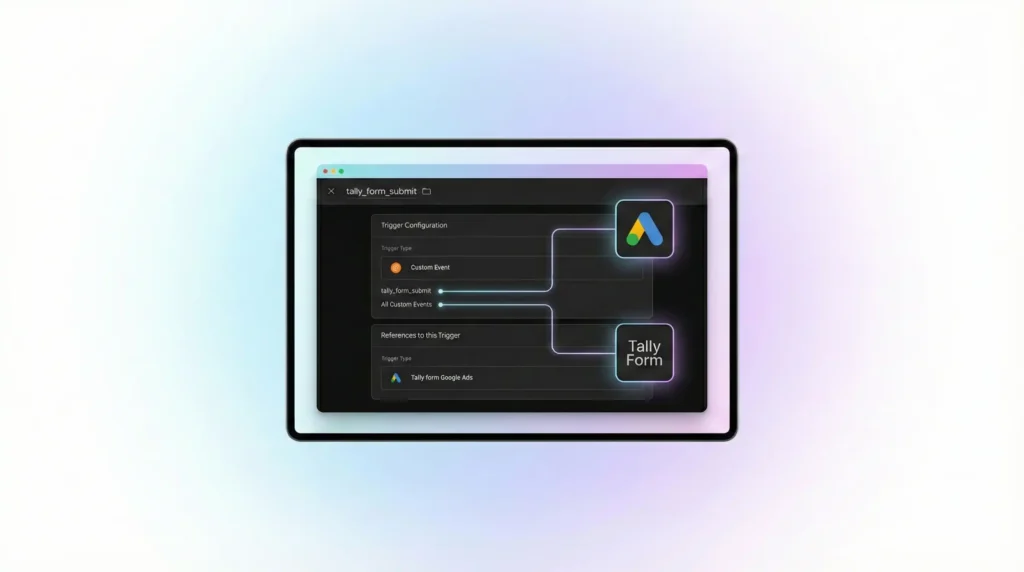
Step 5.1: Create the Trigger
We need a trigger that fires when our Listener pushes the tally_form_submit event.
- Go to Triggers > New.
- Name: Custom Event – Tally Form Submit.
- Trigger Type: Custom Event.
- Event Name: tally_form_submit.
- Critical: This must match the code in Phase 3 exactly.
- Click Save.
Step 5.2: Create the User-Provided Data Variable (Optional but Recommended)
If your Tally form collects emails, we can try to pass them for Enhanced Conversions. Note: Passing email from an iframe is difficult without a redirect. If Tally doesn’t expose the email in the message payload, skip this step or use a Redirect URL method.
Assuming you are using a Redirect URL to a Thank You page where the email is in the URL:
- Create a URL Variable type to pull email from the query parameters.
- Create a User-provided Data variable and map the email variable to the Email field.
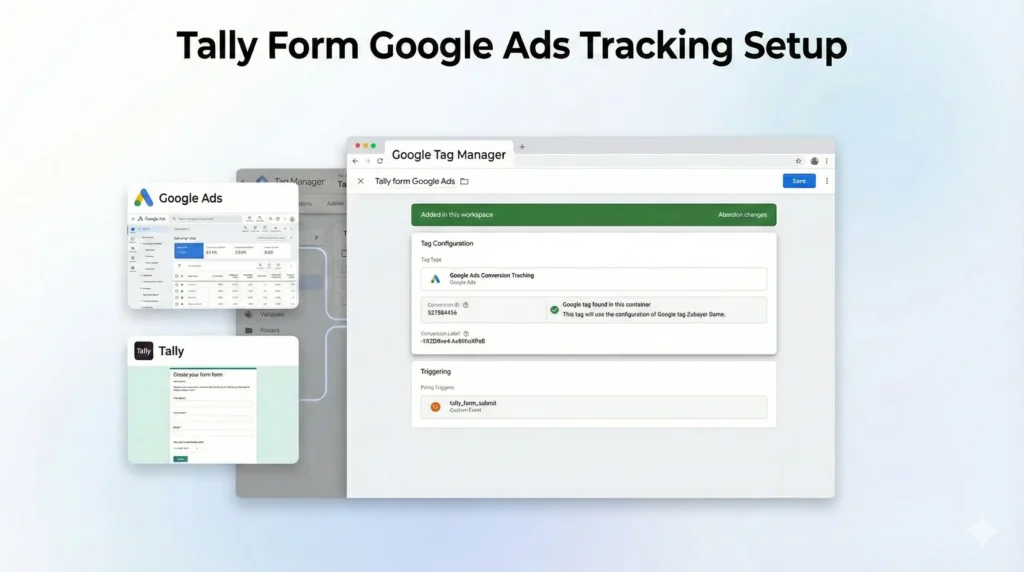
Step 5.3: Create the Google Ads Tag
- Go to Tags > New.
- Name: Google Ads – Conversion – Tally Form.
- Tag Configuration: Google Ads Conversion Tracking.
- Conversion ID: Paste ID from Google Ads.
- Conversion Label: Paste Label from Google Ads.
- Enhanced Conversions:
- If you set up the variable in 5.2, check “Include user-provided data” and select it.
- Otherwise, leave unchecked.
- Consent Settings:
- Select No additional consent required (Cookiebot handles logic).
- Triggering:
- Select Custom Event – Tally Form Submit.
- Click Save.
Testing & Validation (Deep Dive)
Never publish without testing.
Step 1: GTM Preview Mode
- Click Preview in GTM.
- Enter your website URL containing the Tally form.
- Click Connect.
Step 2: Simulate Submission
- Fill out the Tally form on your site.
- Click Submit.
- Wait for the “Thank You” screen.
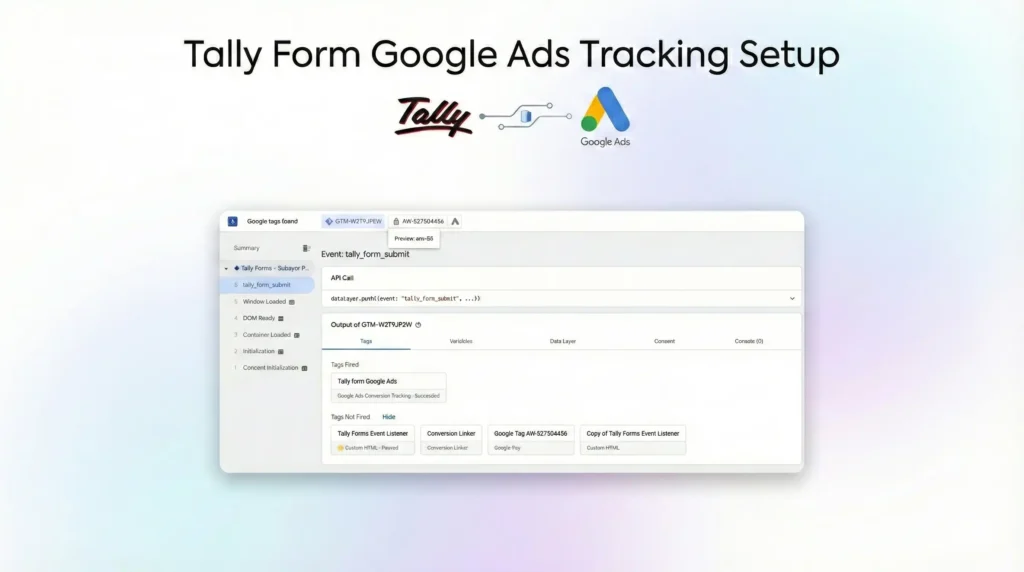
Step 3: Verify in Tag Assistant
- Look at the Tag Assistant timeline on the left.
- You should see the event tally_form_submit.
- Click on it.
- Check the Tags Fired section. You should see Google Ads – Conversion – Tally Form.
- Click the tag to ensure the Conversion ID matches.
Step 4: Verify Consent Mode
- In Tag Assistant, click the Consent tab.
- Ensure ad_storage is “Granted” (if you accepted cookies).
Troubleshooting & Common Mistakes
1. Listener Not Firing
- Issue: You submit the form, but tally_form_submit never appears in GTM.
- Fix: Ensure the Tally form is embedded directly and not inside another iframe (nested iframes). Also, check your browser console for errors.
2. Duplicate Conversions
- Issue: The tag fires twice.
- Fix: This happens if the listener attaches twice. The code provided includes if (window.tallyListenerAttached) return; to prevent this. Ensure you don’t have the script installed manually and in GTM.
3. “Blocked by Consent”
- Issue: Tag status is “Blocked”.
- Fix: You are testing without accepting cookies. Clear your browser cookies, reload, click “Allow All” on the Cookiebot banner, and test again.
Conclusion
Tracking Tally forms requires stepping outside the box of standard GTM triggers. By using the JavaScript Listener method, you bridge the gap between the iframe and your analytics.
You have now set up a robust system that:
- Captures 100% of valid submissions.
- Complies with GDPR via Consent Mode V2.
- Feeds high-quality data to Google Ads to optimize your ad spend.
Publish your container, and watch your campaign performance improve!
1. Can I track Tally forms without GTM?
It is very difficult. Tally runs in an iframe, so you cannot paste Google Ads code directly onto the form itself (unless you use Tally Pro with custom code injection features). GTM is the most reliable way to listen for the submission event from the parent page.
2. Does this work for the free version of Tally?
Yes! Tally’s free version broadcasts the Tally.FormSubmitted message by default. You do not need a paid Tally subscription to use this listener method.
3. How do I track which specific form was submitted?
The listener code pushes a form_id to the Data Layer. In GTM, create a Data Layer Variable named form_id. You can then send this ID as a “Custom Label” or “Transaction ID” in your Google Ads tag to distinguish between different forms.
4. Why is Enhanced Conversions important for forms?
Forms are the perfect place for Enhanced Conversions because users provide their email. By hashing and sending this email to Google, you can track users who view your ad on mobile but fill out the form on desktop (cross-device tracking), which cookies alone cannot do.
5. What if I redirect to a Thank You page?
If you redirect, you have an easier option: simply create a Page View Trigger in GTM that fires when the Page Path contains /thank-you. However, the Listener method is faster and works even if the redirect fails or is slow.
6. Will this work for Facebook Pixel too?
Yes. Once you have the tally_form_submit event in the Data Layer, you can create a Facebook Pixel Tag in GTM and use the exact same Trigger (Custom Event – Tally Form Submit) to fire it.
7. How long does it take to see conversions in Google Ads?
Google Ads is not real-time. It typically takes 3 to 24 hours for a conversion to appear in your campaign reports after it happens. Use the “Real Time” report in GA4 (if linked) for faster verification.
8. Is this compliant with GDPR?
Yes, provided you use the Cookiebot setup described. The tags will only fire if ad_storage consent is granted. If denied, the tags will be blocked or send anonymous pings (if Advanced Consent Mode is active).
9. Why is my Conversion Linker tag important?
The Conversion Linker handles the _gcl_au cookie. This cookie stores the ad click ID (GCLID). If this tag is missing, Google Ads cannot connect the form submission back to the specific ad click, breaking your attribution.
10. Can I track form abandonment?
Not easily with the iframe listener. The listener only detects the submission success. It cannot see if a user clicked a field and then left. For abandonment tracking, you would need Tally Pro features or a redirect-based funnel analysis.
 Need Help Advanced Tracking Setup?