Introduction
Picture this: You are running a high-performing Google Ads campaign. You have optimized your ad copy, your keywords are sharp, and your landing pages are beautiful. You see hundreds of people clicking your “Buy Now” button. They are initiated checkout. They are clicking “Pay with PayPal” or “Pay via GoKwik.”
Then… silence.
Your Google Ads dashboard shows zero conversions. Or perhaps it shows a fraction of the real sales. You check your bank account, and the money is there. The orders are in Shopify. But Google Ads doesn’t know about them.
This is the nightmare of Third-Party Checkout Attribution.
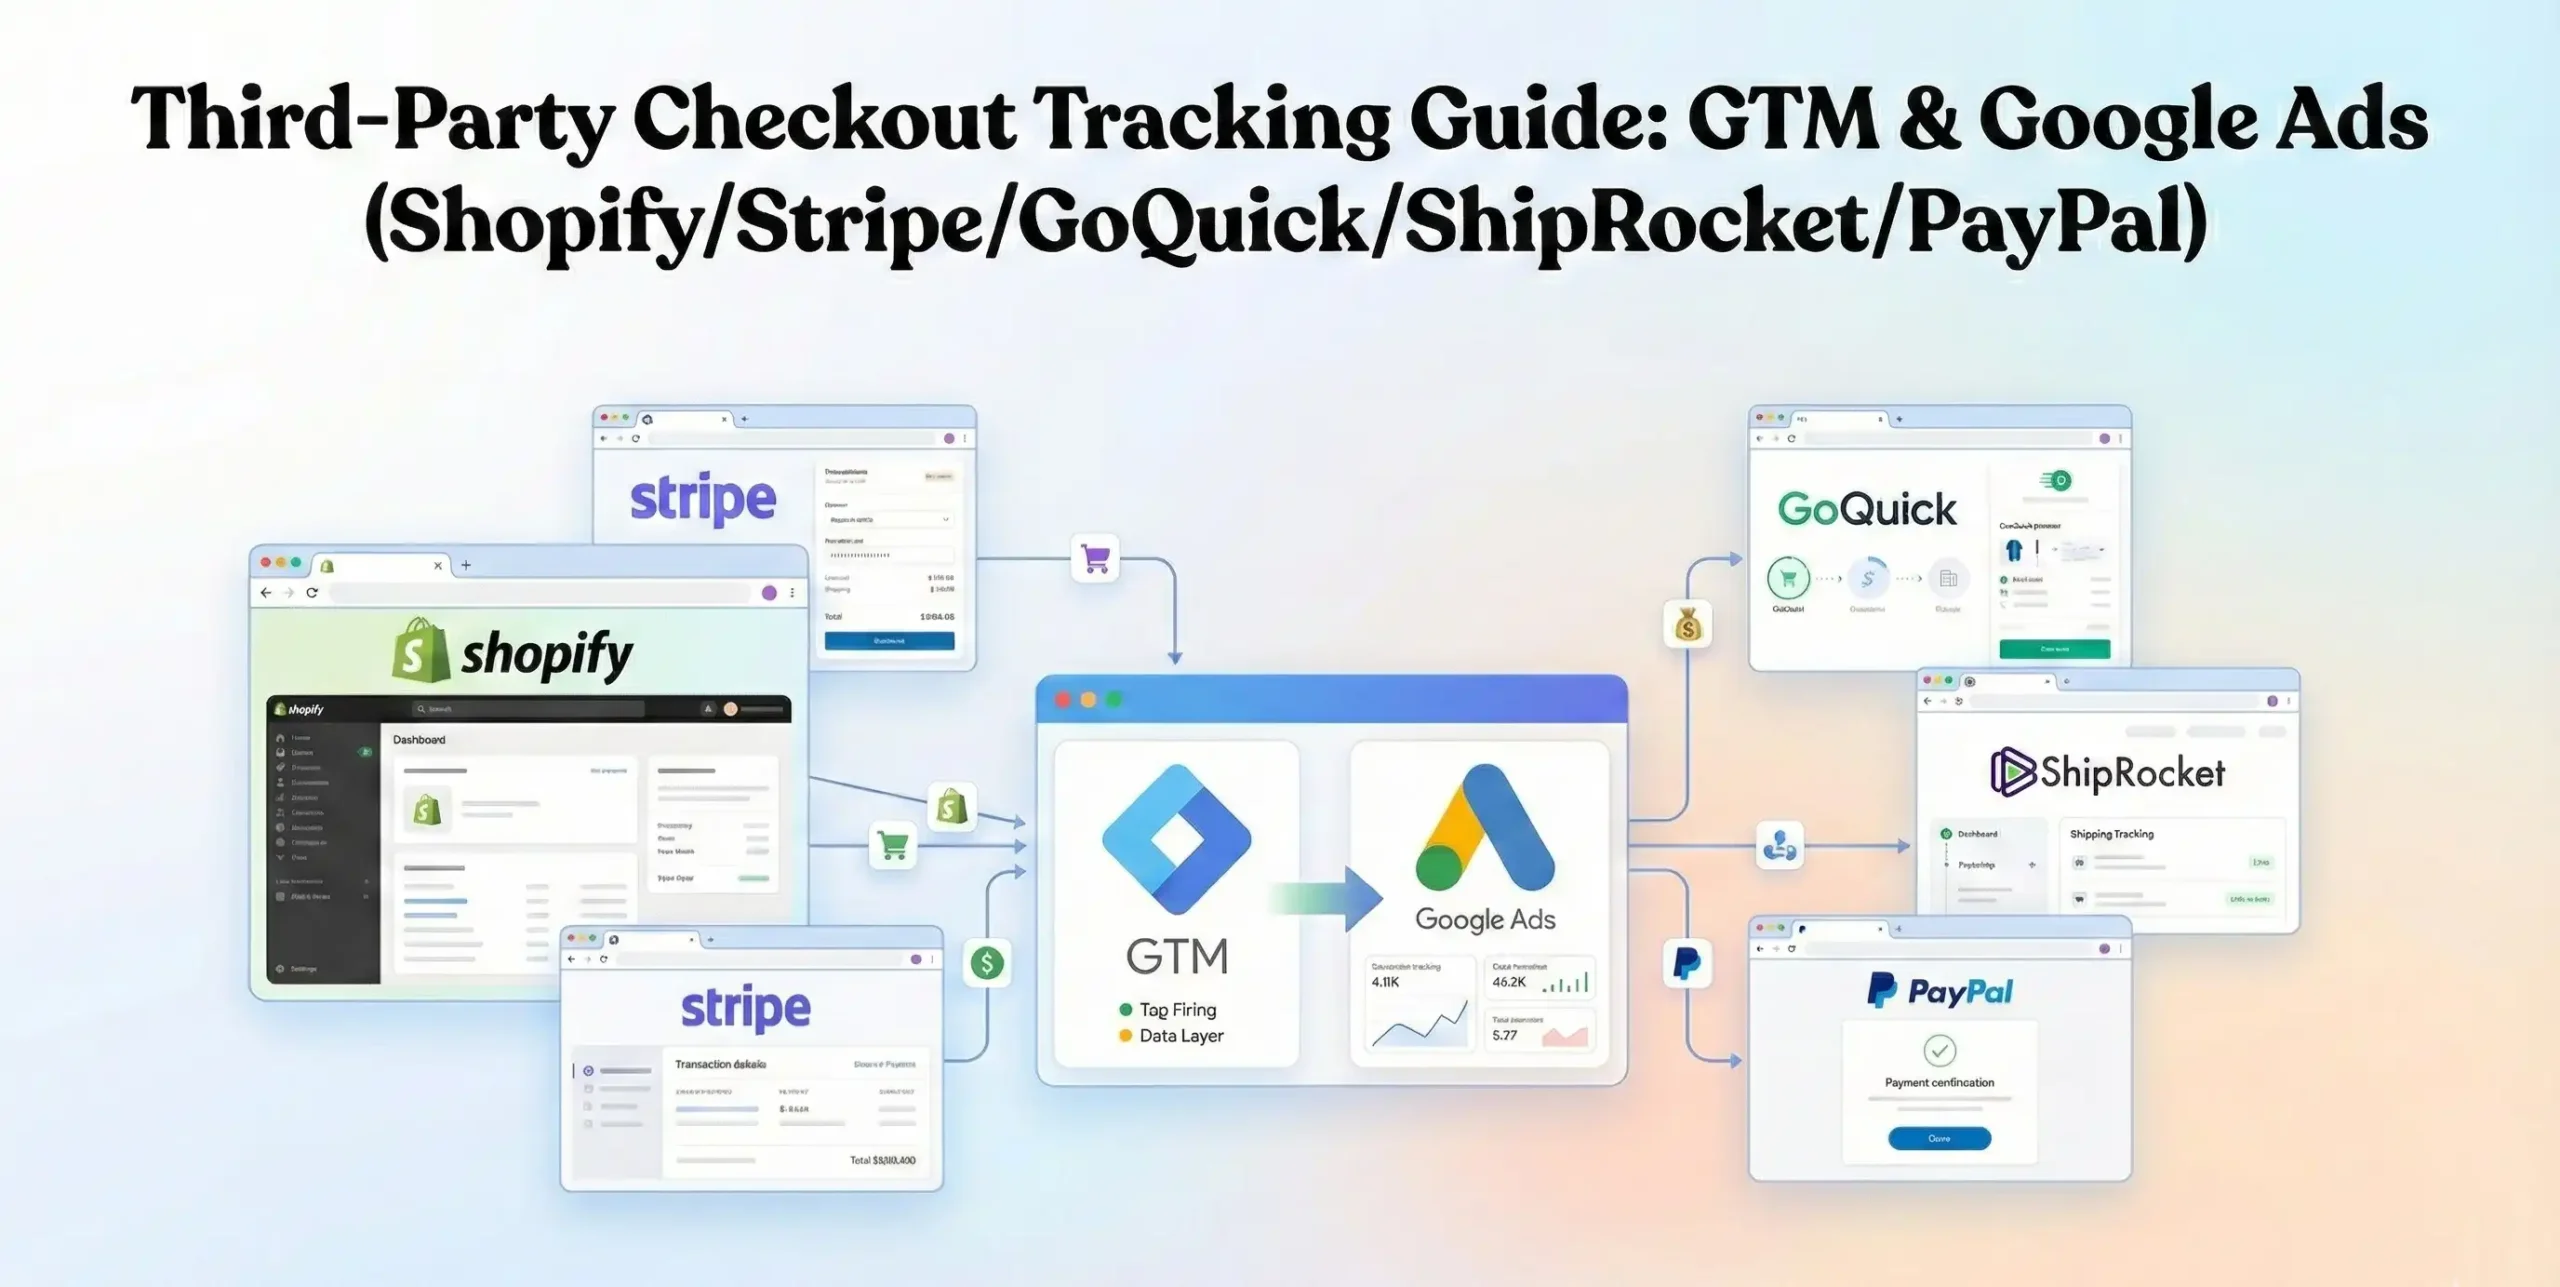
When a customer leaves your website to pay on a third-party gateway like Stripe, PayPal, GoKwik, or ShipRocket, they are technically entering a “black hole” as far as your tracking pixels are concerned. Your Google Tag Manager (GTM) container, which lives on your website, cannot see what happens on paypal.com or secure-checkout.gokwik.co.
If the user buys and doesn’t come back, or if the connection is lost during the redirect, the conversion signal is severed. Google Ads thinks the user bounced. You stop spending on winning keywords because you think they aren’t working. You lose money.
In this comprehensive guide, we are going to fix this. We will build a robust tracking infrastructure using Google Tag Manager that bridges the gap between your Shopify store and these third-party payment gateways. We will implement Google Consent Mode v2 for compliance, use Enhanced Conversions to recover lost data, and set up the specific Data Layer code needed to capture every single dollar of revenue.
The Strategic Importance: Why You Must Set This Up
In the era of AIO (Artificial Intelligence Optimization) and automated bidding, data is not just a report; it is the fuel for your growth engine.
The Problem: The Redirect Disconnect
When a user clicks “Pay,” they are redirected away from your domain.
- Session Breaking: The link between the ad click (GCLID) and the final sale is often broken.
- Referral Cannibalization: Analytics often credits “paypal.com” as the source of the sale, stealing credit from your Google Ad.
- Data Loss: If the user closes the tab immediately after paying but before redirecting back to your “Thank You” page, the trigger never fires.
The Solution: A Multi-Layered Tracking Protocol
We don’t rely on just one method. We will use a combination of Conversion Linker tags to preserve cookie data across domains, Return URL logic to force users back to your site, and Enhanced Conversions to match users based on their email address even if cookies fail.
The 5 Key Benefits for Google Ads
1. Better Algorithm Training (Smart Bidding)
Google’s bidding strategies like Target ROAS (Return on Ad Spend) and Maximize Conversions run on machine learning. They need at least 30-50 conversions a month to learn. If you are missing 20% of your data due to payment redirects, you are starving the AI. Accurate tracking feeds the algorithm the “success signals” it needs to find more high-value customers.
2. Higher ROI and ROAS
When you track every sale, your reported revenue goes up. This immediately lowers your CPA (Cost Per Acquisition) and boosts your ROAS. You might discover that a campaign you thought was losing money is actually your most profitable one—it just had a high rate of PayPal users.
3. Accurate Reporting & Attribution
You need a single source of truth. By fixing the cross-domain tracking issues, you ensure that Google Ads claims the credit it deserves, rather than letting that credit get lost in “Direct” traffic or “Payment Referrals.”
4. Audience Building (Retargeting)
To exclude people who have already bought from your ads, or to target high-value spenders (“Whales”), you need the conversion data. If GTM misses the conversion, you will keep showing ads to people who already bought your product, wasting money and annoying customers.
5. Future-Proofing (Privacy & Cookies)
With the implementation of Google Consent Mode v2, you ensure that you are legally compliant (GDPR/DMA) while using Google’s modeling technology to estimate conversions for users who decline cookies. This protects your business from fines and data loss simultaneously.
Prerequisites & Checklist
This is an advanced technical implementation. Please ensure you have the following access levels and tools ready before starting.
Required Access:
- Google Tag Manager (GTM): Admin or Publish access.
- Shopify Store: Admin access to edit themes (theme.liquid or checkout.liquid if available) and Customer Events settings.
- Google Ads Account: Admin access to create Conversion Actions.
- Payment Gateway Accounts: Access to Stripe, PayPal, GoKwik, or ShipRocket settings to configure “Return URLs” (Auto-return).
- Cookiebot Account: Admin access for Consent Mode setup.
Required Tools:
- Google Tag Assistant: Chrome extension for debugging.
- GTM Preview Mode: For real-time testing.
- Developer Console: To view the Data Layer.
The “How-To Track” (Step-by-Step)
We will break this massive configuration down into logical phases.
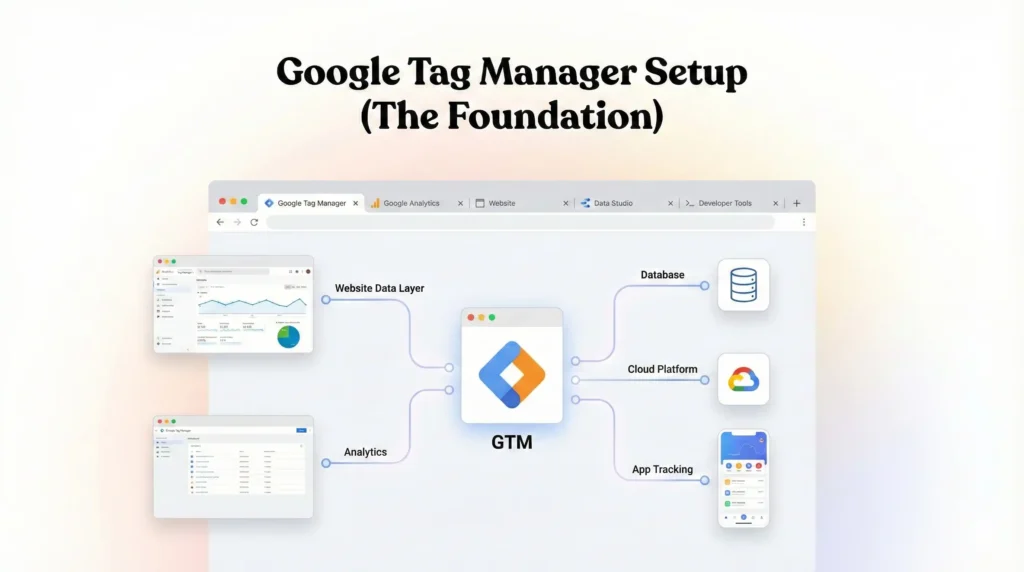
Phase 1: Google Tag Manager Setup (The Foundation)
We need to prepare GTM to handle cross-domain traffic and variable data.
Step 1.1: The Conversion Linker Tag
This is the most critical tag for third-party tracking. It takes the ad click information (GCLID) and stores it in a first-party cookie. When the user leaves to go to PayPal and comes back, this cookie helps Google remember “Hey, this is the guy who clicked the ad 10 minutes ago.”
- Open Google Tag Manager.
- Go to Tags > New.
- Name: Google – Conversion Linker.
- Tag Configuration: Select Conversion Linker.
- Enable Linker Options:
- Set “Enable linking across domains” to True (if you have multiple domains).
- Usually, for standard setups, just the default tag is fine, but ensuring it fires on All Pages is non-negotiable.
- Triggering: Select All Pages.
- Click Save.
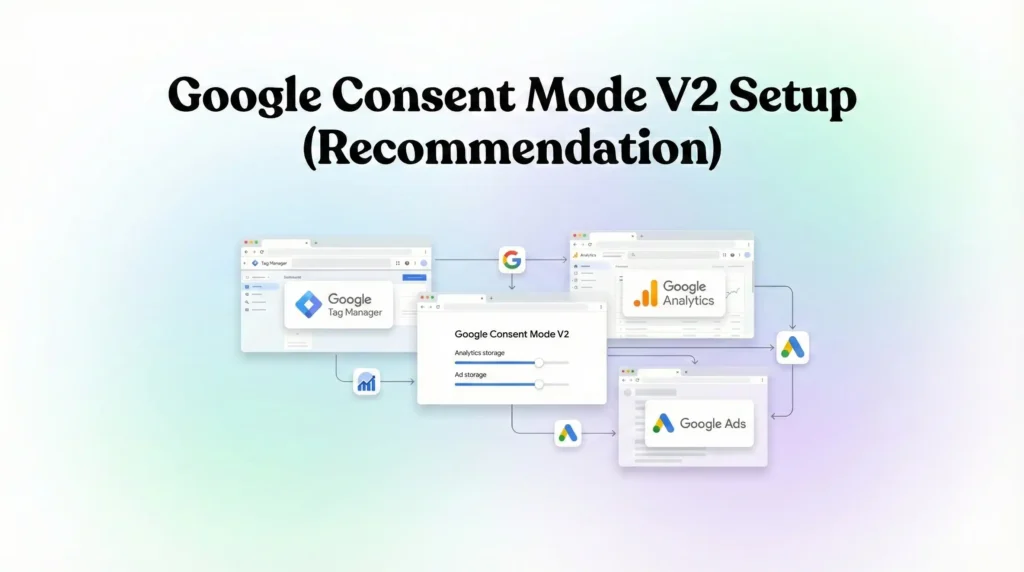
Phase 2: Google Consent Mode V2 Setup (Recommendation)
Before we track conversions, we must respect user privacy. We will use Cookiebot as our CMP.
Step 2.1: Add the Cookiebot Template
- In GTM, go to Templates > Search Gallery.
- Search for Cookiebot CMP (By Cookiebot).
- Click Add to workspace.
Step 2.2: Configure the Cookiebot Tag
- Go to Tags > New.
- Name: CMP – Cookiebot Consent Mode v2.
- Tag Configuration: Select Cookiebot CMP.
- Cookiebot ID: Enter your Domain Group ID (Found in your Cookiebot dashboard under Settings).
- Enable Google Consent Mode: Check this box. CRITICAL.
- Default Consent State:
- Ad Storage: Denied
- Analytics Storage: Denied
- Ad User Data: Denied
- Ad Personalization: Denied
- Why? We default to denied to be strictly compliant.
- Triggering:
- Select Consent Initialization – All Pages.
- Do not use “All Pages.” This tag must fire first to set the rules.
- Click Save.
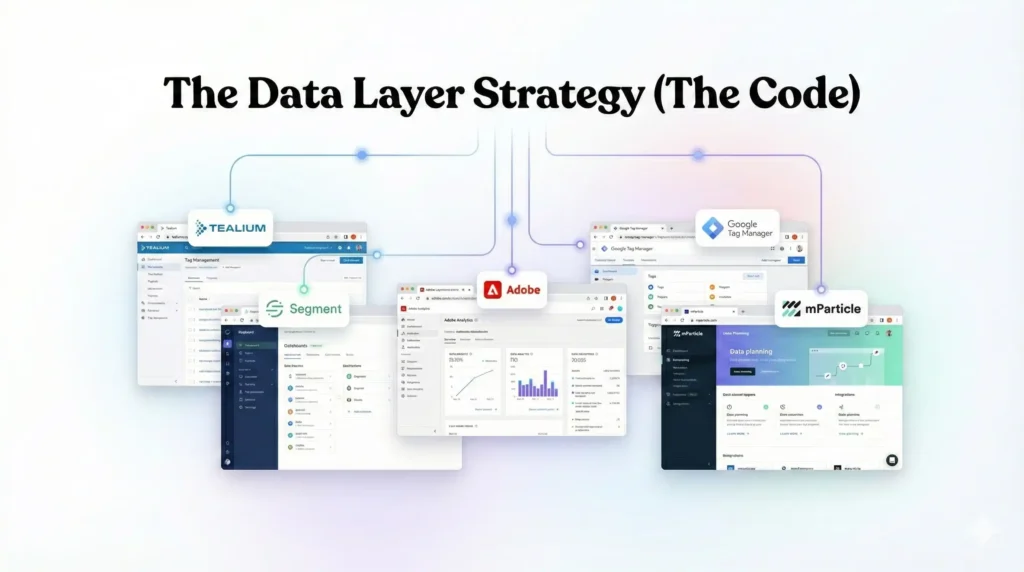
Phase 3: The Data Layer Strategy (The Code)
This is the technical heart of the operation. Since we cannot place code on the PayPal or Stripe hosted page, we must rely on the “Order Received” or “Thank You” page on your Shopify store.
When the user is redirected back from the third party, Shopify renders the Thank You page. We need to inject code here that pushes the purchase details into GTM.
The “Customer Events” Method (Shopify Modern Standard)
Shopify has restricted access to checkout.liquid for most plans. We must use the Custom Pixels (Customer Events) sandbox or standard post-purchase scripts.
Scenario: User pays on GoKwik -> Redirects to Shopify Thank You Page -> Script runs.
Code Block: The Data Layer Push
Place this code in your Shopify Settings > Customer events > Add custom pixel OR Settings > Checkout > Order status page > Additional scripts (Legacy method, often easier for GTM).
If using the Legacy “Additional Scripts” box (Recommended for GTM beginner ease):
HTML
					<script>
window.dataLayer = window.dataLayer || [];

// Prevent duplicate firing on page reload
if (!window.dataLayer.some(event => event.event === 'purchase_event')) {

  window.dataLayer.push({
    'event': 'purchase_event',
    'ecommerce': {
      'transaction_id': '{{ order.order_number }}',
      'value': {{ order.total_price | money_without_currency }},
      'tax': {{ order.tax_price | money_without_currency }},
      'shipping': {{ order.shipping_price | money_without_currency }},
      'currency': '{{ shop.currency }}',
      'items': [
        {% for line_item in order.line_items %}
        {
          'item_name': '{{ line_item.title }}',
          'item_id': '{{ line_item.product_id }}',
          'price': {{ line_item.price | money_without_currency }},
          'quantity': {{ line_item.quantity }}
        },
        {% endfor %}
      ]
    },
    // Enhanced Conversion Data (User Data)
    'user_data': {
      'email': '{{ order.email }}',
      'phone_number': '{{ order.shipping_address.phone }}',
      'address': {
        'first_name': '{{ order.shipping_address.first_name }}',
        'last_name': '{{ order.shipping_address.last_name }}',
        'street': '{{ order.shipping_address.address1 }}',
        'city': '{{ order.shipping_address.city }}',
        'region': '{{ order.shipping_address.province }}',
        'postal_code': '{{ order.shipping_address.zip }}',
        'country': '{{ order.shipping_address.country_code }}'
      }
    }
  });
}
</script>
Explanation of the Code:
- Duplicate Prevention: The if (!window.dataLayer…) line prevents the pixel from firing twice if the user refreshes their receipt page (a common cause of inflated conversion data).
- Transaction Data: Pulls order_number and total_price dynamically from Shopify’s Liquid objects.
- User Data (Critical for Enhanced Conversions): We extract the email, phone, and address. This is what allows Google to match the conversion even if the cookie was lost during the PayPal redirect.
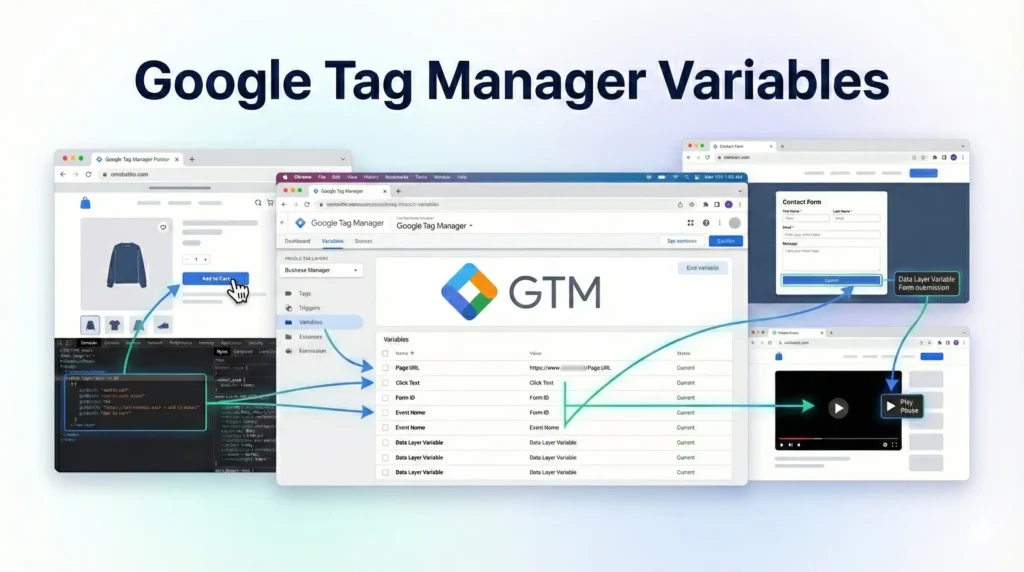
Phase 4: Google Tag Manager Variables
Now that the code is pushing data, we need GTM variables to “catch” that data.
- Go to Variables > User-Defined Variables > New.
- Variable Type: Data Layer Variable.
- Create the following variables:
Variable Name | Data Layer Variable Name |
dlv – transaction_id | ecommerce.transaction_id |
dlv – value | ecommerce.value |
dlv – currency | ecommerce.currency |
dlv – email | user_data.email |
dlv – phone | user_data.phone_number |
dlv – first_name | user_data.address.first_name |
dlv – last_name | user_data.address.last_name |
dlv – street | user_data.address.street |
dlv – city | user_data.address.city |
dlv – region | user_data.address.region |
dlv – zip | user_data.address.postal_code |
dlv – country | user_data.address.country |
Phase 5: The Google Ads Configuration (Target Platform)
We need to configure Google Ads to accept this data.
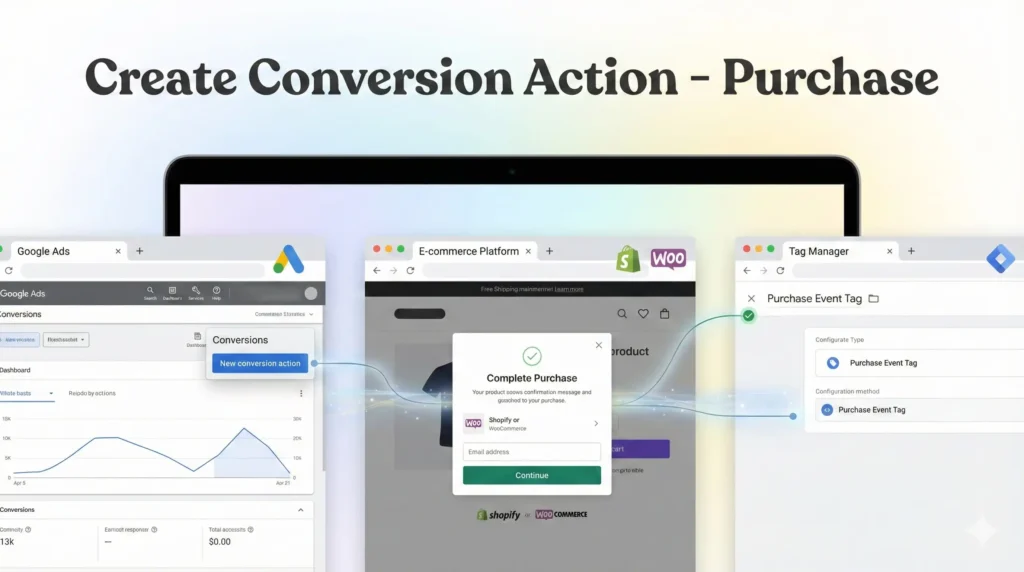
Step 5.1: Create Conversion Action
- Log in to Google Ads.
- Go to Goals > Conversions > Summary.
- Click + New Conversion Action.
- Select Website.
- Scan your domain (skip recommendations).
- Add a conversion action manually.
- Goal: Purchase.
- Name: Purchase – GTM – ThirdParty.
- Value: Use different values for each conversion. (We will pass the dynamic value from GTM).
- Count: Every.
- Click Done.
Step 5.2: Enable Enhanced Conversions
This is the “Secret Weapon” for third-party checkouts.
- Open the settings for the conversion you just created.
- Expand the Enhanced Conversions section.
- Check Turn on enhanced conversions.
- Select Google Tag Manager as the method.
- Click Save.
Step 5.3: Get the ID and Label
- Go to Tag Setup for the conversion action.
- Select Use Google Tag Manager.
- Copy the Conversion ID and Conversion Label.
Phase 6: Creating the Google Ads Tags in GTM
Now we connect the dots.
Step 6.1: The User-Provided Data Variable
We need to bundle all those user variables (email, phone, address) into one package for Google.
- In GTM, go to Variables > New.
- Type: User-provided Data.
- Configuration: Manual configuration.
- Map the fields:
- Email: {{dlv – email}}
- Phone: {{dlv – phone}}
- First Name: {{dlv – first_name}}
- …map the rest of the address fields using the variables created in Phase 4.
- Name: UPD – Purchase Data.
- Click Save.
Step 6.2: The Conversion Tag
- Go to Tags > New.
- Name: Google Ads – Conversion – Purchase.
- Tag Configuration: Google Ads Conversion Tracking.
- Conversion ID: Paste ID from Google Ads.
- Conversion Label: Paste Label from Google Ads.
- Conversion Value: {{dlv – value}}.
- Transaction ID: {{dlv – transaction_id}}.
- Currency Code: {{dlv – currency}}.
- Enable Enhanced Conversions:
- Check Include user-provided data from your website.
- Select the variable: {{UPD – Purchase Data}}.
- Consent Settings:
- Select No additional consent required (The Cookiebot tag handles the logic, or you can explicitly require ad_storage if you prefer manual control).
- Triggering:
- Create a New Trigger.
- Type: Custom Event.
- Event Name: purchase_event (Must match the code in Phase 3 exactly).
- Click Save.
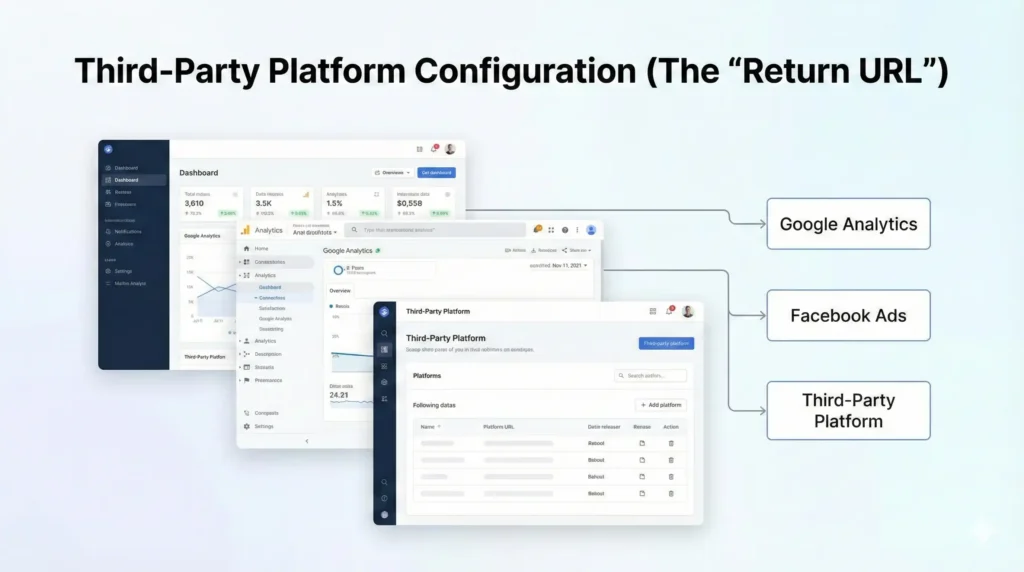
Phase 7: Third-Party Platform Configuration (The “Return URL”)
This is where many setups fail. You must tell the third-party payment provider to send the user back to Shopify so the “Thank You” page code can run.
1. PayPal (Auto Return)
- Log in to PayPal > Account Settings > Website payments > Website preferences.
- Auto Return: On.
- Return URL: https://your-shopify-store.com/checkout/thank_you (Note: Shopify generates a dynamic thank you URL per order, but PayPal just needs a base URL to enable the feature. Shopify usually handles the specific redirection dynamically if the integration is native).
2. Stripe
- If using Shopify Payments (powered by Stripe), this is automatic.
- If using a custom Stripe checkout, ensure the success_url in your API call points back to your shop’s order confirmation page.
3. GoKwik / ShipRocket / Others
- These are often “Checkout Optimizers” (COs).
- Log in to the GoKwik/ShipRocket merchant dashboard.
- Look for “Pixel Integration” or “Analytics” settings.
- Look for a field called “Redirect URL” or “Post-Purchase Redirection”. Ensure it is enabled.
- Crucial: Some of these platforms allow you to paste GTM code directly on their success page. If they allow this, do it. It is more reliable than redirecting. If they allow script injection, paste your GTM Container Snippet there. If not, rely on the redirect to the Shopify Thank You page.
Testing & Validation (Deep Dive)
You must simulate a real transaction. A “fake” test often skips the payment gateway redirection logic.
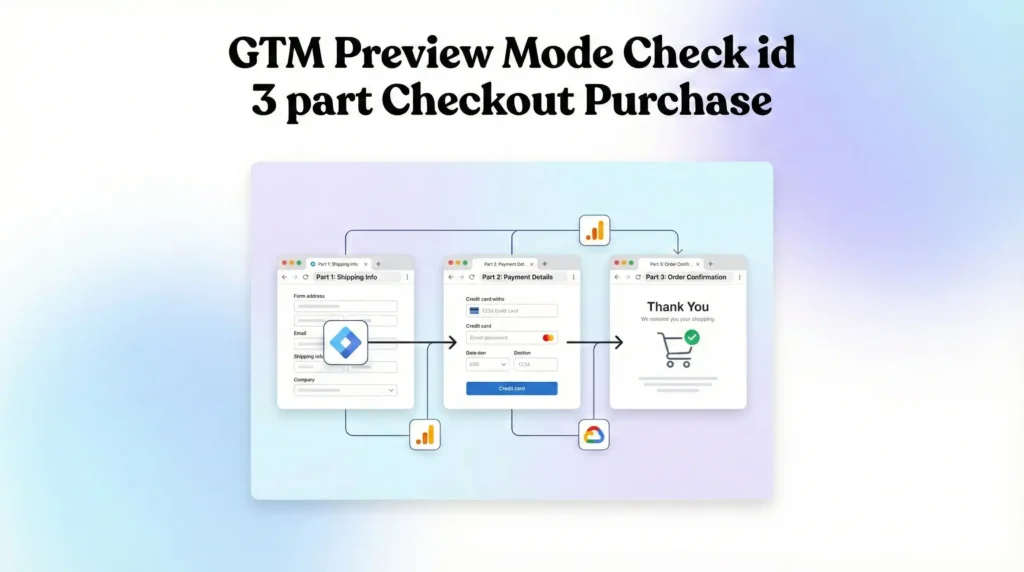
Step 1: GTM Preview Mode
- Click Preview in GTM.
- Enter your site URL.
- Add an item to the cart.
- Proceed to checkout.
Step 2: The Payment Test
- Select the Third-Party payment method (e.g., PayPal).
- Complete the transaction (you can usually refund yourself later, or use a “Sandbox” mode if available).
- Wait for the redirect. Do not close the tab.
- Once you land back on the Shopify “Thank You” page, look at the Tag Assistant tab.
Step 3: Verify the Event
- In Tag Assistant, look for the purchase_event in the left timeline.
- Check if the Google Ads – Conversion – Purchase tag fired.
- Check Data: Click on the tag. Verify that Conversion Value matches the order total. Verify that Enhanced Conversions data (email, phone) is populated (it won’t show the actual text for privacy, but it should show as a defined variable).
Step 4: DebugView (if using GA4 alongside)
While this guide focuses on Google Ads, checking GA4’s DebugView is a good proxy. If GA4 receives the purchase, GTM is working correctly.
Troubleshooting & Common Mistakes
1. “Referral” Traffic Spike (The Self-Referral Issue)
Problem: Your conversions are attributed to paypal.com or gokwik.co instead of google / cpc.
Reason: When the user leaves and comes back, the browser thinks it’s a new session referred by the payment gateway.
Solution:
- In Google Analytics 4: Go to Admin > Data Streams > Configure Tag Settings > List unwanted referrals. Add paypal.com, stripe.com, gokwik.co, etc.
- In Google Ads: This is less of an issue if the GCLID cookie persists, but ensuring the Conversion Linker is active on all pages (landing and thank you) helps maintain the session.
2. Missing Conversions (User Closes Tab)
Problem: The user pays on PayPal and closes the browser immediately, never hitting the “Return URL.”
Solution: This is the limitation of client-side tracking.
- Mitigation: Enable Enhanced Conversions. If the user was logged into their Google account (Gmail/YouTube) when they clicked your ad, and they used that same email on PayPal, Google can often stitch the data together later using backend signals, even if the tag didn’t fire perfectly.
- Server-Side: The ultimate fix is Server-Side Tracking using Webhooks, but that is beyond the scope of this client-side guide.
3. Duplicate Conversions
Problem: A user reloads the “Thank You” page to check their order status, firing the pixel twice.
Solution: The code provided in Phase 3 includes if (!window.dataLayer.some…). This logic checks if the event already exists in the current page load’s data layer history preventing immediate duplicates on simple refresh. Using Transaction ID in the Google Ads tag (Step 6.2) is the second layer of defense; Google Ads will de-duplicate triggers with the same Order ID automatically.
Conclusion
Tracking conversions through third-party checkouts like PayPal, Stripe, and GoKwik is one of the most challenging aspects of e-commerce analytics. It requires a seamless handshake between your website, the payment provider, and Google’s tracking servers.
By implementing the Return URL strategy, utilizing the Data Layer on the Thank You page, and enabling Enhanced Conversions, you create a safety net that captures the maximum amount of data possible. Adding Consent Mode v2 ensures that this robust setup remains compliant and viable for the long term.
Don’t let your data disappear into the checkout void. Implement this system today, and watch your ROAS stabilize and your scaling potential grow.
1. Why don't my PayPal conversions show in Google Ads?
This usually happens because the user didn’t wait to be redirected back to your “Thank You” page after paying. Google Ads tags live on your site, not PayPal’s. If the user doesn’t return, the tag doesn’t fire. Enabling “Auto Return” in PayPal and using Enhanced Conversions helps recover these lost signals.
2. What is the difference between client-side and server-side tracking?
Client-side tracking (this guide) relies on the user’s browser loading the “Thank You” page. Server-side tracking relies on the payment processor (e.g., Stripe) sending a signal directly to your server (e.g., Shopify), which then sends a signal to Google Ads. Server-side is more accurate but much harder to set up.
3. Does GoKwik support Google Tag Manager?
Yes, most modern checkout optimizers like GoKwik and ShipRocket allow you to input your GTM Container ID in their settings, or they allow you to place custom scripts on their “Order Success” page. Always check their specific integration documentation for the “Success Page Scripts” section.
4. Is Enhanced Conversions mandatory?
It is not strictly “mandatory” to track a basic conversion, but for third-party checkouts, it is highly recommended. It is the primary way to recover data when cookies are lost during the redirect process. Without it, your attribution will be significantly weaker.
5. How do I stop duplicate conversions on Shopify?
You must use the Transaction ID field in your Google Ads tag configuration. Map it to the Order ID variable. Google Ads automatically discards any subsequent conversion signals that carry a Transaction ID it has already recorded.
6. What if I don't use Cookiebot?
The guide uses Cookiebot as an example, but the principle applies to any CMP (OneTrust, Usercentrics). You need a CMP that integrates with Google Consent Mode v2. You must configure the GTM template for your specific CMP to handle the ad_storage and ad_user_data signals.
7. Why do I need the Conversion Linker?
The Conversion Linker sets a first-party cookie (_gcl_au and _gcl_aw) on your landing page. This cookie holds the ad click info (GCLID). When the user returns from PayPal, the Conversion Linker helps the Conversion Tag retrieve that GCLID from the cookie so credit can be assigned to the ad.
8. Can I use this setup for Facebook Ads too?
Yes. The Data Layer setup (Phase 3) is platform-agnostic. You can use the same triggers (purchase_event) and variables (dlv – value, dlv – email) to fire a Facebook (Meta) Pixel Purchase tag. You just need to configure the Facebook tag in GTM separately.
9. What is "Consent Initialization" in GTM?
It is a special trigger type that fires before all other triggers. We use it for the Cookiebot tag to ensure that the user’s consent status (Allowed/Denied) is established before any marketing tags attempt to fire. This prevents illegal data collection.
10. How do I verify if Enhanced Conversions is sending data?
In the Google Ads conversion settings, look for the “Diagnostics” tab. It will tell you if it is receiving “User-Provided Data.” Also, in GTM Preview Mode, click on the Google Ads tag and switch to “Values” view; you should see the email/phone variables populated (often hashed or raw depending on the view, GTM hashes it automatically before sending).
 Need Help Advanced Tracking Setup?