Introduction
Imagine you are running high-budget Facebook (Meta) ads for your Squarespace store. Your creatives are stunning, your offer is perfect, and you know people are buying because you see the orders in your Squarespace dashboard.
But when you open your Meta Ads Manager, the results look… empty. Conversions aren’t reporting. Your Cost Per Acquisition (CPA) looks sky-high because Facebook thinks you are getting zero sales.
You are a victim of the “Signal Loss” crisis.
Between Apple’s iOS14+ privacy updates, the rise of ad blockers, and browsers like Safari and Firefox blocking third-party cookies, client-side tracking (the traditional Facebook Pixel) is dying. It can miss up to 30-40% of your actual conversions.
If Facebook doesn’t see the conversion, it can’t optimize. It stops showing your ads to high-value shoppers and starts wasting your budget on low-quality traffic.
The solution is Server-Side Tracking using the Meta Conversions API (CAPI).
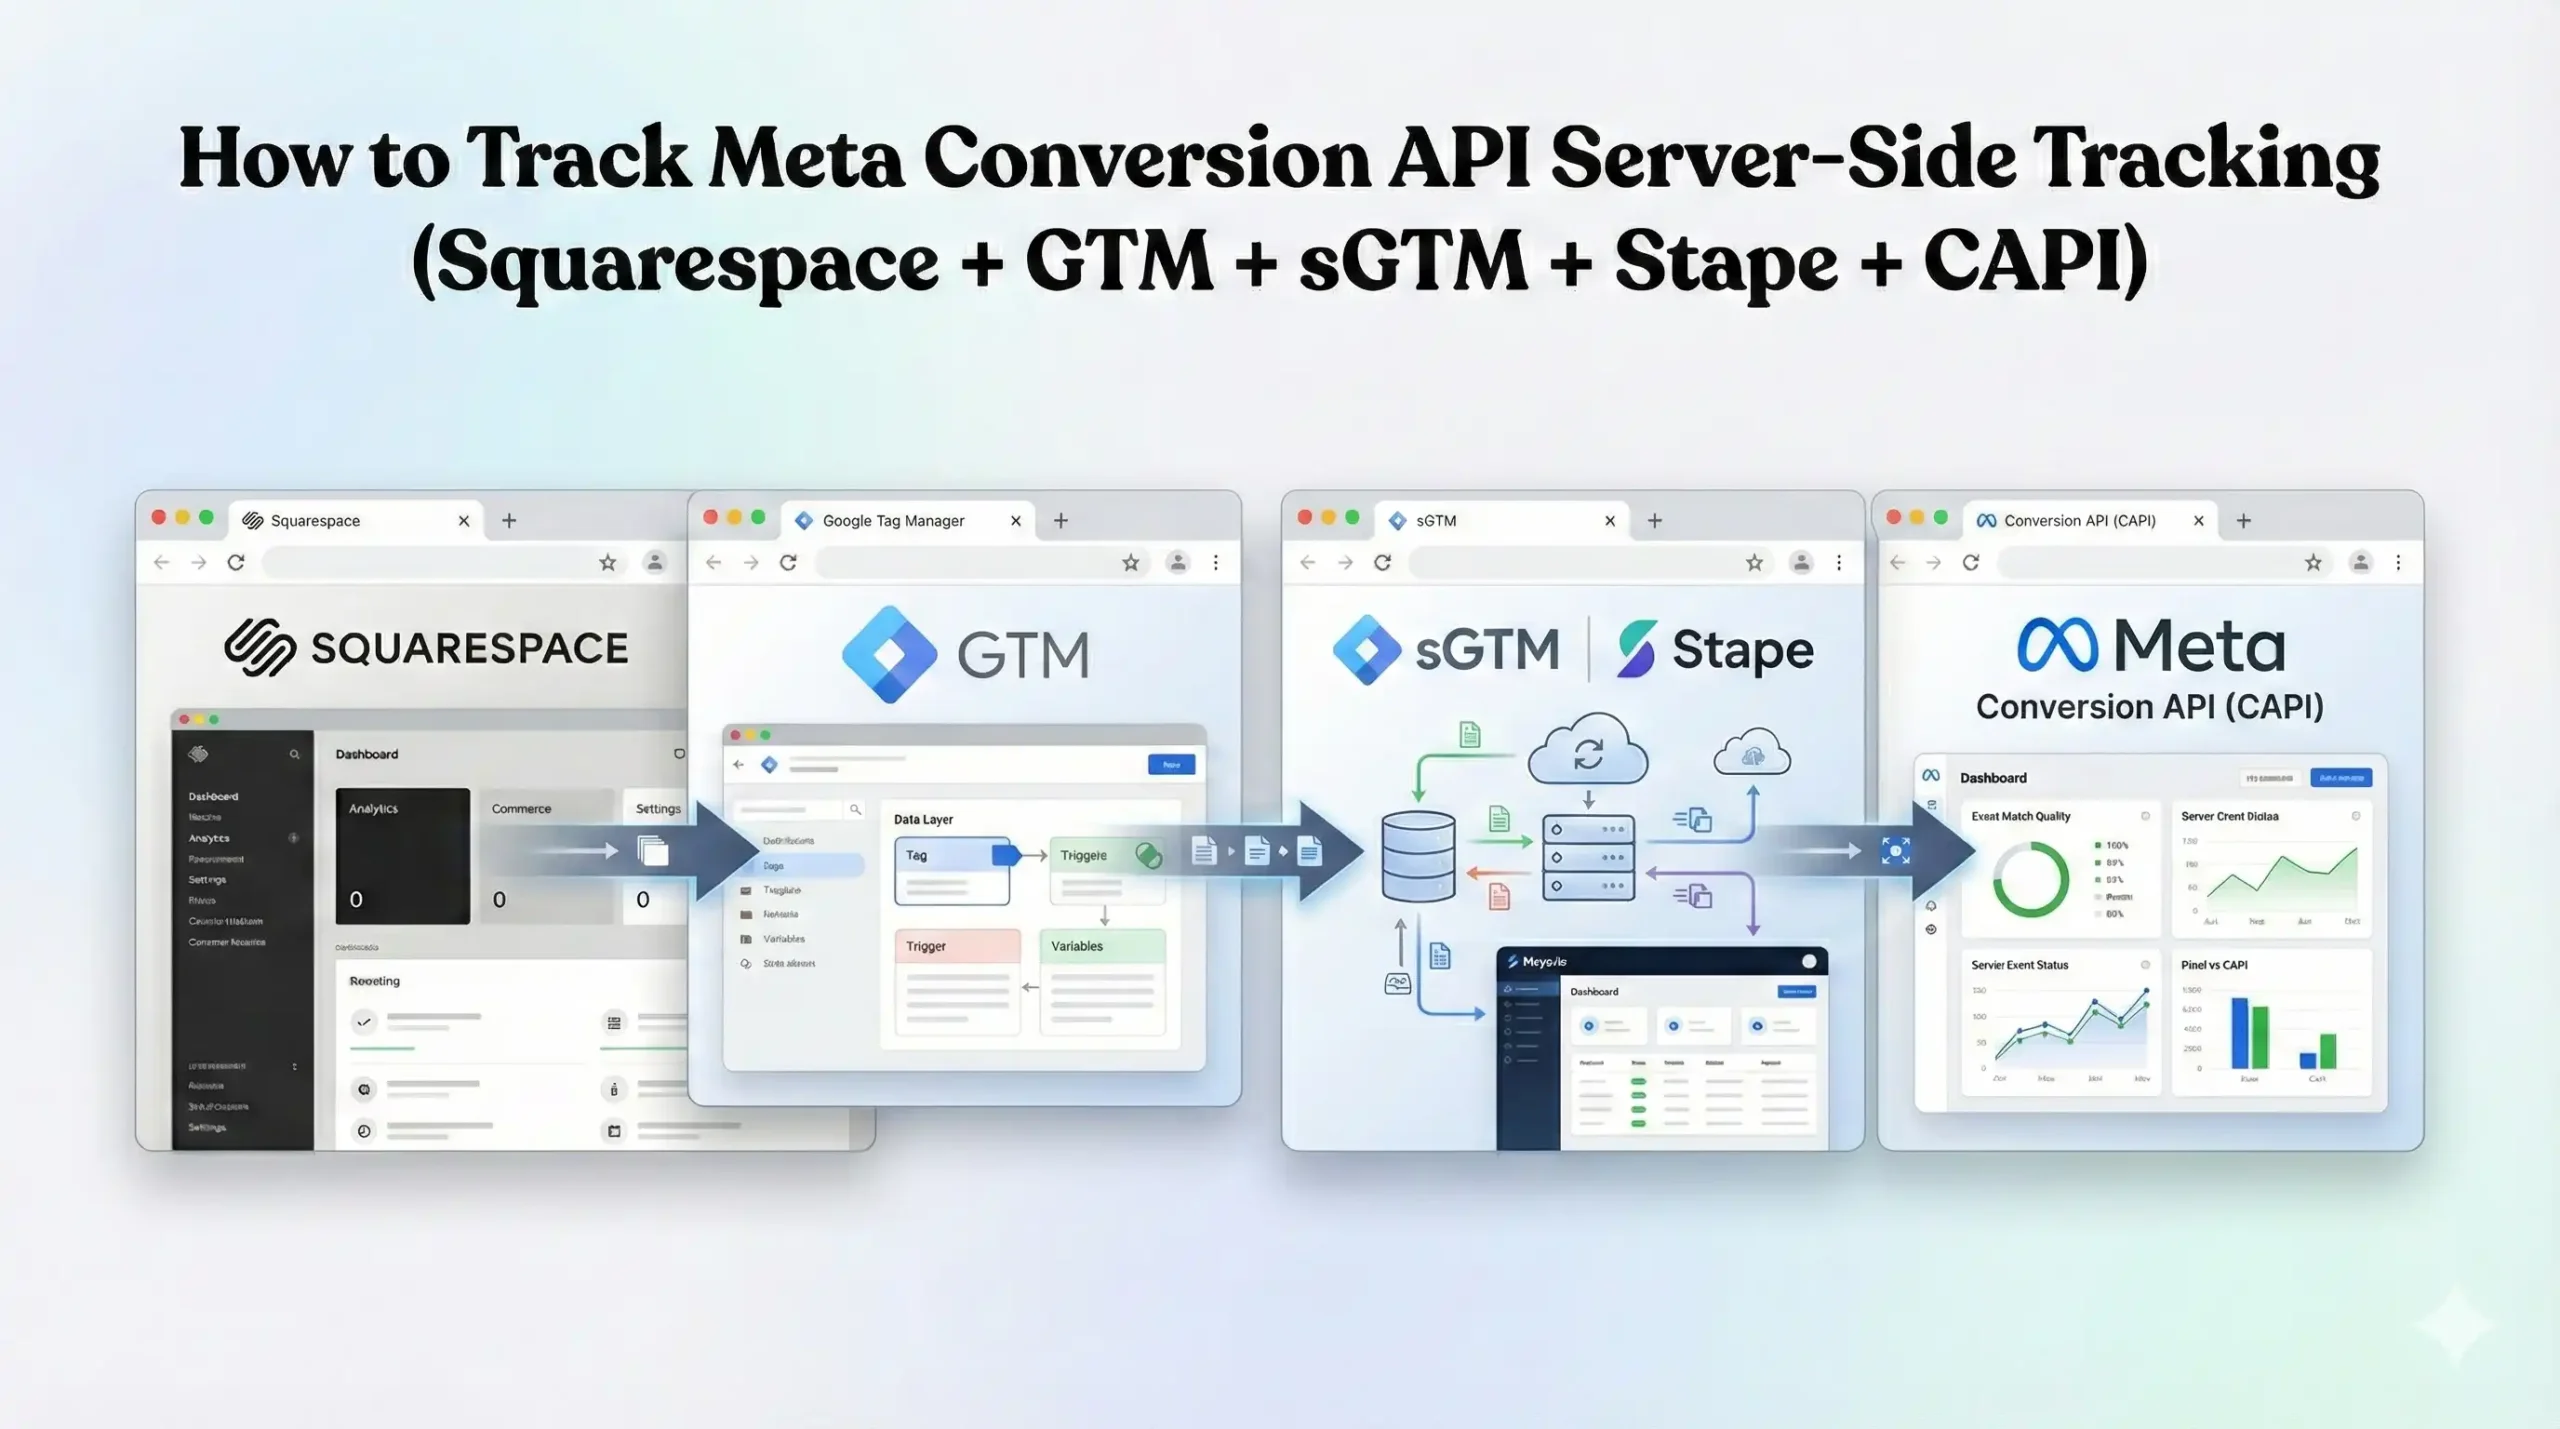
Instead of relying on the user’s browser to send data (which can be blocked), we send data directly from a server you control (via Stape.io and Google Tag Manager) to Facebook’s server. This creates a secure, unblockable data pipeline.
In this comprehensive guide, we will walk through the entire setup: configuring Google Tag Manager (GTM) on Squarespace, setting up a Server Container (sGTM) using Stape, implementing Meta CAPI, and ensuring full GDPR compliance with Google Consent Mode V2 using Cookiebot.
Why You Must Set This Up
Implementing Server-Side tracking isn’t just a “nice-to-have” technical upgrade; it is a survival requirement for modern digital advertising.
The Problem: The Crumbling Cookie
The traditional Facebook Pixel relies on third-party cookies and browser scripts.
- Ad Blockers: Prevent the Pixel script from even loading.
- ITP (Intelligent Tracking Prevention): Safari limits cookie lifespans to 1 or 7 days.
- iOS Tracking Transparency: Users explicitly say “No” to tracking, cutting off the data flow.
The Solution: The Server-Side Bridge
Server-side tracking moves the data processing away from the user’s device.
- Squarespace sends data to your GTM Server.
- Your GTM Server cleans and processes the data.
- Your GTM Server sends the data securely to Meta via API.
This bypasses browser restrictions entirely.
The 5 Key Benefits for Meta CAPI
1. Better Algorithm Training (The Learning Phase)
Meta’s AI needs roughly 50 conversions per week to exit the “Learning Phase.” If browser blocking hides 30% of your sales, you might never exit this phase. Your ads remain unstable and expensive. Server-side tracking recovers this lost data, feeding the AI the volume it needs to stabilize and perform.
2. Higher ROI and ROAS
When you track every single sale, your reported revenue increases. This instantly lowers your reported CPA and increases your Return on Ad Spend (ROAS). You might find that a campaign you thought was losing money is actually your most profitable one—it just had a high percentage of iPhone users whose data was previously lost.
3. Accurate Reporting (Event Match Quality)
Meta rates your tracking with a score called Event Match Quality (EMQ). This measures how well you can match a website visitor to a real Facebook account. Server-side tracking allows you to securely send hashed user parameters (like Email, Phone, IP Address) that browser pixels often fail to capture securely. A high EMQ score (8.0+) gives you a massive advantage in ad auctions.
4. Audience Building (Retargeting)
To run effective dynamic retargeting (showing users exactly what they viewed), you need a persistent connection. Server-side tracking sets “HTTP-only” cookies that last much longer than standard browser cookies. This ensures that a user who visited 20 days ago is still in your retargeting audience, rather than “expiring” after 7 days due to Safari restrictions.
5. Future-Proofing (First-Party Data)
We are moving toward a cookieless world. This setup builds a First-Party Data infrastructure. You own the server (via Stape). You own the data. You are not relying on renting pixels from tech giants. This infrastructure is robust against future browser privacy changes.
Prerequisites & Checklist
This is an advanced implementation involving multiple platforms. Ensure you have the following ready.
Required Access:
- Squarespace: Admin access (to inject code into Header/Footer). Note: Advanced code injection requires a Business or Commerce plan.
- Google Tag Manager (GTM): Admin access to create both Web and Server containers.
- Stape.io: An account (Free tier works for testing, Pro tier recommended for custom domains).
- Meta Business Manager: Admin access to generate an Access Token for the Conversions API.
- Cookiebot: Admin access for the Consent Mode V2 setup.
Required Tools:
- Google Chrome Browser.
- GTM Preview Mode: For debugging.
- Facebook Pixel Helper: Chrome extension.
- Stape Dashboard: To view server logs.
The “How-To-Setup” (Step-by-Step)
We will break this implementation into distinct phases to manage complexity.
Phase 1: Google Tag Manager Web Container Setup
First, we need to configure your standard GTM “Web” container to send data not to Google Analytics directly, but to your new Server Container.
Step 1.1: Create the Google Tag
- Open your GTM Web Container.
- Go to Tags > New.
- Name: Google Tag – Main Configuration.
- Tag Configuration: Select Google Tag.
- Tag ID: Enter your GA4 Measurement ID (G-XXXXXXXXXX).
- Configuration Settings:
- Add a parameter: server_container_url.
- Value: This will be your Stape URL (e.g., https://sst.yourdomain.com). We will generate this in Phase 2, so keep this open.
- Triggering: Select All Pages.
- Click Save.
Why do this? This tells the Google Tag specifically: “Don’t send this data straight to Google. Send it to my Stape server first.”
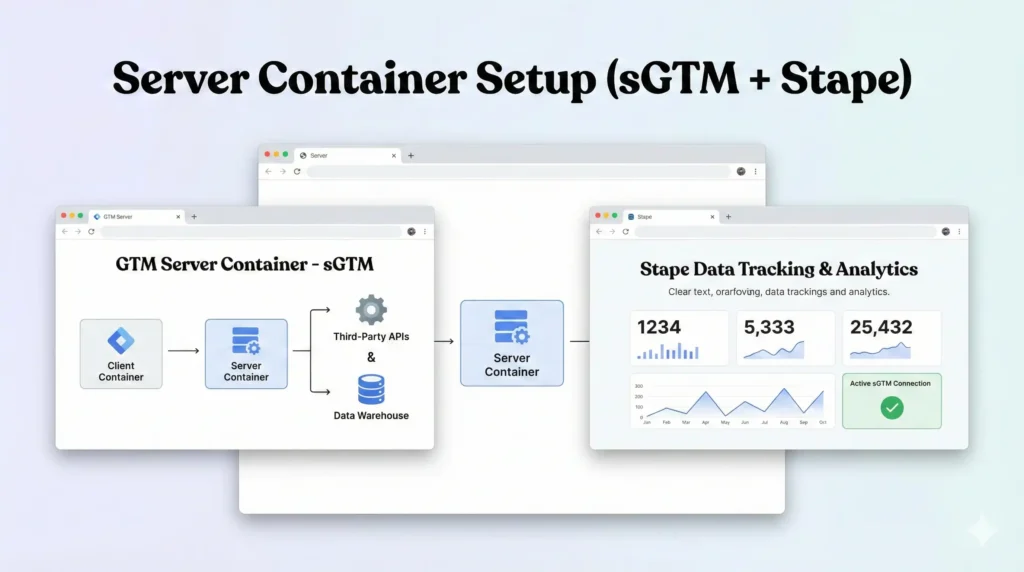
Phase 2: Server Container Setup (sGTM + Stape)
Now we build the server infrastructure. We use Stape.io because it is significantly cheaper and easier to set up than Google Cloud Platform (GCP).
Step 2.1: Create GTM Server Container
- Go to your GTM Admin panel.
- Click + Create Container.
- Name: Server Side Container.
- Target Platform: Select Server.
- Click Create.
- You will see a pop-up with a configuration code. Copy this code. It looks like specific text string used for provisioning.
Step 2.2: Set up Stape Container
- Log in to Stape.io.
- Click Create Container.
- Container Name: Enter your website name.
- Container Configuration: Paste the code you copied from GTM in Step 2.1.
- Select your Server Location (choose the one closest to your customers, e.g., US East or EU).
- Click Create Container.
Step 2.3: Configure Custom Domain (Critical)
Stape will give you a default URL (like Gw45g.stape.io). Do not use this for production. Browser privacy protections (ITP) will treat this as a third-party tracker. You must use a custom subdomain (like sst.yourdomain.com).
- In Stape, go to Domains.
- Enter your subdomain, e.g., sst.yoursite.com.
- Stape will provide DNS records (A Records).
- Log in to your Domain Registrar (GoDaddy, Namecheap, or Squarespace Domains).
- Add the A Records provided by Stape.
- Wait for verification (usually 10-30 minutes).
- Once verified, Copy this URL.
Step 2.4: Update GTM Web Container
- Go back to your GTM Web Container.
- Open the Google Tag – Main Configuration we created in Phase 1.
- Update the server_container_url value with your new custom domain: https://sst.yoursite.com.
- Click Save.
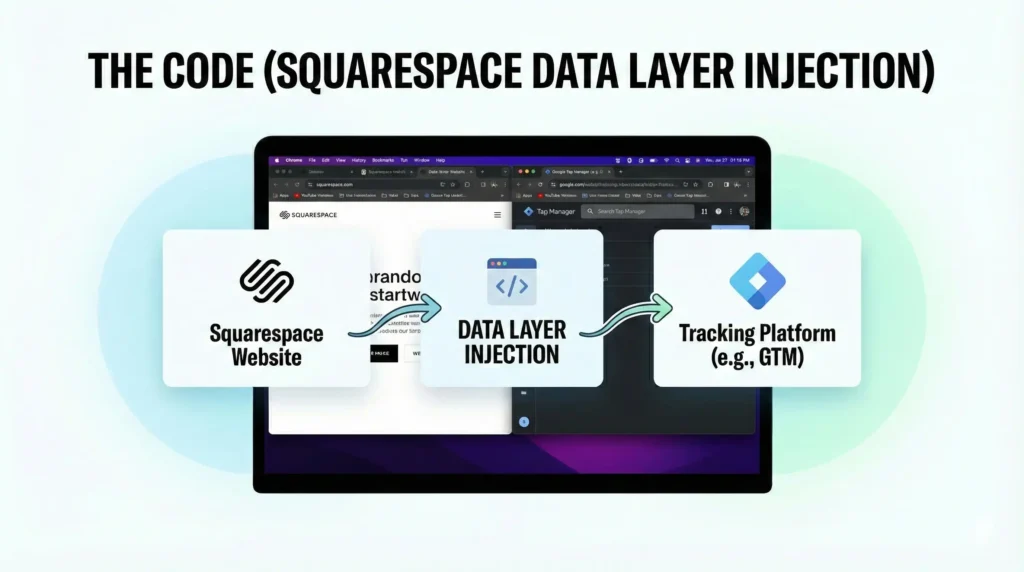
Phase 3: The Code (Squarespace Data Layer Injection)
Squarespace is notoriously difficult to track because checkout pages on lower-tier plans are locked. However, we can track “Purchase” events effectively by injecting code into the Order Status Page.
We need a script that takes the transaction details from Squarespace’s confirmation page and pushes them into the Data Layer so GTM can read them.
Step 3.1: Squarespace Order Status Code
- Log in to Squarespace.
- Go to Settings > Advanced > Code Injection.
- Scroll down to the Order Status Page section.
- Copy and paste the following code exactly. This code extracts order details and pushes them to the Data Layer.
					<script>
  window.dataLayer = window.dataLayer || [];

  // Squarespace Order Status Page Data Layer Push
  // Check if we are on the confirmation page and order data exists
  if (window.Static && window.Static.SQUARESPACE_CONTEXT && window.Static.SQUARESPACE_CONTEXT.pageType === 50) {
    var order = window.Static.SQUARESPACE_CONTEXT.order;

    if (order && !window.purchaseTracked) {
      window.purchaseTracked = true; // Flag to prevent duplicate events on refresh

      window.dataLayer.push({
        'event': 'purchase',
        'ecommerce': {
          'transaction_id': order.orderId,
          'value': order.grandTotal,
          'currency': order.currencyCode,
          'tax': order.taxTotal,
          'shipping': order.shippingTotal,
          'items': order.items.map(function(item) {
            return {
              'item_name': item.productName,
              'item_id': item.sku,
              'price': item.unitPrice,
              'quantity': item.quantity
            };
          })
        },
        // User Data for CAPI Matching (Critical for Event Match Quality)
        'user_data': {
          'email': order.customerEmail,
          'first_name': order.billingAddress.firstName,
          'last_name': order.billingAddress.lastName,
          'city': order.billingAddress.city,
          'country': order.billingAddress.countryCode
        }
      });
    }
  }
</script>
Note: This code uses Squarespace’s internal Static object which is available on the Order Confirmation page. It captures both transaction data (revenue) and user data (email/name) which is essential for CAPI matching.
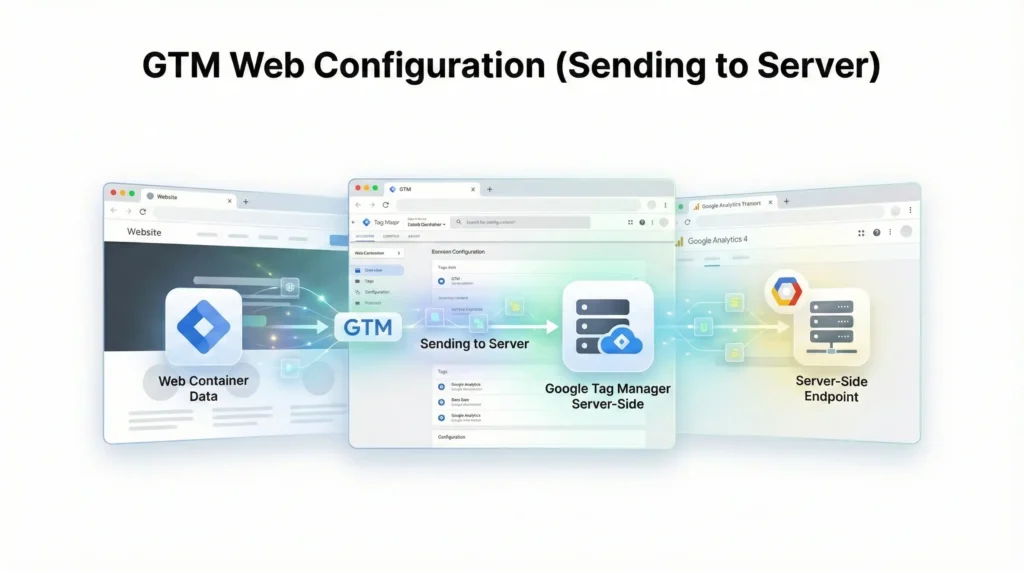
Phase 4: GTM Web Configuration (Sending to Server)
Now that the code pushes purchase to the Data Layer, we need to send this to the Server Container.
Step 4.1: Create Data Layer Variables
- Go to Variables.
- Create variables for the ecommerce data structure:
- dlv – ecommerce -> Data Layer Variable Name: ecommerce
- dlv – user_data -> Data Layer Variable Name: user_data
- Generate Event ID: You need a unique ID to deduplicate events between the Browser Pixel and CAPI.
- Go to Templates > Search Gallery.
- Search for Unique Event ID (by stape-io). Add it.
- Create a new Variable using this template. Name it Unique Event ID.
Step 4.2: Create GA4 Event Tag (The Transporter)
This tag sends the data from the browser to your Stape server.
- Go to Tags > New.
- Name: GA4 – Event – Purchase (Server).
- Tag Configuration: Select Google Analytics: GA4 Event.
- Measurement ID: Your GA4 ID.
- Event Name: purchase.
- Event Parameters:
- items: {{dlv – ecommerce.items}} (You may need specific variables for items if not passing the whole object).
- transaction_id: {{dlv – ecommerce.transaction_id}}.
- value: {{dlv – ecommerce.value}}.
- currency: {{dlv – ecommerce.currency}}.
- event_id: {{Unique Event ID}}. (Critical for Deduplication).
- user_data: {{dlv – user_data}}.
- Triggering: Custom Event trigger for purchase (matching the code in Phase 3).
- Click Save.
Step 4.3: Update Facebook Browser Pixel (Deduplication)
You must update your existing client-side Facebook Pixel “Purchase” tag to include the same Event ID.
- Open your Facebook Pixel Purchase Tag in GTM Web.
- Under “More Settings” or “Object Properties”, add a parameter:
- Property Name: eventID
- Value: {{Unique Event ID}}
- Save. This ensures Facebook knows the Server event and Browser event are the same sale.
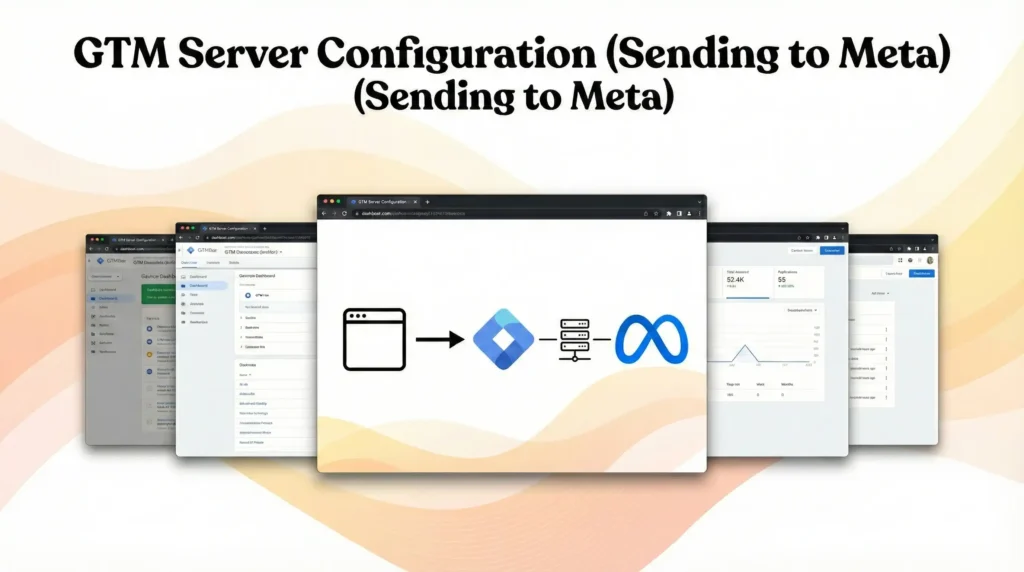
Phase 5: GTM Server Configuration (Sending to Meta)
Now we move to the Server Container to receive this data and forward it to Facebook.
Step 5.1: The GA4 Client
- In GTM Server, go to Clients.
- The GA4 Client should be there by default.
- Open it and ensure it is listening on your Default Path.
- Save.
Step 5.2: Create Meta CAPI Tag
You need the Meta tag template.
- Go to Templates > Search Gallery.
- Search for Conversations API Tag by Stape.
- Add to workspace.
Step 5.3: Configure the CAPI Tag
- Go to Tags > New.
- Name: Meta CAPI – Purchase.
- Tag Configuration: Select Meta Conversions API.
- Pixel ID: Enter your Facebook Pixel ID.
- API Access Token:
- Go to Meta Events Manager > Settings.
- Scroll to “Conversions API”.
- Click “Generate Access Token”.
- Paste it here.
- Event Name Setup:
- Select Inherit from Client. (This will automatically map purchase from GA4 to Purchase in Meta).
- User Data Parameters:
- This is vital for matching.
- Map Email to the event data variable containing the email sent from Web GTM.
- Map IP Address to Client IP Address (Built-in variable).
- Map User Agent to Client User Agent.
- Map fbp and fbc cookies (Stape handles this automatically if configured).
- Event ID:
- Map Event ID to the Event Data variable reading event_id sent from the web. This must match the Event ID in the browser pixel to allow deduplication.
- Triggering:
- Create a trigger: Custom Event.
- Event Name: purchase.
- Client Name equals GA4.
- Save.
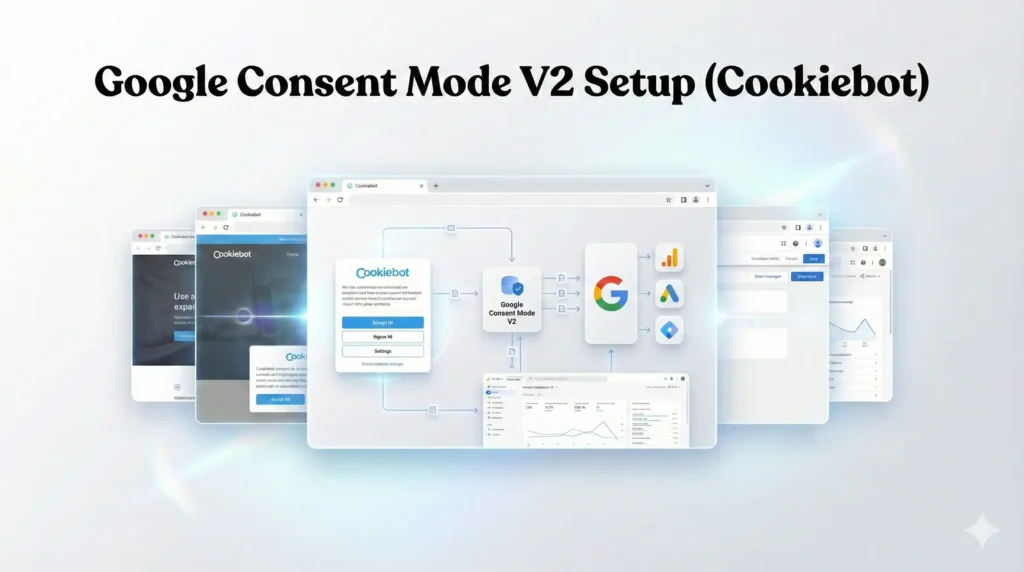
Phase 6: Google Consent Mode V2 Setup (Cookiebot)
We must ensure this entire pipeline respects user consent.
Step 6.1: Cookiebot in Web Container
- In GTM Web, add the Cookiebot CMP template.
- Create a Tag: CMP – Cookiebot.
- Cookiebot ID: Enter your ID.
- Enable Google Consent Mode: Check this box.
- Default State: All Denied.
- Trigger: Consent Initialization – All Pages.
Step 6.2: Configure Consent Checks on Tags
- For your GA4 Event Tags (that send data to the server):
- Go to Advanced Settings > Consent Settings.
- Select No additional consent required (Cookiebot handles the logic).
- Note: When consent is denied, the tags will still fire but send “pings” with a gcs (Google Consent Status) parameter.
- Server Side Behavior:
- The Server Container receives the gcs parameter.
- The Meta CAPI tag in the server can be configured to verify consent status before sending PII (Personally Identifiable Information) to Facebook.
Testing & Validation (Deep Dive)
You have a complex chain: Squarespace -> GTM Web -> Stape Server -> GTM Server -> Meta. We must test every link.
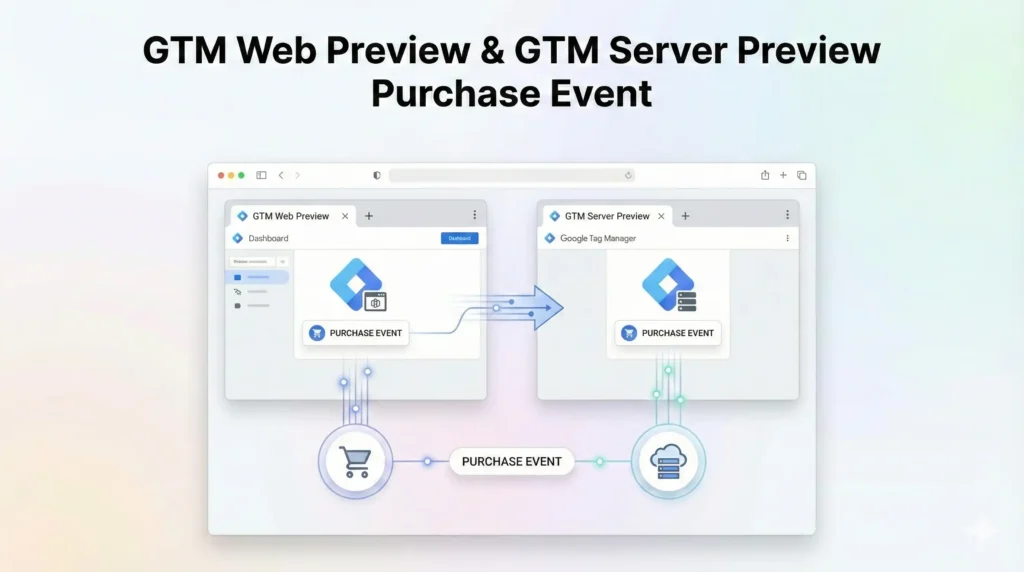
Step 1: GTM Web Preview
- Launch Preview in Web Container.
- Go to your Squarespace site.
- Complete a test purchase.
- Check: Did the purchase event fire in the Data Layer? Did the GA4 – Event – Purchase (Server) tag fire?
- Check: Look at the request URL of that tag. Is it going to https://sst.yoursite.com? If yes, the Web-to-Server link is working.
Step 2: GTM Server Preview
- Launch Preview in Server Container.
- Trigger the purchase again on the site.
- Check: Do you see the purchase request coming in on the left side of the Server Preview?
- Check: Did the Meta CAPI – Purchase tag fire?
- Check: Click the tag details. Did it send the user_data (hashed email)? Did it send the event_id
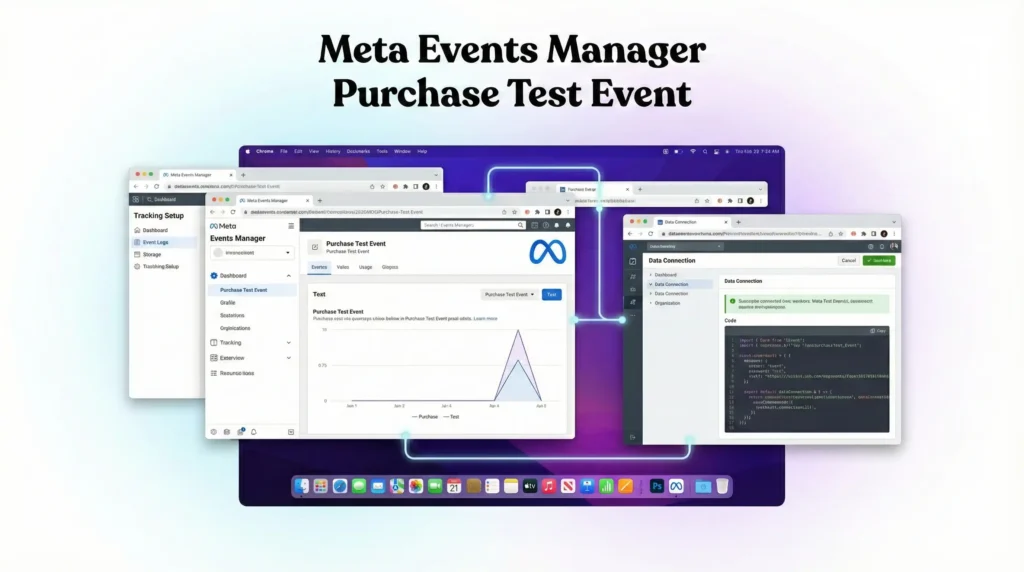
Step 3: Meta Events Manager
- Go to Facebook Events Manager > Test Events.
- Copy the test code (e.g., TEST12345).
- Paste this test code into your Server Container CAPI Tag (there is usually a “Test Event Code” field for debugging).
- Run the purchase.
- Check: You should see the event appear in Facebook.
- Browser: Processed (from standard pixel if you have one).
- Server: Processed.
- Deduplication: You should see “Deduplicated” next to the events. This confirms that both the Browser and Server sent the event, they had the same Event ID, and Facebook merged them correctly.
Troubleshooting & Common Mistakes
1. Missing Event ID (Deduplication Failure)
Problem: Facebook shows both Browser and Server events as unique, doubling your reporting. Solution: You must generate a Unique Event ID in the GTM Web container and pass it to both the Facebook Browser Pixel tag and the GA4 Server tag. They must share the exact same ID for the exact same event instance.
2. Low Event Match Quality
Problem: Meta gives your server events a quality score of 3/10. Solution: You are not sending enough user parameters.
- Ensure your Code (Phase 3) is successfully scraping the email from the Order Status page.
- Ensure Stape’s “Data Client” is enabled to boost cookie matching.
- Send IP Address and User Agent (these are automatic in server containers but verify they aren’t stripped).
3. Server 404 Errors
Problem: Your GA4 tags in Web GTM are failing to send data. Solution: Check your Custom Domain in Stape. Did you update the DNS records? Is the SSL certificate active? Verify by visiting https://sst.yoursite.com/healthy in your browser. It should say “OK”.
Conclusion
By implementing Meta Conversion API Server-Side Tracking on Squarespace, you have effectively immunized your data against the privacy changes that are destroying your competitors’ campaigns.
You have:
- Bypassed Ad Blockers using a custom subdomain proxy.
- Secured Data Accuracy by capturing events that browser pixels miss.
- Ensured Compliance with Consent Mode V2.
- Improved Ad Performance by feeding Meta’s AI high-quality, matched user data.
Publish your containers. Let the data flow for 7-14 days. Then, watch your Event Match Quality scores turn green and your ROAS begin to climb.
1. Do I need a paid Stape account?
For production, yes. The free tier of Stape does not allow Custom Domains (sst.yoursite.com). Without a custom domain, you are using a third-party cookie context, which Safari will block, defeating the entire purpose of this setup.
2. Can I track Squarespace checkouts?
Squarespace locks the checkout page code for non-Commerce Advanced/Plus plans. However, the Order Status Page (Thank You page) is accessible for code injection on most Business plans. This guide focused on the Order Status page because that is where the confirmed purchase happens.
3. What if I don't use Stape?
You can use Google Cloud Platform (GCP) to host your server container. It is the default method provided by Google. However, GCP is complex to set up, requires manual scaling, and can be more expensive for small-to-medium traffic volumes compared to Stape’s managed service.
4. Why do I need both Browser and Server tracking?
Facebook recommends a Redundant Setup. You keep your Browser Pixel (Client-side) as the primary source because it is fast and easy. You add CAPI (Server-side) as the backup to catch what the Browser Pixel misses. Facebook deduplicates the two to give you the most accurate total count.
5. What is an Event ID?
An Event ID is a unique string (like a fingerprint) assigned to a specific action a user takes (e.g., clicking “Buy”). By sending this same fingerprint with the Browser event and the Server event, Facebook knows they are the same action and counts them as one conversion, not two.
6. Will this fix iOS14 tracking issues?
It significantly mitigates them. While you cannot track users who strictly opted out of tracking if you are strictly compliant, Server-Side tracking recovers data lost to technical limitations (like ITP deleting cookies). It maximizes the quality of the data you are allowed to collect.
7. Does this work for Stripe payments on Squarespace?
Yes. When a user pays via Stripe on Squarespace, they are redirected to the Squarespace Order Status page. Our listener script executes on that page, capturing the transaction details regardless of the payment gateway used (Stripe, PayPal, etc.).
8. How do I check if Stape is working?
Log in to your Stape dashboard. Look at the Requests graph. If you see lines going up, your server is receiving data. You can also click “View Logs” (on Pro plans) to see the exact data payloads passing through your server.
9. Is this GDPR compliant?
Yes, because we implemented Consent Mode V2. The server container respects the consent signals sent from the web container. If a user denies marketing cookies, you can configure the server tags to redact PII or block the tag entirely, keeping you safe.
10. Can I use this for TikTok or Pinterest CAPI?
Absolutely. Once you have the data flowing into your GTM Server Container (Phase 4), you can simply add “TikTok Events API” or “Pinterest API” tags in the Server Container. You use the exact same trigger (purchase) and event data. You build the pipeline once and use it for all platforms.
 Need Help Advanced Tracking Setup?


2 Responses
Great
Thank you